Cocoa Gingerbread Cookies
Nuts and Bolts:
Cocoa Gingerbread Cookie is a holiday favorite that I have been baking for over twenty years. It is one of the most requested cookies I make during the holiday season. This recipe is from one of my closest friends; she gave me this recipe to encourage me to bake gingerbread cookies. Cocoa Gingerbread Cookies have been a showstopper because of their taste and looks. I hope you give it a try in your mess.
My Thoughts on Cocoa Gingerbread Cookies:
This cookie has a slight chocolate flavor darker than a regular gingerbread cookie. Since these cookies are dark, they burn quickly, so keep an eye on them as they bake.
You can omit the cocoa and 2 tablespoons of flour for a more traditional gingerbread cookie.
This cookie does not yield a lot of cookies. Depending on the cookie-cutter size, you may only get between 12-18 cookies.
This recipe does not double well. So, I usually make 2 to 3 batches of these cookies for holidays,
The kids love to bake and decorate these cookies. Since she was five years old, I have been making these for a cookie party for my daughter.
Method:
For this recipe, you will need: 1/4 cup butter or margarine softened, 2 tablespoons shortening, 1/3 cup packed brown sugar, 1/4 cup dark (Bootstrap) molasses, 1 egg, 1 ½ cups of all-purpose flour, ¼ cup of (Dutch-processed ) unsweetened cocoa, sifted, 1/2 teaspoon of baking soda,1/2 teaspoon of ground ginger,1/2 teaspoon of ground cinnamon, ¼ teaspoon of salt,1/4 teaspoon of ground nutmeg,1/8 teaspoon of ground cloves.
First, preheat your oven to 400° F. I like to start by preparing my dry ingredients in a large pitcher or bowl. Next, I place the flour, baking soda, ginger, cinnamon, nutmeg, cloves, and salt in it, and I whisk them together; then, I sift in cocoa in the flour mixture and whisk it all together.
Important tip: I always sift my cocoa into whatever mixture I am making. Cocoa has a large amount of fat content in it, and this causes it to clump. Sifting it gets rid of the clumps and allows it to combine better in your mixtures.

Preparing the dry mix with the cocoa: Left: Sifting cocoa in the flour mixture, Middle: The sifted cocoa on top of the flour mixture, right: the thoroughly combined mixture ready to be used.
Next, in a stand mixer with a paddle attachment, place the butter, shortening, brown sugar, and molasses in a bowl. You want to mix on a medium to high. Occasionally stopping the mixer to scrape down the sides until the butter mixture becomes light in color and fluffy. This may take a long time.
Important tip: For cookies, it is better to over mix the butter, shortening, and sugar. It is essential that they are completely incorporated; It is the foundation to the cookie.

The creamed molasse, brown sugar, butter, shortening, and egg mixture are ready for dry mixture.
Add the egg and continue to beat until it is completely incorporated. After that, slow down the mixer and gradually add the flour mixture to the egg mixture. And once all the flour is in the bowl, turn the speed up a little on the mixer to get all the flour incorporated. It will be a soft and mushy mess, which is how it is supposed to be. I like to dump the bowl out onto a floured surface, collect the dough, shape it in the ball, and then flatten it into a disk, wrap it up as plastic wrap, and leave it in the fridge for a few hours to overnight.

The dough after it is mixed: Left dough in the bowl of the mixer, Middle dough after it is dumped on the counter and folded together. Right: The dough is wrapped and ready for the fridge.
Important tip: Since I make a lot of these cookies, I have been known to make the dough the night before and leave it in the fridge overnight. When I am ready to use the dough, I leave it out for about 10-20 minutes before using it so that it will not be too stiff.
Once the dough has become firm, it is ready to be rolled. Unwrap the dough and place it on a floured surface. Also, flour your rolling pin. This dough can be a little tricky to roll out, which is why I like to roll it out between either wax paper or parchment paper. It keeps it from sticking to the flour rolling pin. Roll the dough out until it is ¼ of an inch of thickness, and you can start cutting the cookies.
Important tip: I like to start by doing small cookie shapes to ensure I have the amount I need. Then I make the bigger cookies.

Right is the dough being rolled between two sheets of wax paper. Left is cutting out a teddy bear shape.
Once you have a tray of cookies, place in 400°F oven and bake between 8-10 minutes. These cookies burn, so I let them go for 4 minutes and then check to see how they are baking. I will check them every 2 minutes after that to ensure they do not burn; You cannot ignore this cookie.
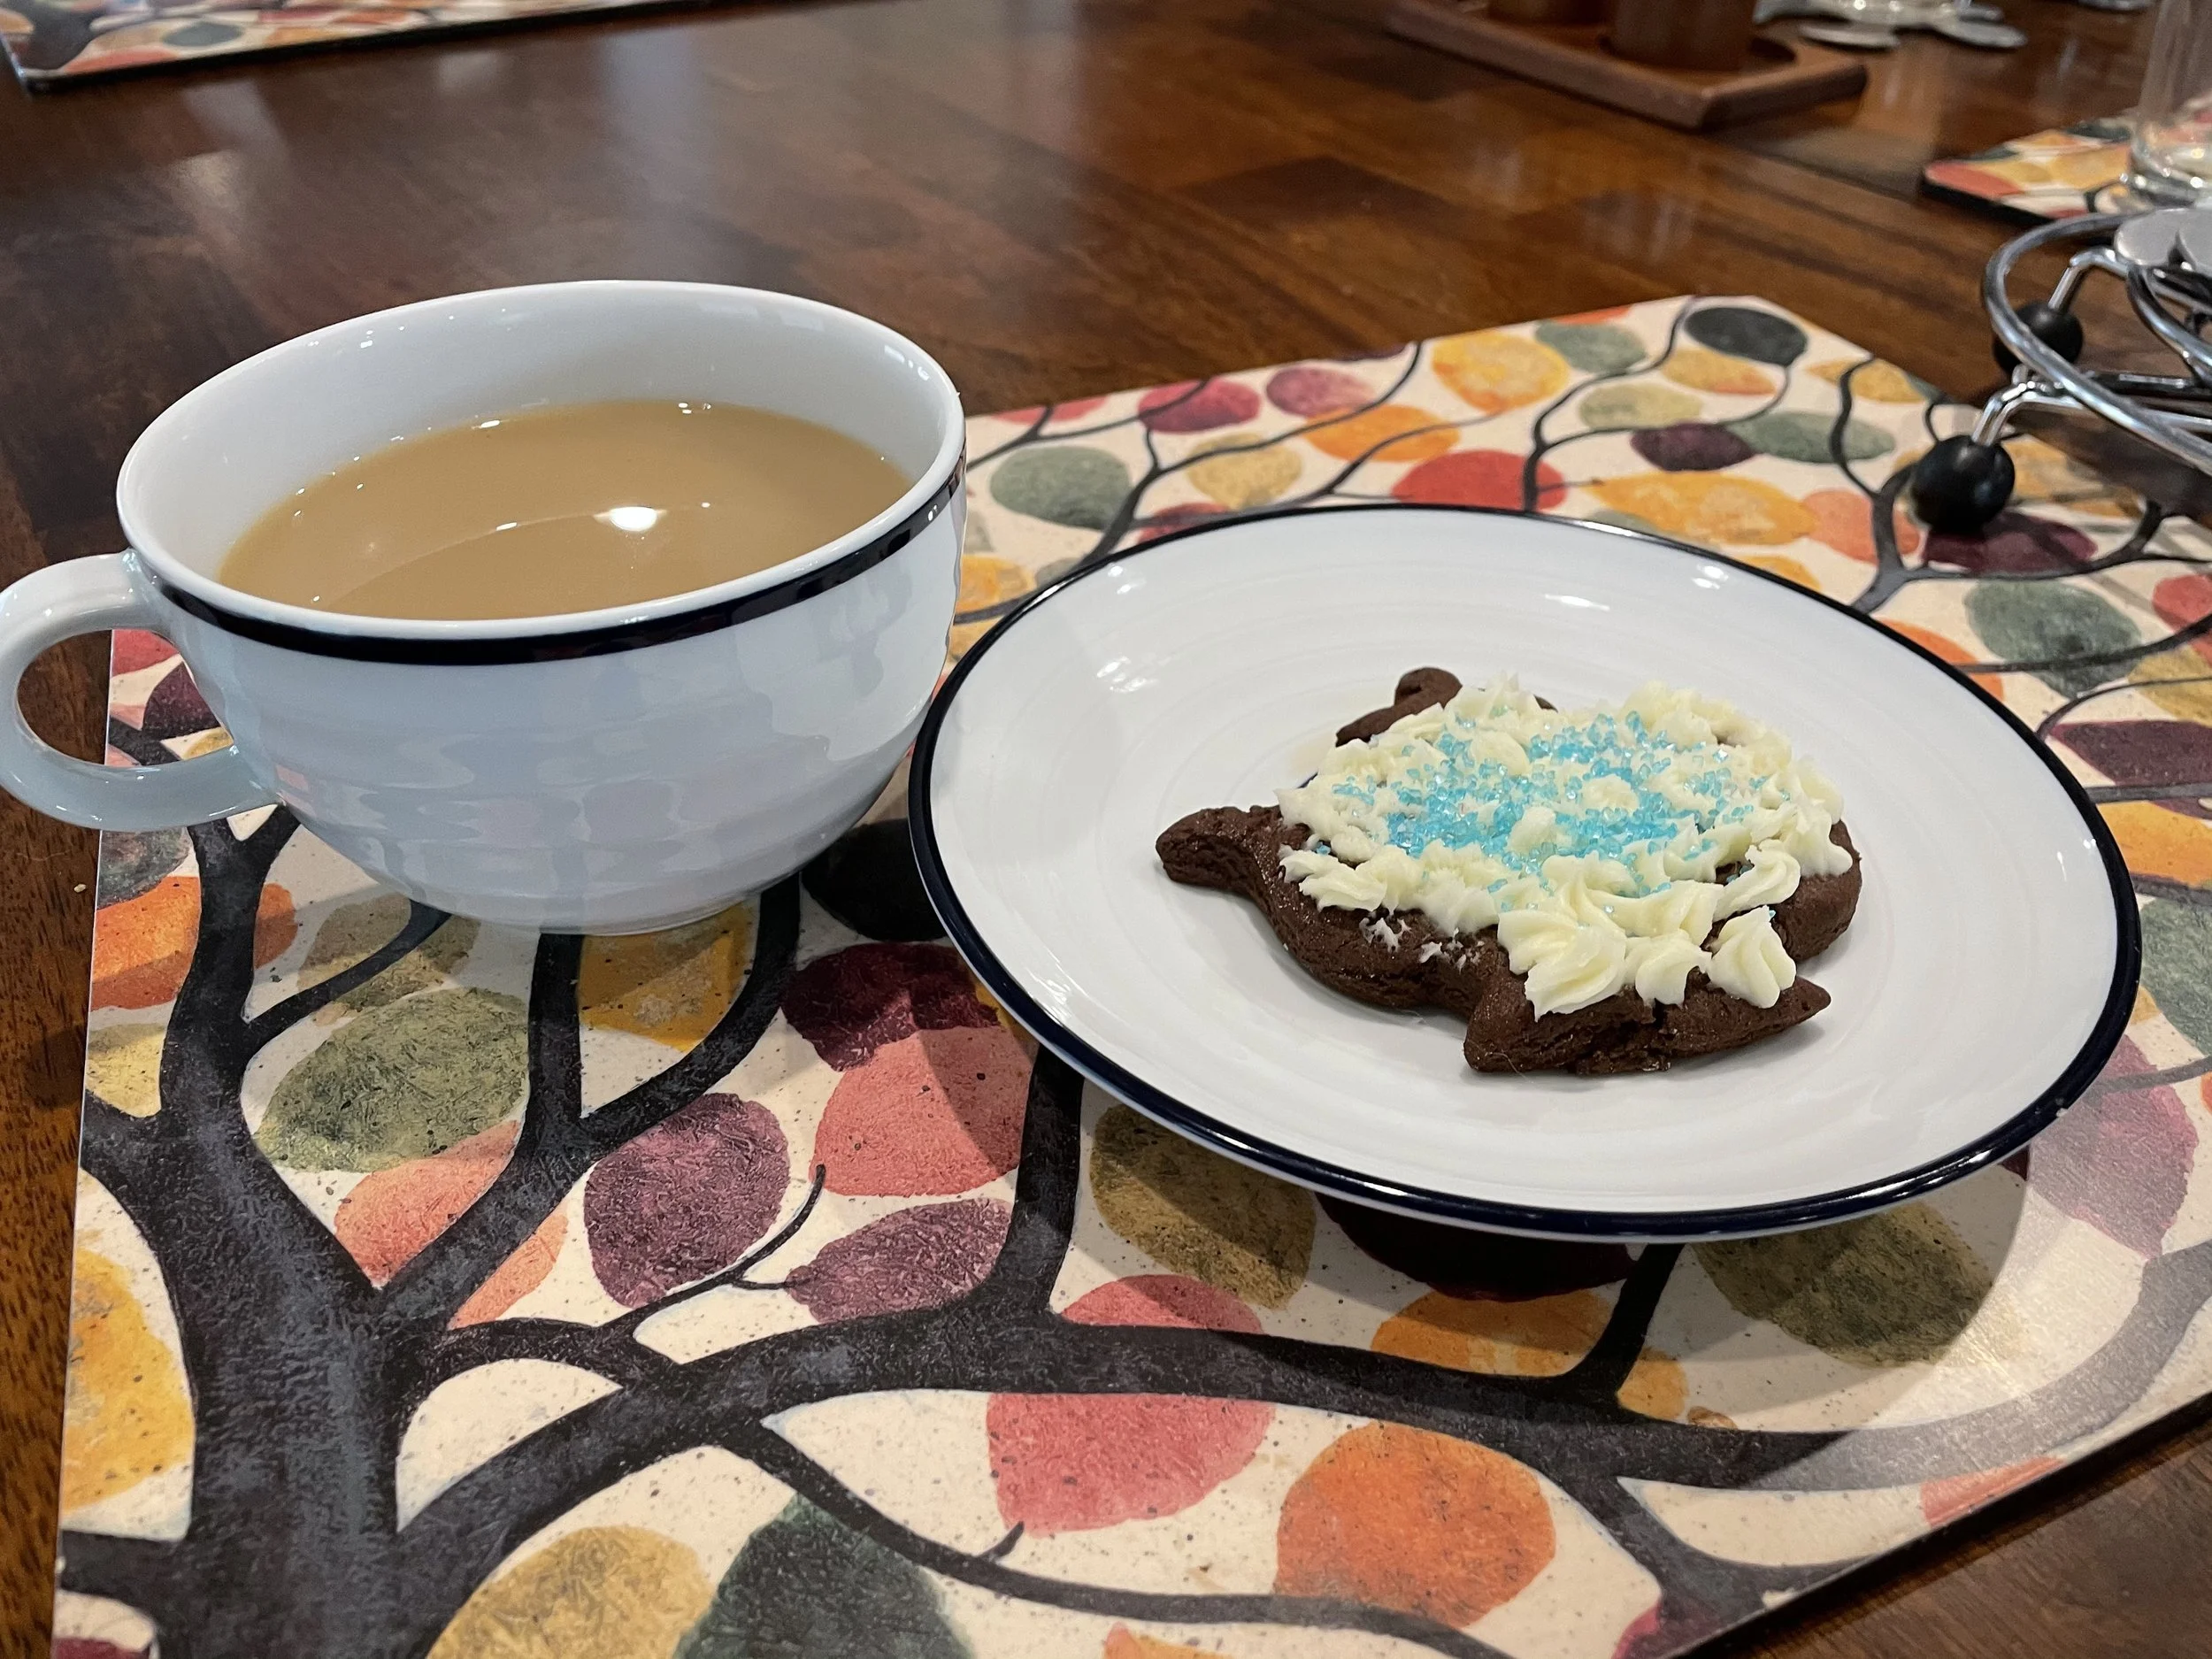
Then I allow the cookies to cool down completely, then they can be decorated with royal icing or buttercream frosting. We use buttercream, and we decorate them with colorful sprinkles.

Here is batched of finished cookies..
Final Thoughts on Cocoa Ginger Bread cookies:
These cookies are timeless and yet sort of different. They are fun and are a real crowd-pleaser. They are a little tricky to make, but they are so spectacular in flavor and looks.

Cocoa Gingerbread Cookies
Ingredients
- 1/4 cup of butter or margarine softened
- 2 tablespoons of shortening
- 1 /3 cup of packed brown sugar
- 1/4 cup of dark (Bootstrap) molasses
- 1 egg
- 1 1/2 cups of all-purpose flour
- 1/4 cup of unsweetened cocoa (Dutch-processed), sifted
- 1/2 teaspoon of baking soda
- 1/2 teaspoon of ground ginger
- 1/2 teaspoon of ground cinnamon
- 1/4teaspoon of teaspoon salt
- 1/4 teaspoon of ground nutmeg
- 1/8 teaspoon of ground cloves
Instructions
- First, preheat your oven to 400° F.
- Start by placing the flour, baking soda, ginger, cinnamon, nutmeg, cloves, and salt in a large bowl or pitcher. Then whisk them together.
- Next, sift in cocoa in a flour mixture and whisk to combine.
- Next, place the butter, brown sugar, and molasses in a bowl in a stand mixer with a paddle attachment.
- Then mix at a medium to high speed. Occasionally stopping the mixer to scrape down the sides until the butter becomes light in color and fluffy. This may take a long time.
- Then add the egg and keep beating until fully incorporated.
- After that, slow the mixer down and gradually add the flour mixture to the egg mixture; once all the flour is in the bowl, turn the speed up a little on the mixer to get all the flour incorporated. It will be a soft and mushy mess.
- Then dump the bowl out on a floured surface, collect the dough, shape it in the ball, flatten it out into a disk, wrap it up plastic wrap, and leave it in the fridge for a few hours to overnight.
- Once the dough has become firm, it is ready to be rolled. Unwrap the dough and place it on a floured surface.
- Also, flour the rolling pin and place dough between two pieces of either parchment paper or wax paper.
- Roll the dough out until it is ¼ of an inch thick, and start cutting the cookies.
- Once you have a tray of cookies, place in 400°F oven and bake between 8-10 minutes.
- These cookies burn quickly, so check on them after 4 minutes of baking. Then check on them every 2 minutes after that to ensure they do not burn.
- Then allow the cookies to cool down completely.
- Then decorate with royal icing or: buttercream frosting and other colorful toppings.