Three Day Sourdough Bread:
Nuts and Bolts:
I make this sourdough bread almost weekly. This Sourdough bread is my preferred recipe, but It takes three days. This is a tricky recipe because the result can be unpredictable. It makes a tasty, hearty, and dense bread. It is also versatile and can be made with different flours. It is minimal work for a good reward. This recipe does take a lot of planning but so do most sourdough recipes.
My thoughts on Three Day Sourdough Bread:
This is a King Arthur Baking recipe. I am making it today pretty much as they do in the recipe from the site. Except, I bake it in a Dutch oven. I will include a link to the original recipe at the bottom of the blog.
I have made this recipe with whole wheat flour and many kinds of other artisanal flours.
I find that an enameled Dutch oven works best for this recipe.
Before we dive in, if you are new to sourdough, please see my post on the sourdough starter.
Method:
Day one: Get the Sourdough starter out of the fridge. I have had my starter going for over three years. It can look and smell gross. If there is liquid at the top, I stir it and leave it.
Day two: Time to get to work. I feed the starter about four hours before I start the recipe. Then take a cup of starter and set it aside. I always feed the mother dough first before I start the bread.
Feeding the Starter
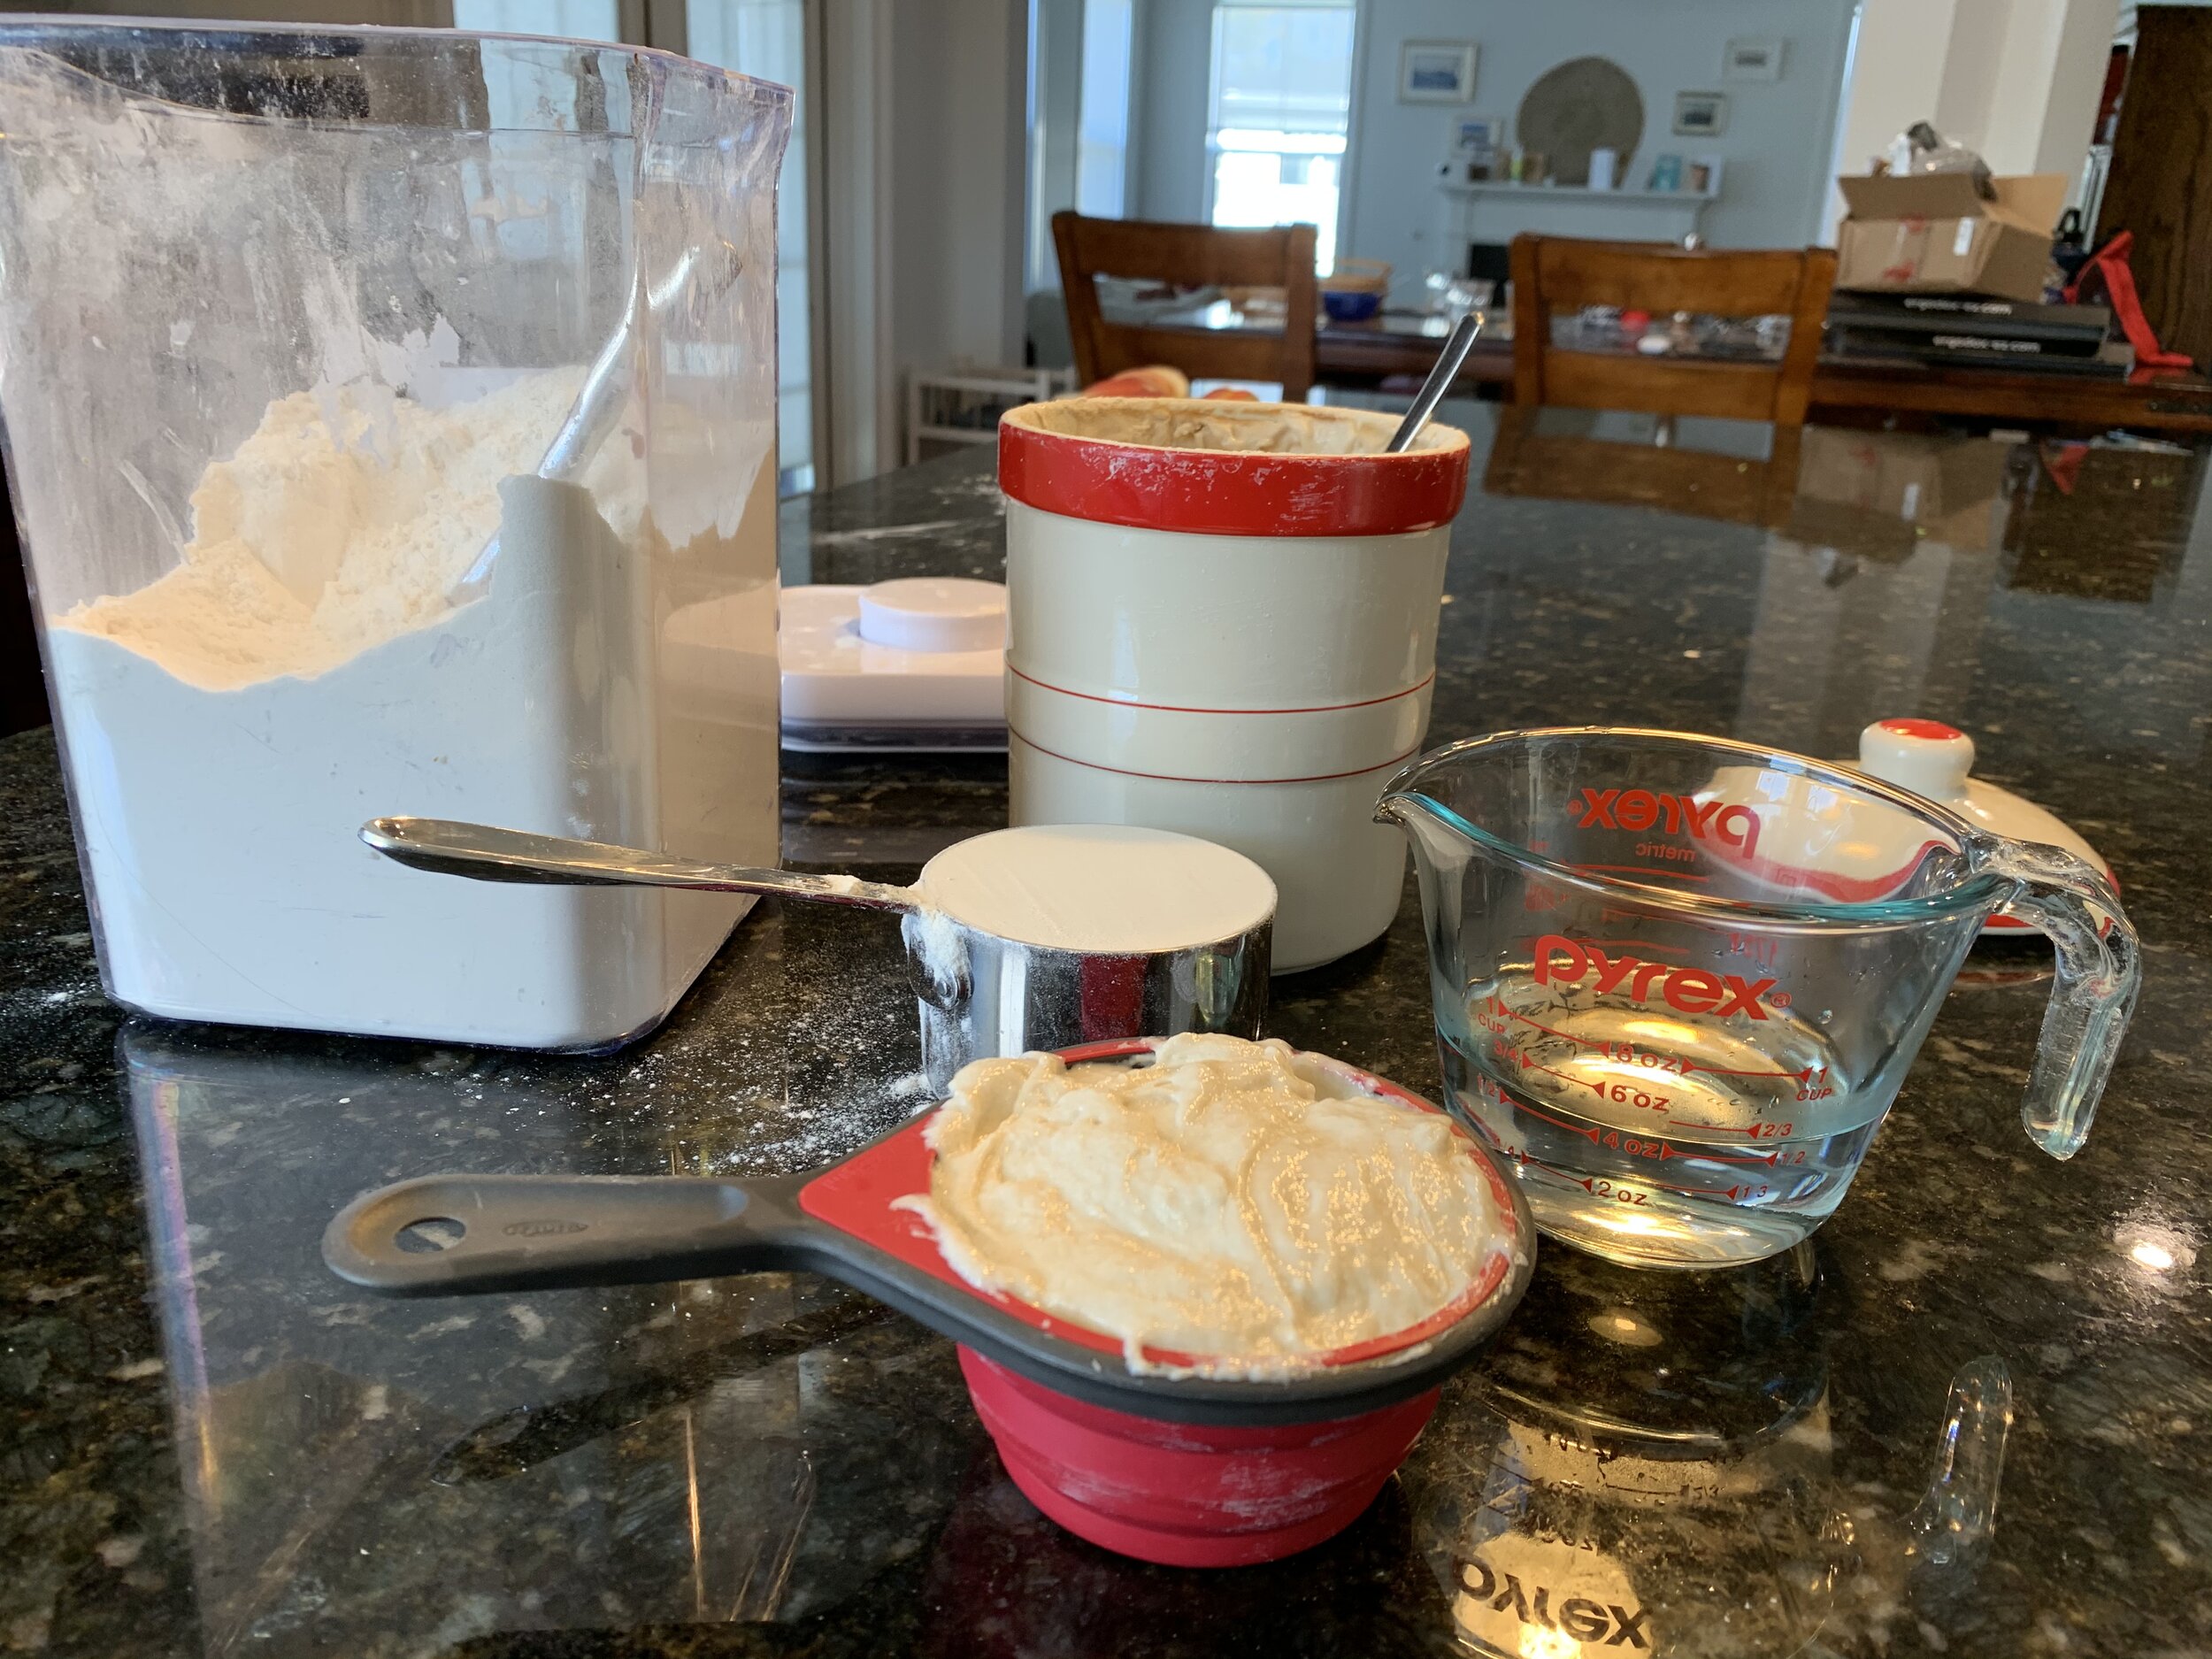
For this part of the bread recipe, I use a paddle attachment for my mixer. I like to mix the starter with water first, and I do this with the mother dough. I find it helps the starter incorporate the flour better. At this point, I add the 3 cups of AP flour and mix for a minute. This will be the sponge or base of your bread. Let it rest covered for four hours or more at room temperature. It is about the same for the mother dough. After the 4 hours, put your sponge and your starter (if refrigerated) in the fridge. Leave the sponge for 12 hours or overnight.
Day Three: Well, congratulations, you made it to day three. YAY! Here comes baking time. I start this as early as I can muster myself to get into the kitchen in the morning.
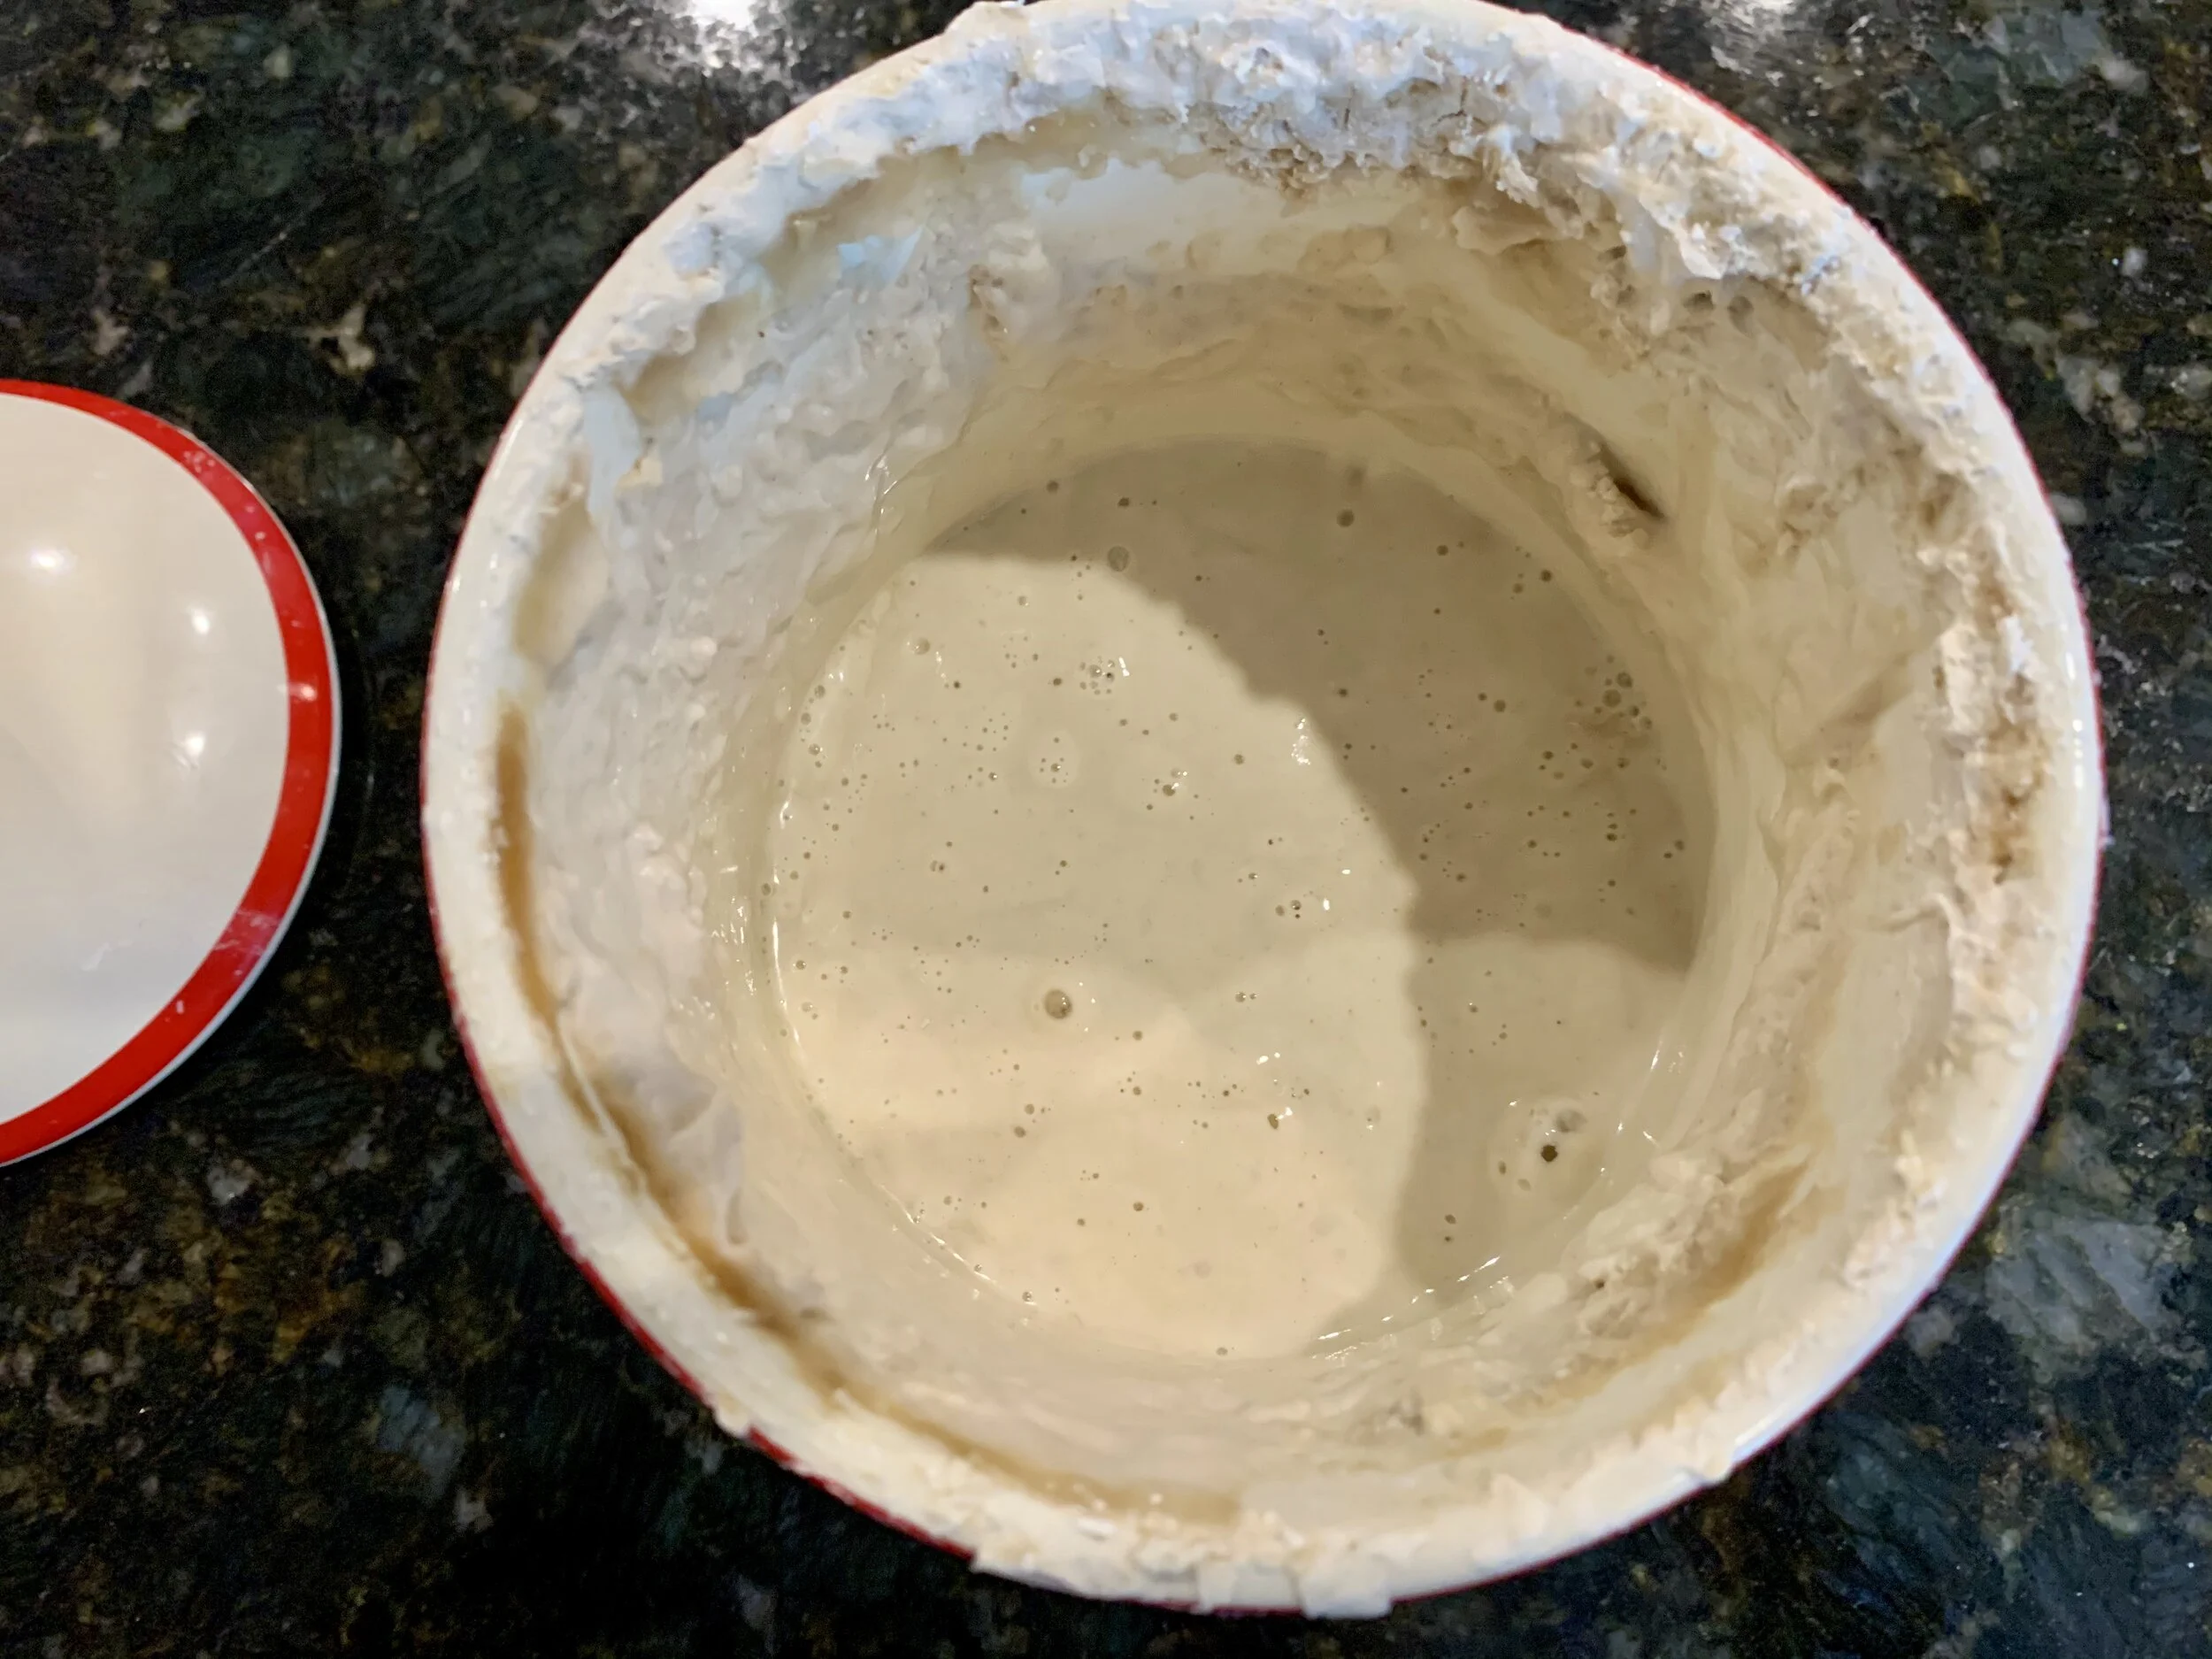
Sourdough sponge after it has been in the fridge overnight. It is a thick, and wet batter.
Add the remaining ingredients to the mixer bowl with the bread hook attachment. I have learned that the placement of the salt and sugar are important in the mixer's bowl. I like the flour to be toward the center. I put the sugar on one side of the bowl and the salt on the other.
When adding the last three incidents. It important to keep the salt and sugar on different sides of the bowl.
Here is where you can be creative in this recipe by using different types of flours. Experiment and see what works for you and your family. I am going to be boring here and use AP flour. Knead it in the machine till it comes together into a ball. This is a dense dough.
Then oil a bowl. I like to use olive oil for this bread. Then I tip the top of the dough ball on the bottom of the bowl so as to cover the dough with a little oil. This is to keep the top of the dough from drying out. Then I turn the dough over and place it in the bowel and cover the dough's top with plastic wrap. Then I lay a clean kitchen towel on the bowel. I tuck it in my oven to rise on the bread proofing setting. If you do not have a proofing drawer, you can rise your bread in your oven or in a warm spot in your kitchen.
This is the tricky bit of the recipe. As King Arthur Baking puts this, "baking this bread is more like an art than a science." So you should keep checking till you feel it has risen enough. If you let it rise for too long, or it gets too hot, the dough will become sticky and hard to shape. So keep checking till you find what works. Do not rush these steps! I repeat, do not rush these steps! as I have done that, and the bread does not come out as well. Part of making a mess is to fail, and I know it's hard, but once you get it, you get it.
It should rise from 2-5 hours. Then form a ball and let it rise for another 2-4 hours. 45 minutes before you are ready to bake, place a cold Dutch oven into the oven to preheat them together at 450F; The Dutch oven makes the bread have a nice crust. When the dough has risen, take it out of the proofing area and score it in the bowl.
Risen dough and ready to bake. The dough is sticky but can still be easily handled.
Then carefully transfer the dough onto the hot pot. It is ok if it looks messy; it is homemade after all. Cover and put it in the oven; I like to bake it for a total of 45 minutes to an hour.
In 30 minutes, I take the cover off to brown the bread and bake for another 15-30minutes. To check to see if the bread is done, you tap can on the bread’s bottom for a hollow sound. Or, if you like me, grab a thermometer, and check for an internal temperature of 208 F.
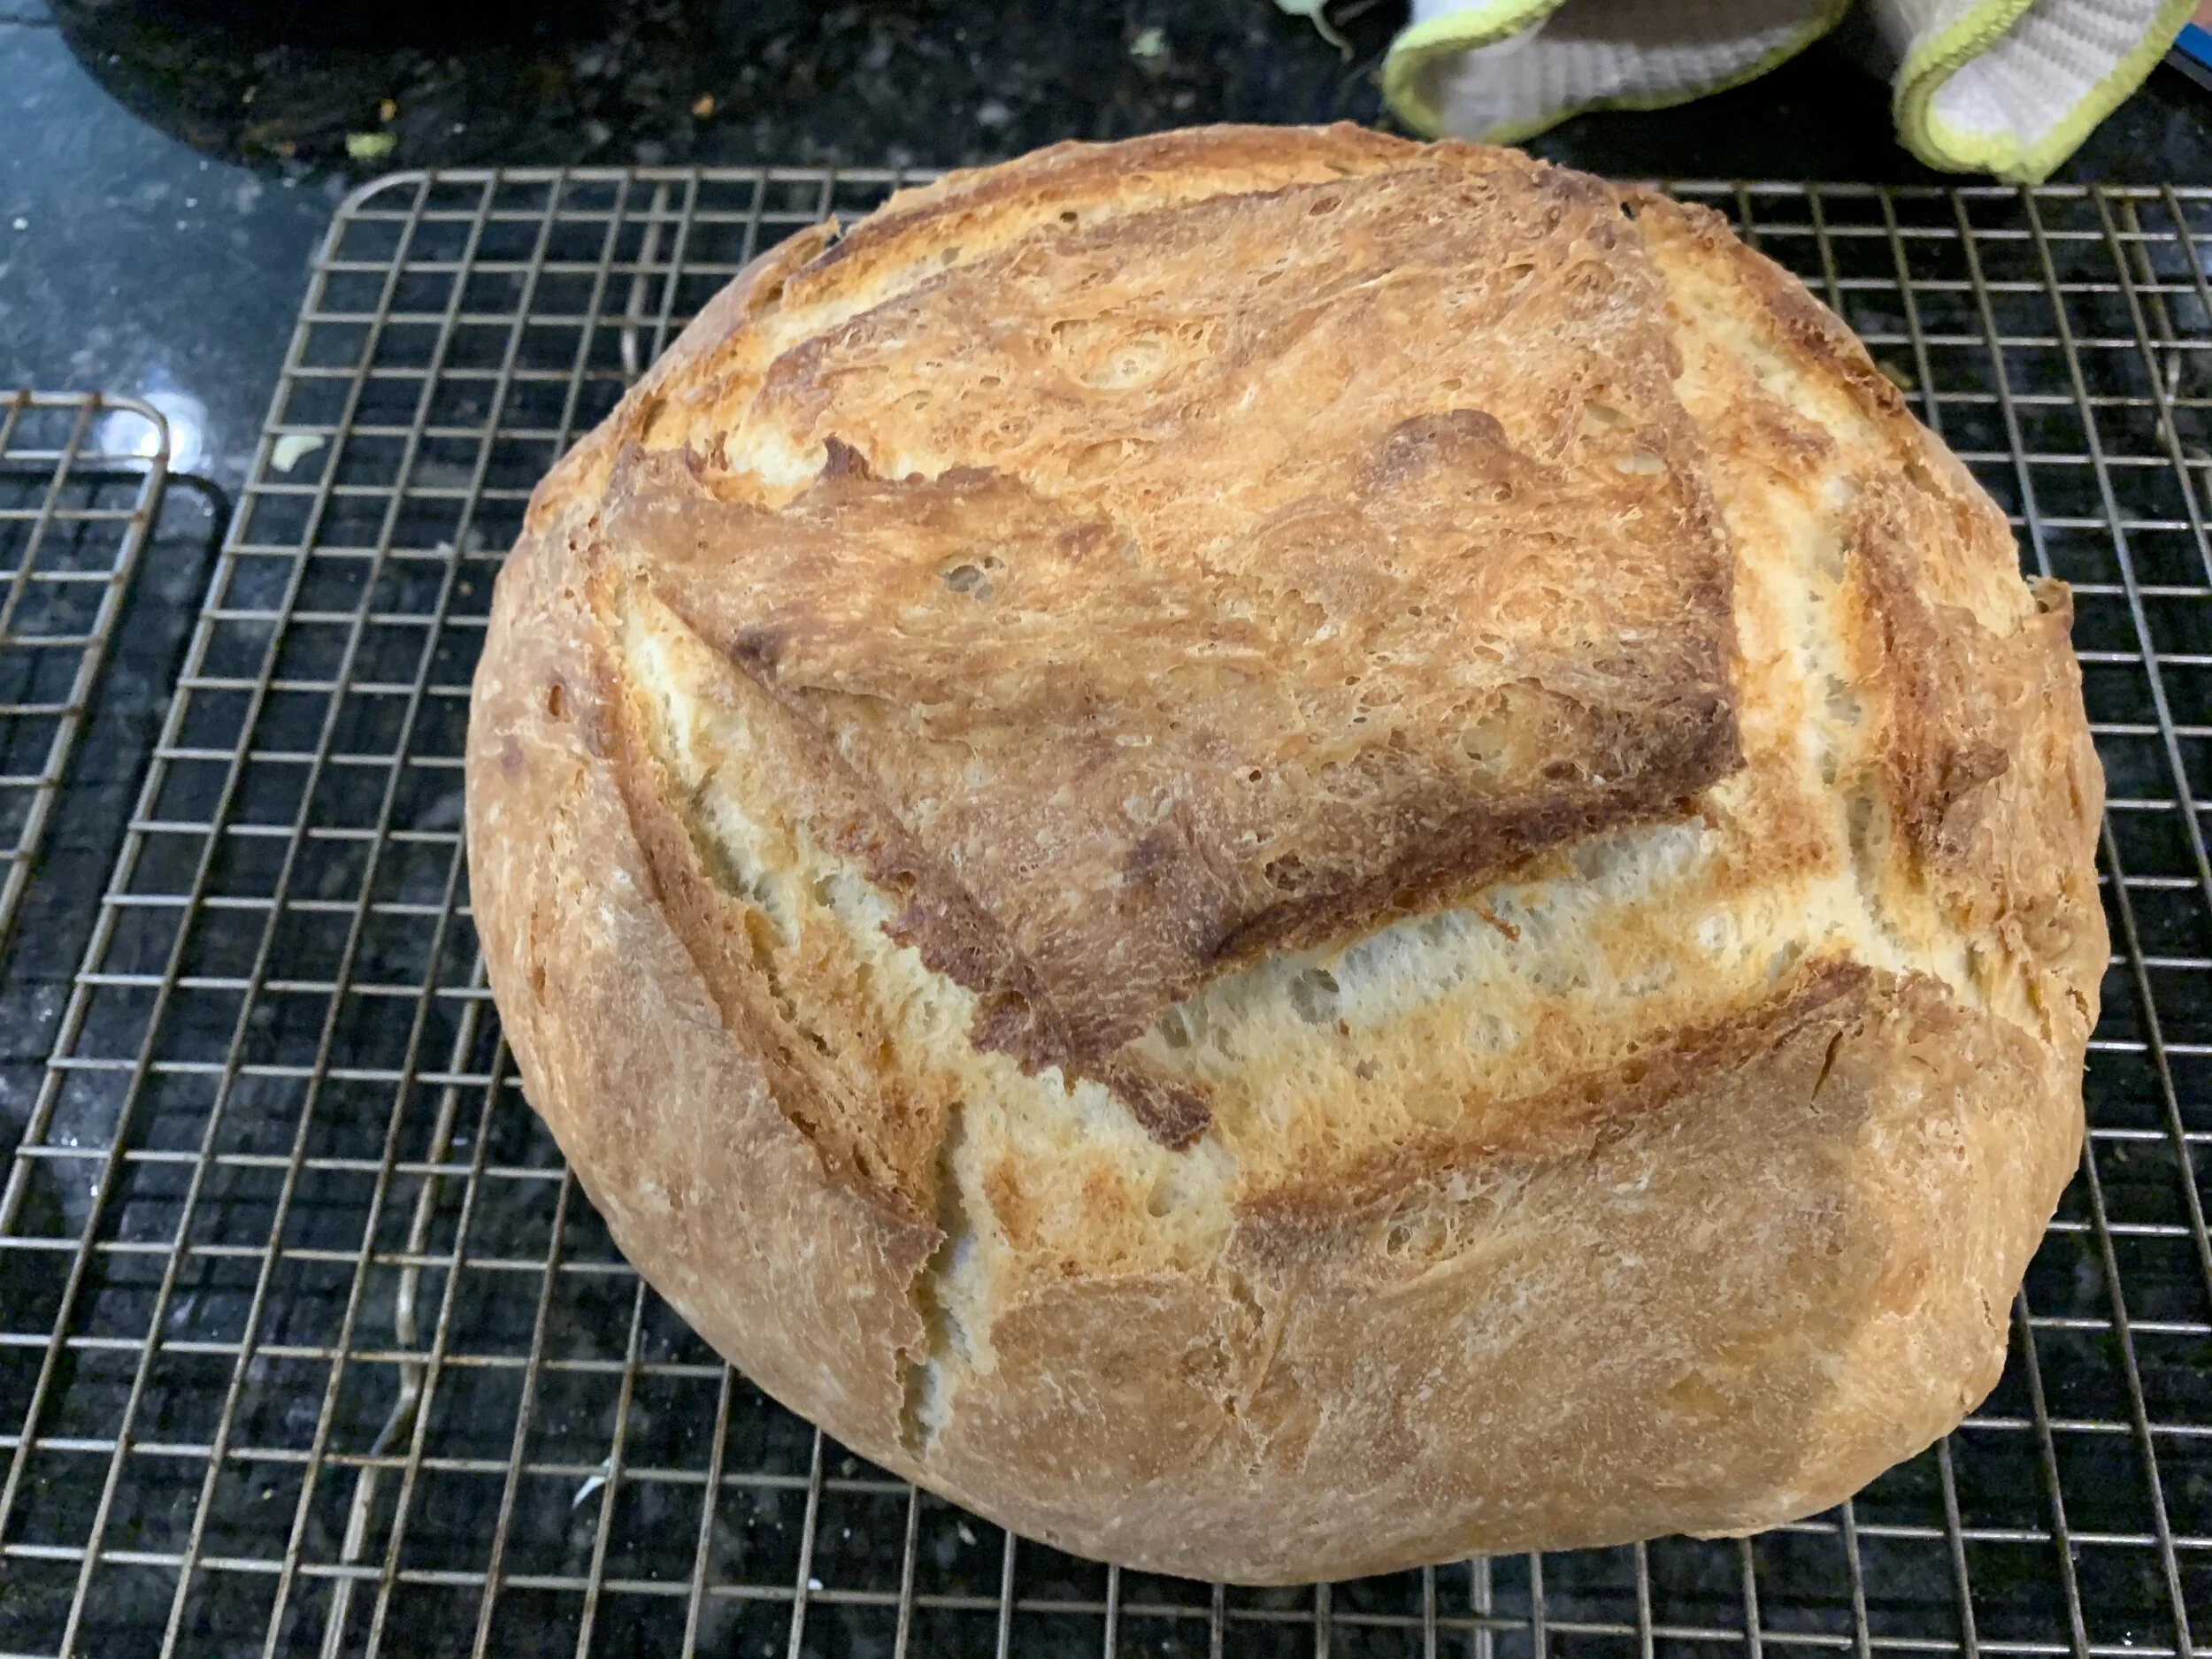
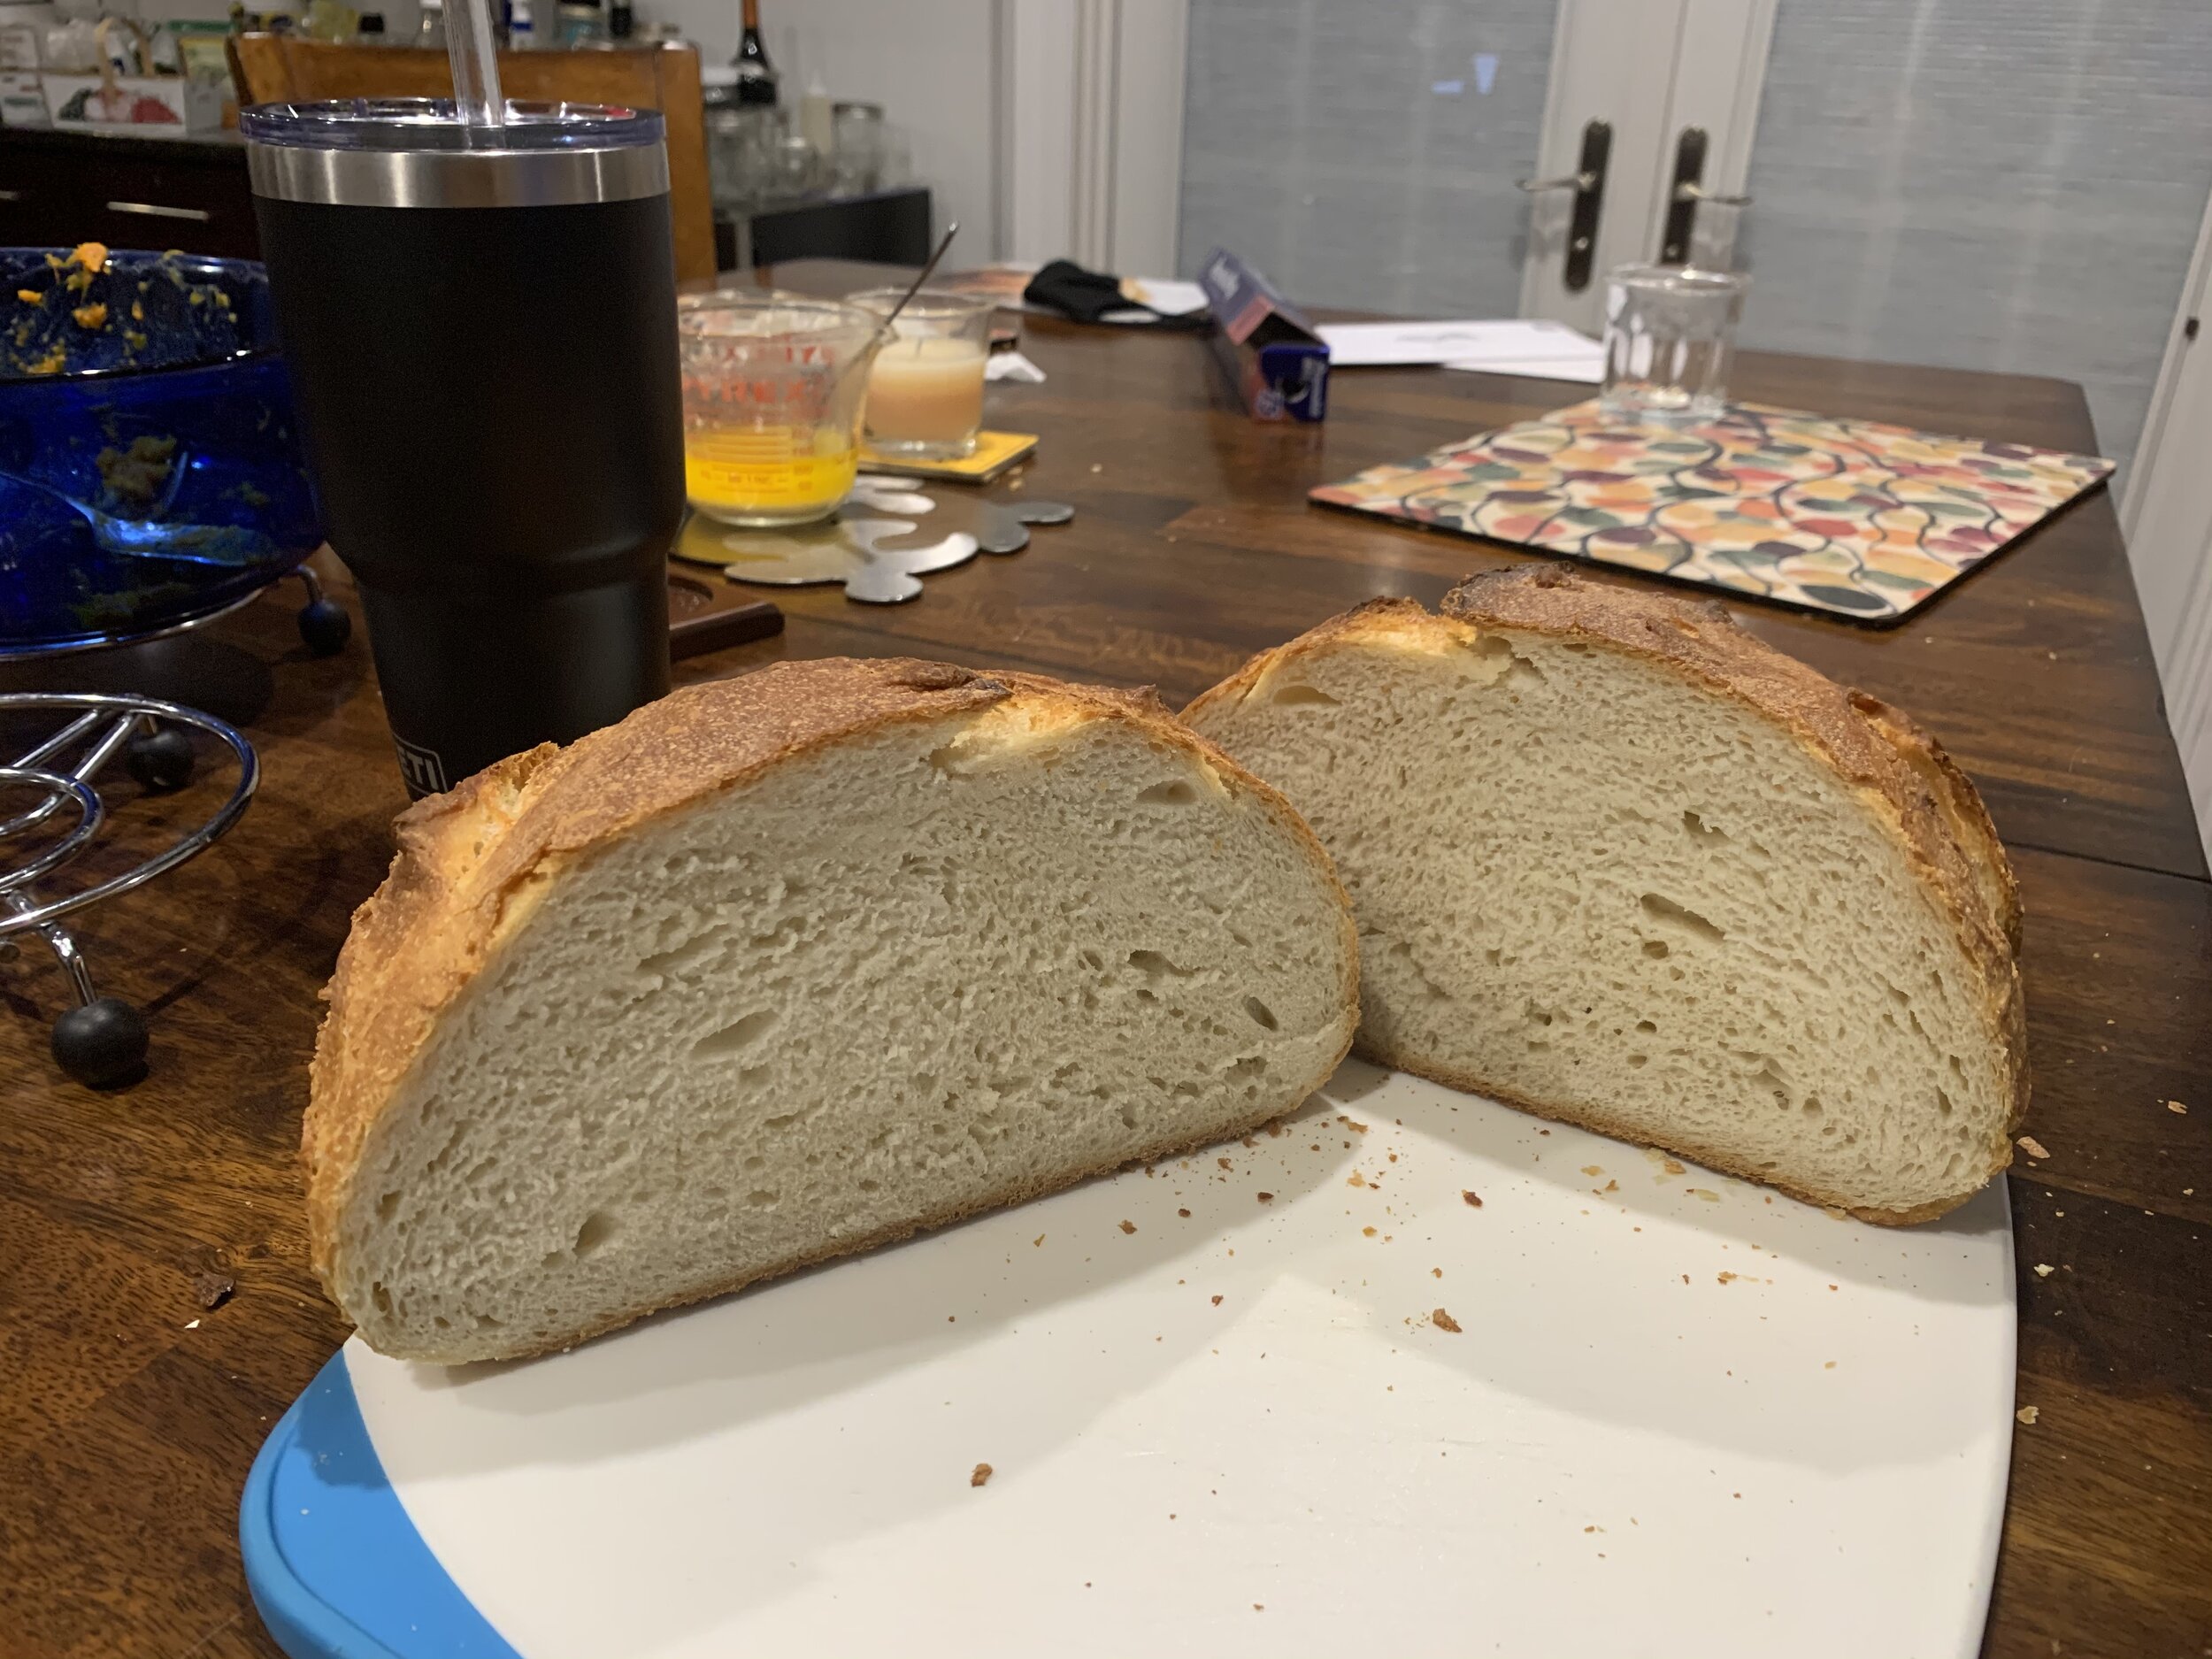
This is how it should look if the bread has risen and baked properly. It is chewy but soft boule with a crunchy crust.
Most important tip:
Do not get discouraged. It takes a while to get this bread right. Sometimes for me, it comes out wonky. That is all ok. It will taste great.
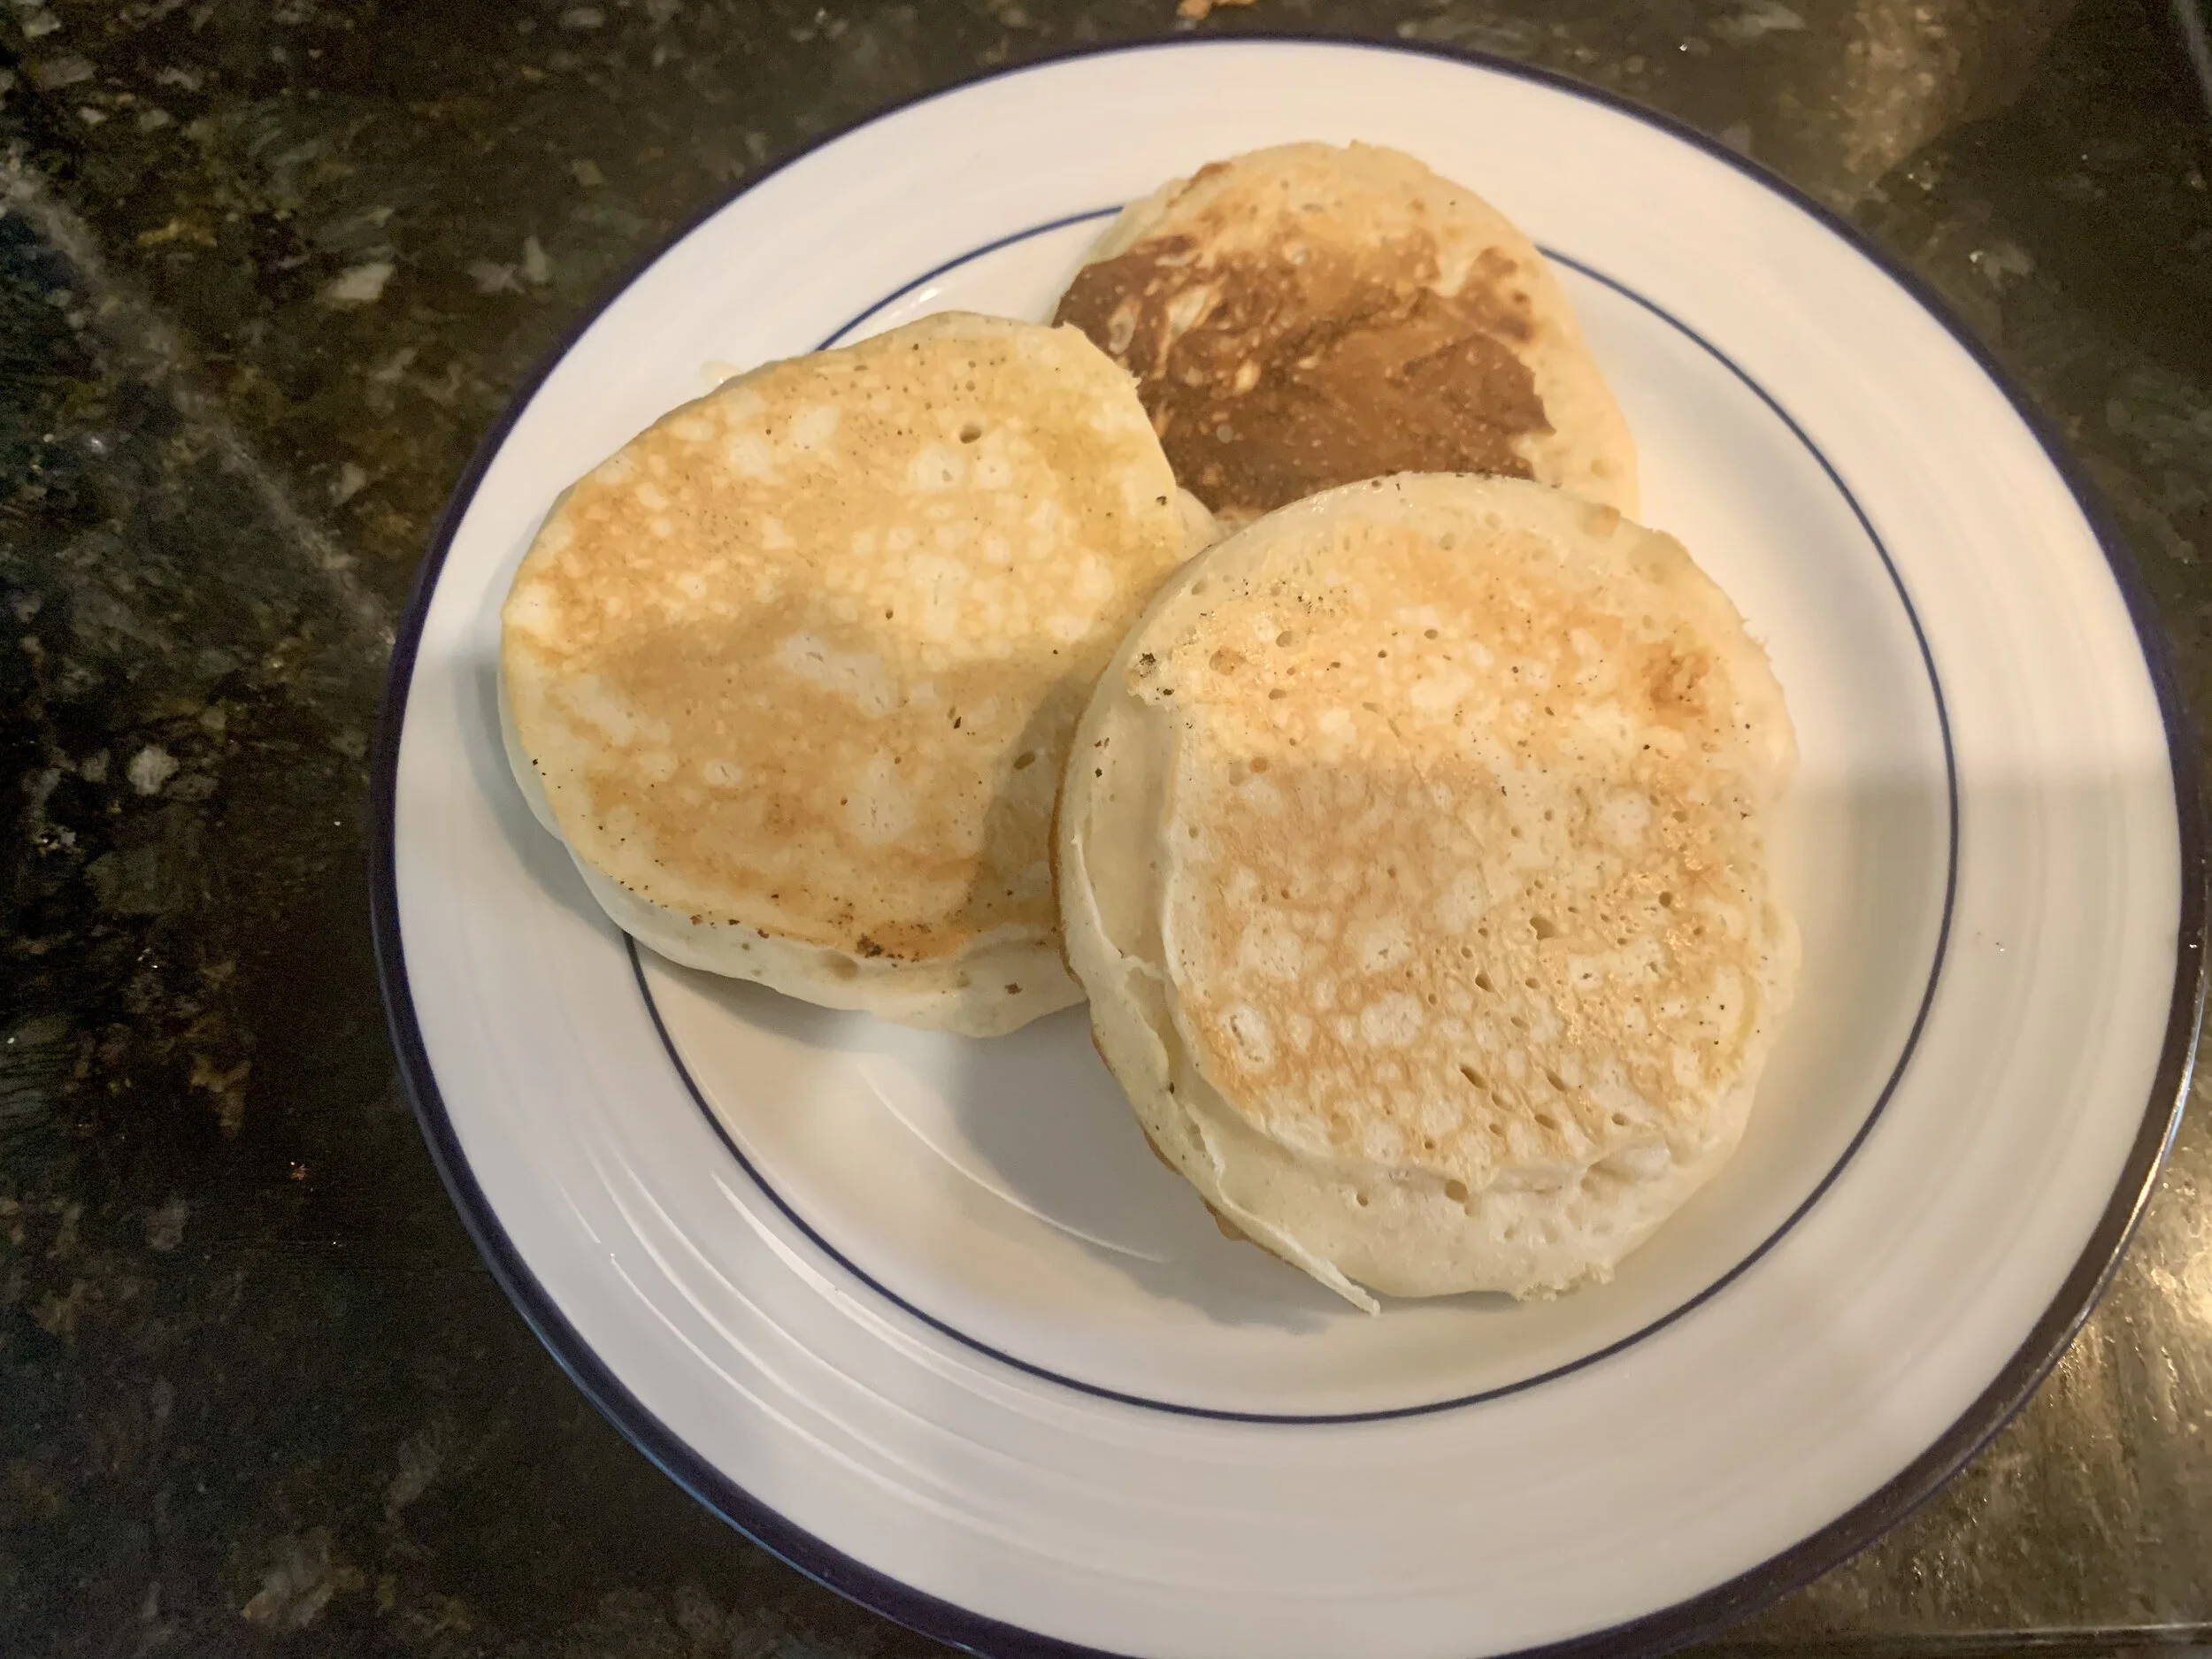
Failed Sourdough Bread! This bread was proofed too long in an oven that was too hot. The dough became to sticky so it turned of flat and dense once baked.
Final Thought:
This is fun bread to make because it is so versatile. I used many different types of bread flour, and it has always come out fantastic. ENJOY!
Three Day Sourdough Bread:
1 cup "fed" sourdough starter
1 1/2 cups lukewarm water
3 cups Unbleached All-Purpose Flour
2 cups of unbleached All-Purpose Flour or other flour.
1 tablespoon sugar
2 1/2 teaspoons salt
DIRECTIONS
Day one: Get starter out fridge. Leave on the counter.
Day two:: Feed the starter and let it sit for 4 hours or start to bubble. Then, take a cup of the fed starter, combine it with the water in a mixer bowl using the paddle attachment. Then add 3 cups of all-purpose flour. Beat vigorously for 1 minute.
Cover, and let rest at room temperature for 4 hours. Refrigerate overnight for about 12 hours.
Day Three: Add the remaining ingredients: 2 cups of flour, sugar, salt. Knead to form a smooth dough. This will be a stiff and dense dough.
This can take anywhere from 2 to 5 hours. This takes judgment; you looking for the dough to have puffed up some or doubled in size. Reshape it into a ball and return to a bowl cover and keep rising for 2-4 hours.
About 45 minutes before you are to bake. I like to use an enameled Dutch oven. Put the cold Dutch oven into the oven and preheat them together at 450F. When the dough has risen, take it out from the proofing area and score it in the bowl. Then transfer the dough to the Dutch oven. Cover and put it in the oven; bake for 45 minutes to an hour.
In 30 minutes, take the cover off and let bake for 15-30 minutes or until done. You can check by tapping the bottom of the bread to hear a hollow sound or check for an internal temperature of 208 F
Based on this recipe:

