Canning 101: The equipment
Nuts and Bolts:
Welcome to the wonderful world of canning! I have been canning for about ten years now. So I created three blogs of information and instruction that I wish someone would have done for me as a beginner. First, I would find the right canning book for recipes and reference.. I recommend Ball Complete Book of Home Preserving: 400 Delicious and Creative Recipes for Today. I use this book every time I can.
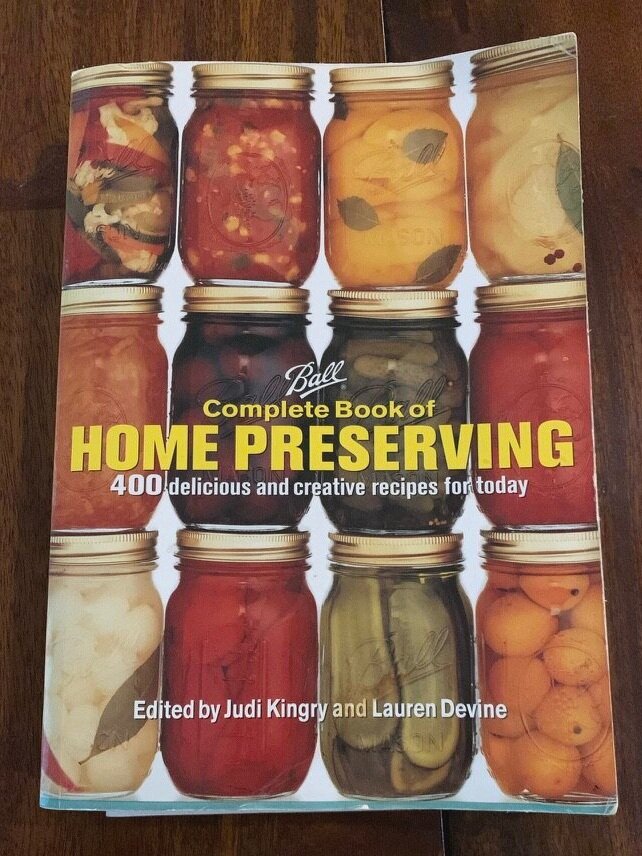
My worn copy of Ball Complete Book of Home Preserving: 400 Delicious and Creative Recipes for Today.
There are many others, but I would stay with Ball or USDA canning book. These books have tested recipes. A tested recipe means it is not only evaluated for taste and makeable but also for how safe it is to can. In other words, the recipe is balanced to be shelf-stable and have the correct process time to preserve the food. .Many canning books do not test for this, and we will be getting into that later in the blog.
My thoughts on Equipment:
I use Ball brand jars. There are others, but this is what I started with, so it is what I use. I like them, and they are easy for me to find.
There are two basic types of canners water bath and pressure.
Always exhaustively clean your equipment.
Canning equipment:
Ball Jars

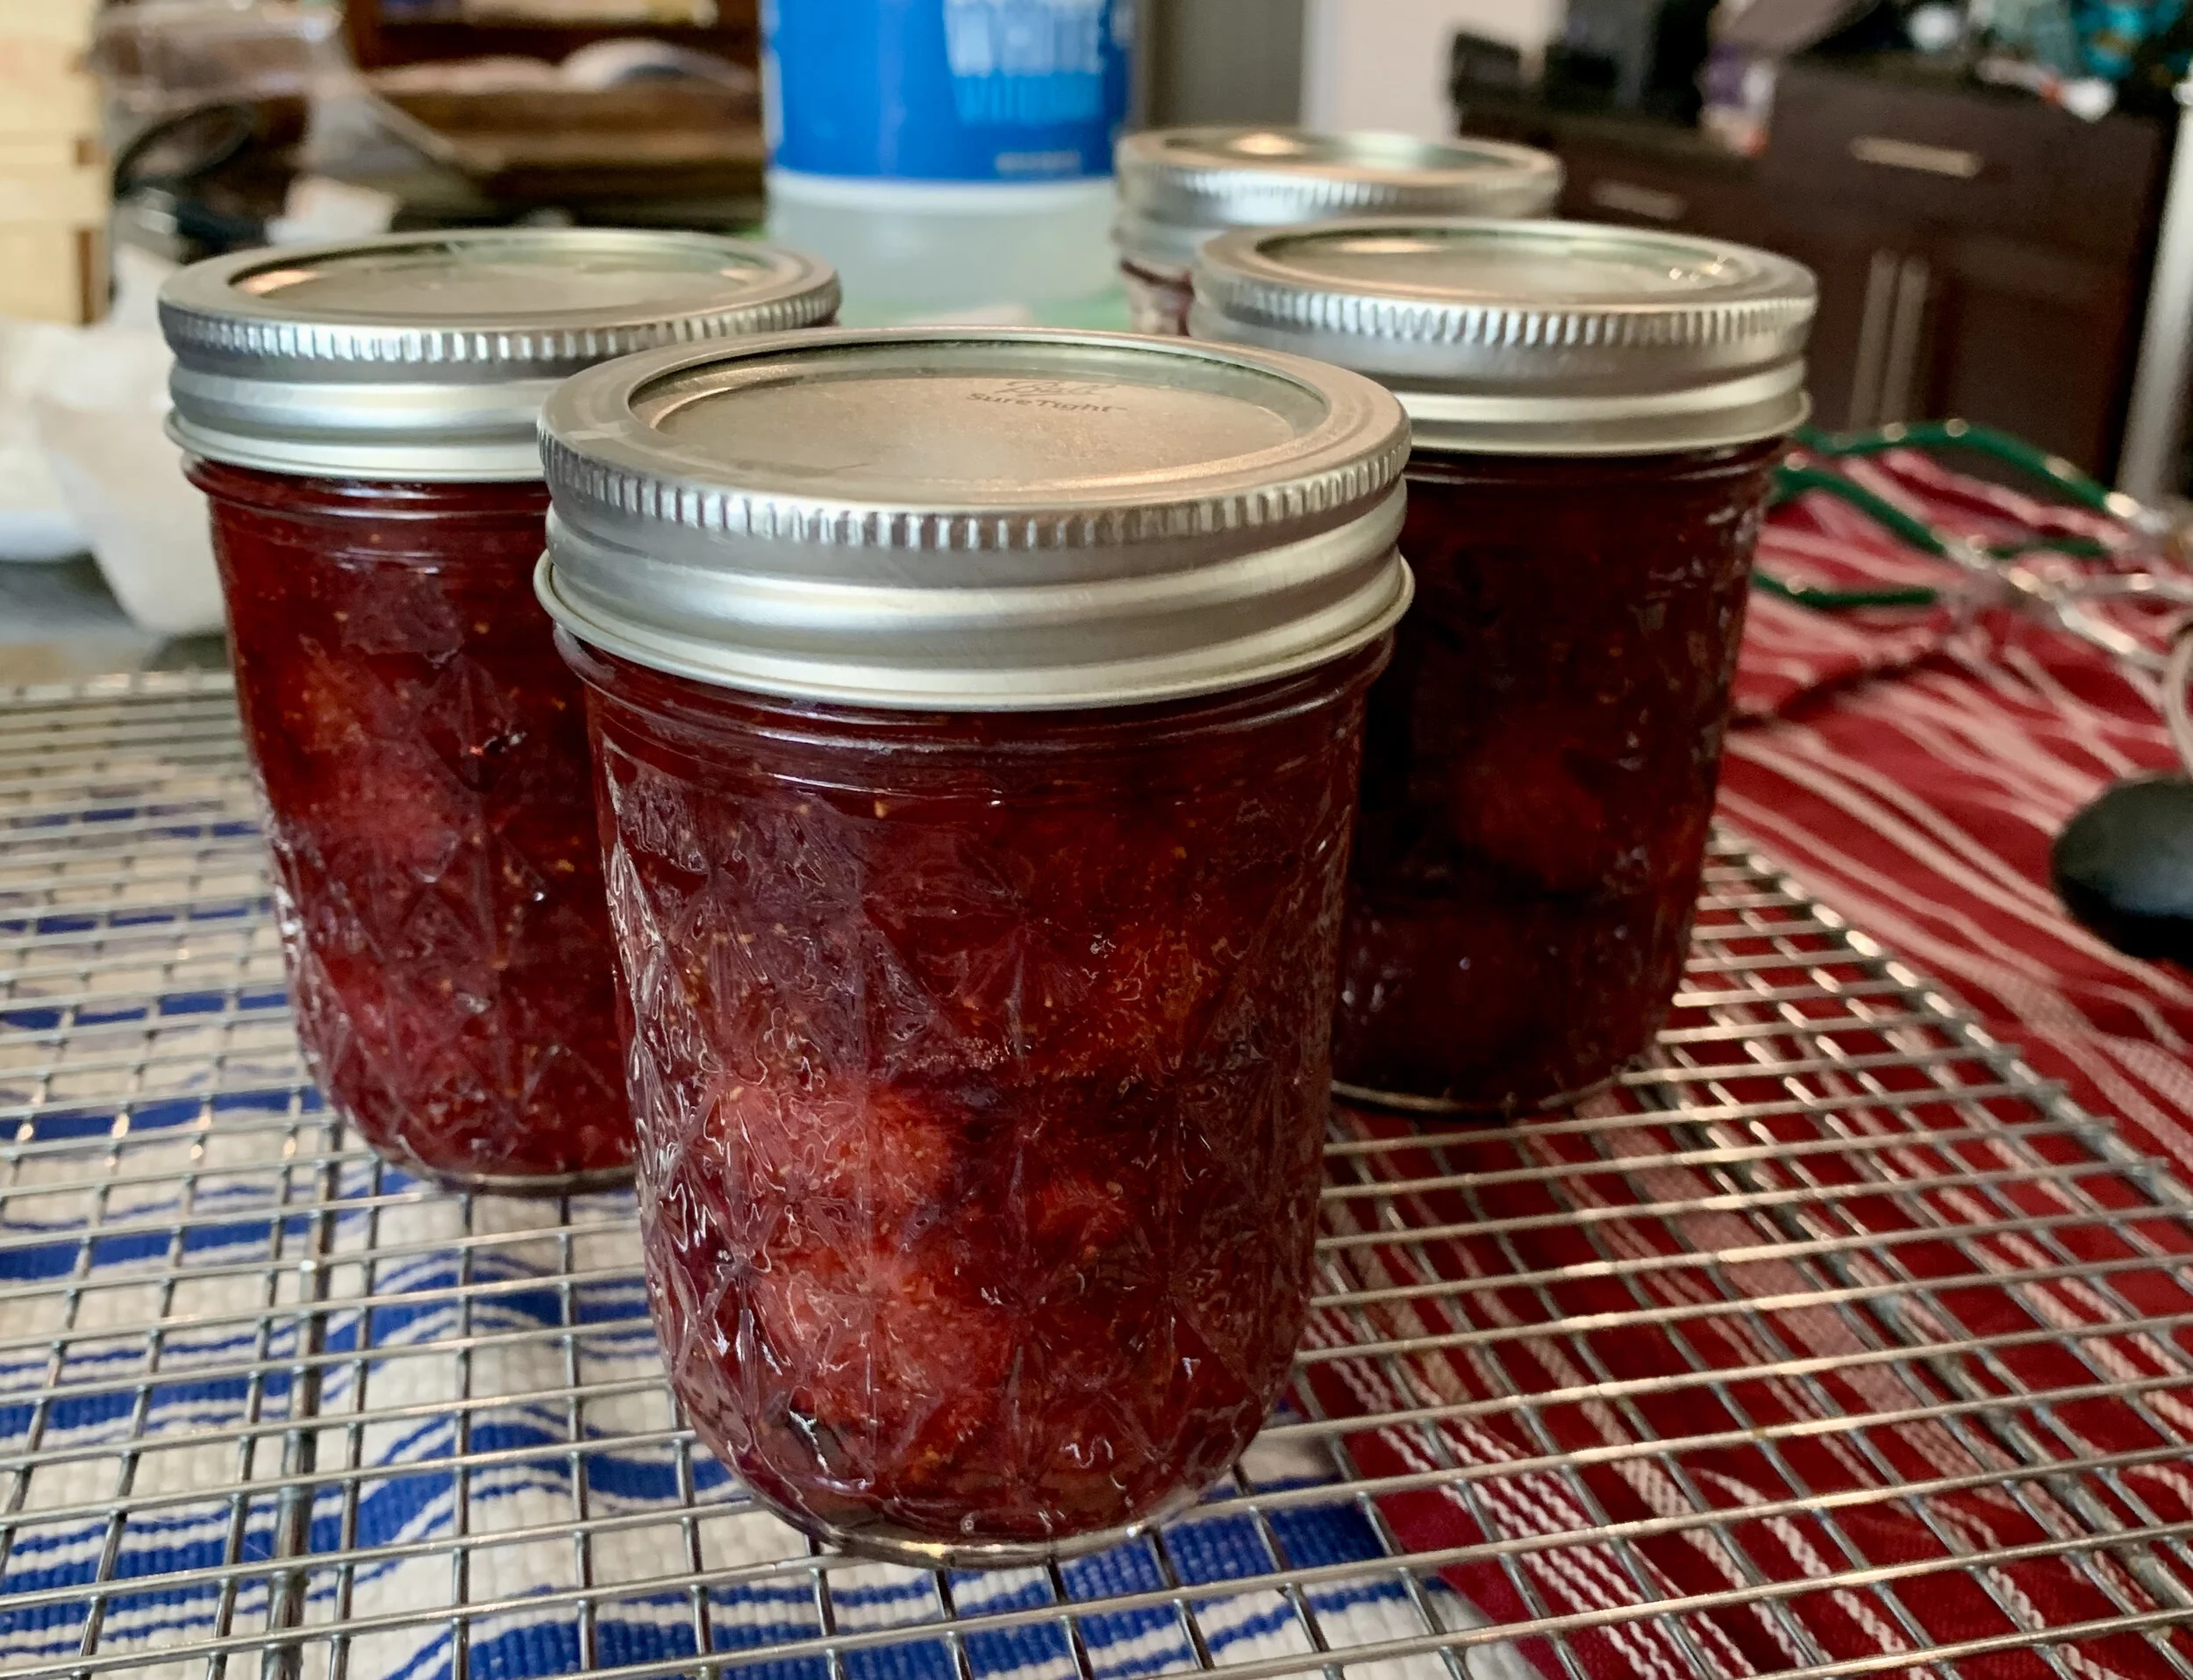
A filled Ball Jar with a lid, ring and Jar.
There are three parts to the Ball Jar. The jar, the ring, and the lid. This a two-part canning lid system. All recipes in my blog will use this system.
The mason jar is a glass container. Mason jars are made of annealed glass and not tempered glass. It means mason jars are susceptible to temperature shock and cannot handle dry heat. Mason jars should not be put in the oven. They can be used in the microwave with care. Since they are made of annealed glass, they can easily break, chip, and crack. So, no matter the jar’s age, I always check to see if the jar is in good shape.

Mason jar sizes from left to right: 1/4 pint, 1/2 pint, pint, and quart.
Mason jars come in many sizes. The four sizes I use are 1/4pint, 1/2pint, pint, and quart jars. The size of the jar determines the processing times, no matter the canning method you are using. A good rule of thumb for process times is that smaller jars can always be processed at larger jar process times, but not the reverse. Processing time is determined by how long it takes the food in the jars to heat all the way through.

Ball Lids.
It is important to note that the mouths of the jars come in two sizes: regular and wide. I use both mouth style jars in my kitchen. It does not make a big difference in the lid/mouth size you choose. Lids are the part that seals the food into the jars. The lids are made of steel and have a plastic resin coating around the sides. The top of the lid has a small button or dome. Do not press that button/dome. That is an indicator that the lid is good to use for canning, and if the dome is up that means the lid is good for canning.
Rings are used to hold the lids down. They screw into the ridges of the jar. Rings can be reused again but must be discarded when they rust or get mold on them.

These are rings that are few years old and they have rust stains of them.
Important tip: There is a big divide in the canning world if rings are safe to keep on jars when storing filled jars. You do not need the ring on the jar after it is sealed. The reason not to leave the rings on is that rust and mold can get on the jar's outer part. Also, it can hide a false seal. Yet neither Ball nor the National Food Center for Home Preservation has come out to say which way is better. I do both. However, before I open a jar or give away a jar, I always clean the glass. I throw out rings that are too rusted and moldy. All of my canned jars cannot be opened by hand. They need a bottle opener. If it can be opened by hand, I throw it out. But you can decide what you want to do in your mess.
2. The Utensils

Left to right: rings, ladle, spoon, chopstick, bubble tool, lid wand, jar lifter, funnel, paper towels, and a bowl of vinegar.
These are pretty straightforward. I use a ladle, jar lifter, chopstick, magnetic wand, Canning Bubble Popper/Measurer, canning funnel, .and a spoon.
Most of these are intuitively obvious. Then canning funnel, ladle, and spoon are for filling the jars. The lid wand is for getting the lids out of the water. I use a canning lid rack, which keeps the lids separated, preventing me from adding two lids to a jar. Finally, the Canning Bubble Popper and Measure is for getting out the air bubbles, and the ridged part is for measuring headspace. The chopstick is used for air bubbles as well.
3. Canners

Left to right: Water Bath Canner, Electric Canner, and Pressure canner.
There are two types of canning methods that use two different kinds of canners.
The water bath canner, a large pot that can be used to boil several quarts of water. This can be any pot, but there needs to be a rack. The jars cannot touch the bottom of the pot. It should have a cover since caning requires a closed pot when processing jars.
A pressure canner is different because this pot is specially designed for canning. It is also more complicated and had several different parts. There are two types of pressure canners on the market today. One is made by Presto, which I do not use. Their parts are different. I have an All American Pressure Canner, which has a pressure gauge and weight. There is a rack to keep jars off the bottom.
There are electric canners, and this is my new favorite canner! I would recommend this one for a beginner. The Presto Precise Digital Pressure Canner. It has a USDA stamp of approval to be safe for pressure canning. It is the only one that has this distinction. ( Sorry, instant pots have the feature, but it is not deemed safe. So I will not take the risk.) This pot does water bath canning as well.
So this is the basic equipment you will need for the different types of canning,
Cleaning and sterling for canning

Washing utensils before I start canning.
My number one rule in canning is to keep it clean. When I start canning, my first job is to clean every area of the kitchen I will be working. The most important area to clean is the sink. Then, I like to use a basin to clean all of the jars and equipment. Cleaning jars is when I look for chips, cracks, or residual food. I decide if a jar is trash or needs to get rewashed. Then I clean all utensils, rings, and other equipment you need to load jars. Many people like to sterilize their equipment, and that is great. You can put them in a canner with jars once they start to boil, or put them in a heat-safe bowl and pour some of the boiling water over them.
Canning Risk Factor:
I do not sterilize my utensils. It is a step I am not sure is necessary if you get them as clean as possible. Many people feel better when they do this. I think that it gives a false sense of safety. If you sterilize a dirty utensil, it will still be dirty. But it does not hurt at all to do it.
Next, I clean the lids. You want to wash the lids in warm but not hot water. Never sterilize lids. This is because the resin will melt, and your jars will not seal. Set them in the lid separator or a pot with water and place them on the stove.
Most important tip: Do not let the lids get too hot, or they will not seal. You just need to get the resin soft to help with sealing, but it will not seal if it's too hot.
For the final item, you will need Distilled Vinegar.
Canning takes a lot of water, and if your household water is hard like my home, you can get scaling on your jars. The first time I canned in my house, I found a white powdery scale on the jars. It was gross, and I freaked out. Then I discover that if you put in a couple of tablespoons of distilled vinegar in the canning water, you can avoid the scaling. Also, I use to wipe down the tops of jars before I put lids on. So now I buy this stuff by the gallon.
Now you know your equipment and cleaning procedure, let’s can in your mess!