Canning 102: Water Bath canning
Canning 102: Water Bath canning
Nuts and Bolts:
Water bath or boiling water canning is the most common canning method; it is the easiest of the two ways. This method is to be used for high acid foods. Some examples of high acid foods are jams, jellies, whole fruit, and tomato sauces. This is true with any canning jar brand you use. I use the Ball jars, and all the recipes will have process times and procedures are for this brand. Also, I live at sea level; if you live above or below sea level, your process times will be different. If this applies to you, please check the National Center for Home Preservation for process times.
My Thoughts on water bath canning:
1. Water bath canning is a skill that takes practice. The more you do it, the easier the process becomes.
2. Sometimes, you do not get a seal. It is ok. I have gone months, and all of my jars have sealed, and then I have one batch that does not go right. One jar just does not want to seal, So I reprocess it or store it in the fridge.
3. Recipes do not always yield the amount you expect. Sometimes you get more and sometimes less. It takes practice. Stay calm while canning in your mess.
Method:
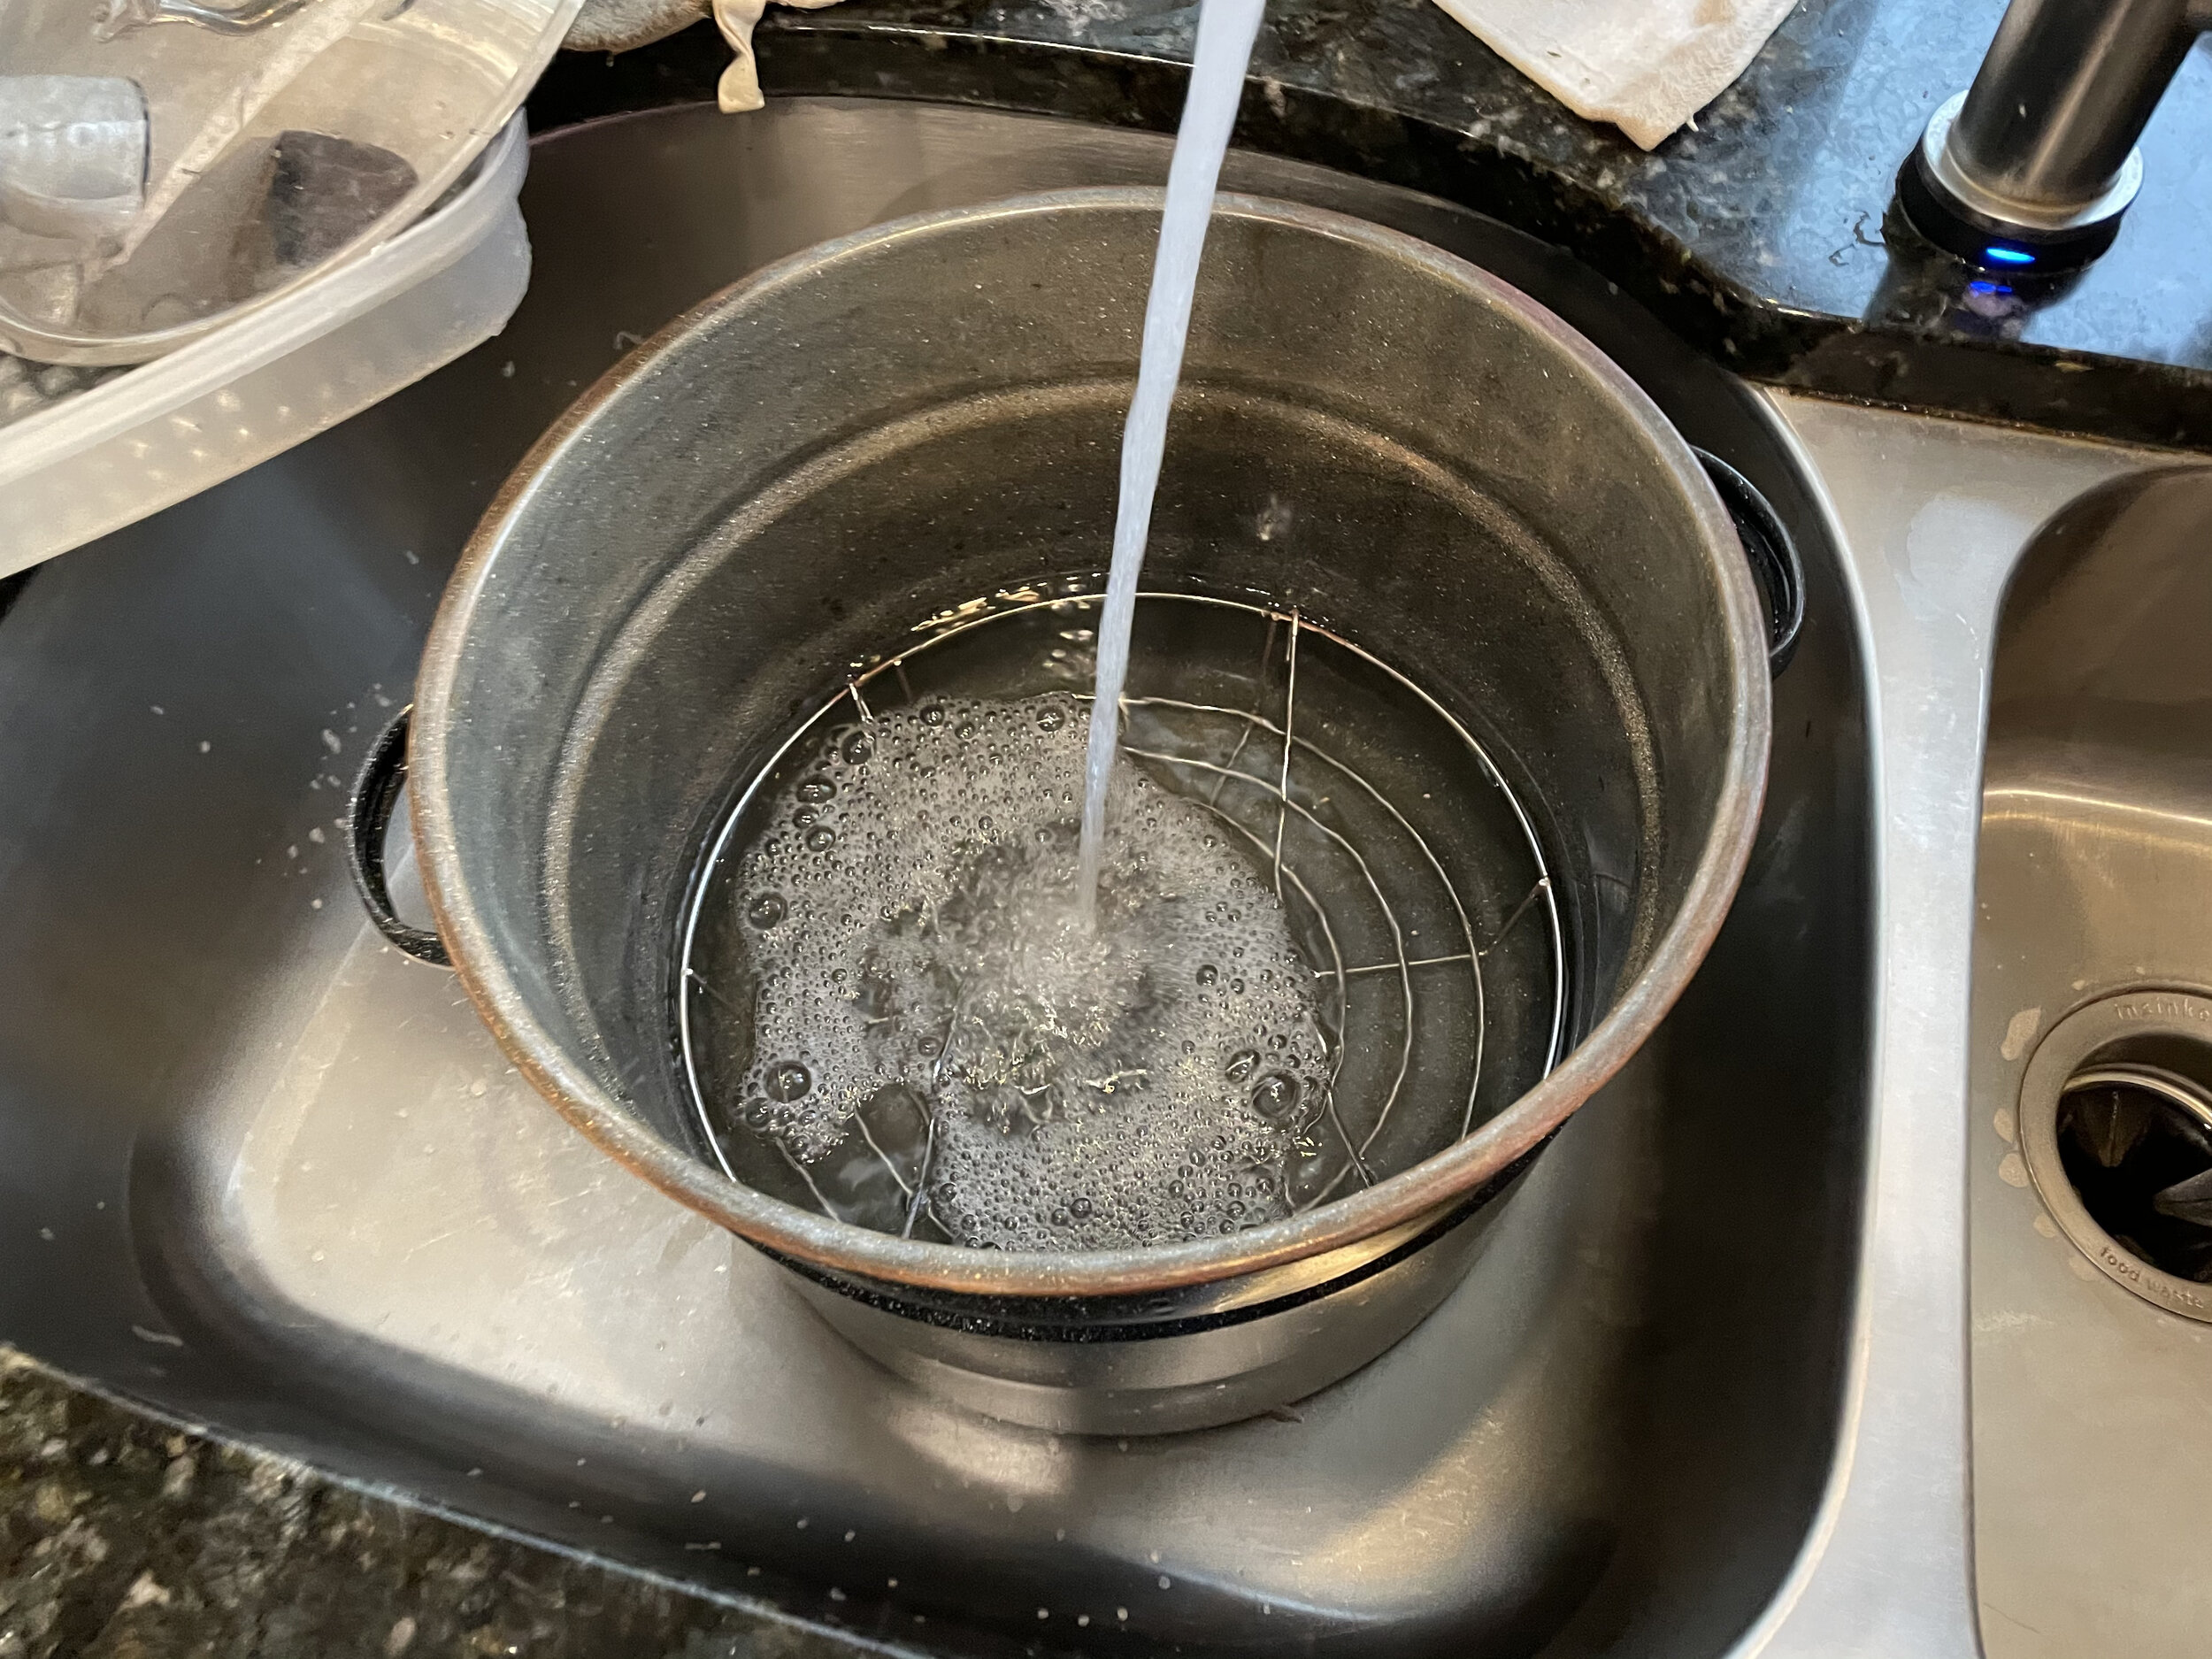
Filling a water bath canner with rack with water.
I start by making sure a rack is on the bottom of my canner, and then I fill it with water and a couple of tablespoons of distilled vinegar. I fill with water to the level I think will cover the empty jars. The water level can be adjusted before you start to heat the canner. First, I clean the jars. Inspect the jars for dirt, chips, or abnormalities with the glass. Then I load them in the canner.
Important tip: If you are new to canning and you just bought a new package of jars., You might think you can skip washing the new jars. I want you to know that you cannot skip this step because; the jars will have a chemical smell that needs to be cleaned out. The jars can be chipped or broken, so they need to be inspected. The most infuriating part of getting new jars is lid failure. Most stores do not take care of the new jar packages because they do not understand how delicate lids can be. Also, summertime heat can destroy lids if they are not stored properly. So, when you take a lid off a new jar and hear a pop, just throw it out and get a new lid.
Loading the canner is easy. If you are using a canner on the stove, you'd want the jars to be fully submerged in water about an inch over the jars. You want to get it to boil and once it's boiling, turn it down to a simmer. ( If you are using the Presto Electric Canner, fill water to line and fill the jars 1/2 way and follow the canner's instruction prompts.)
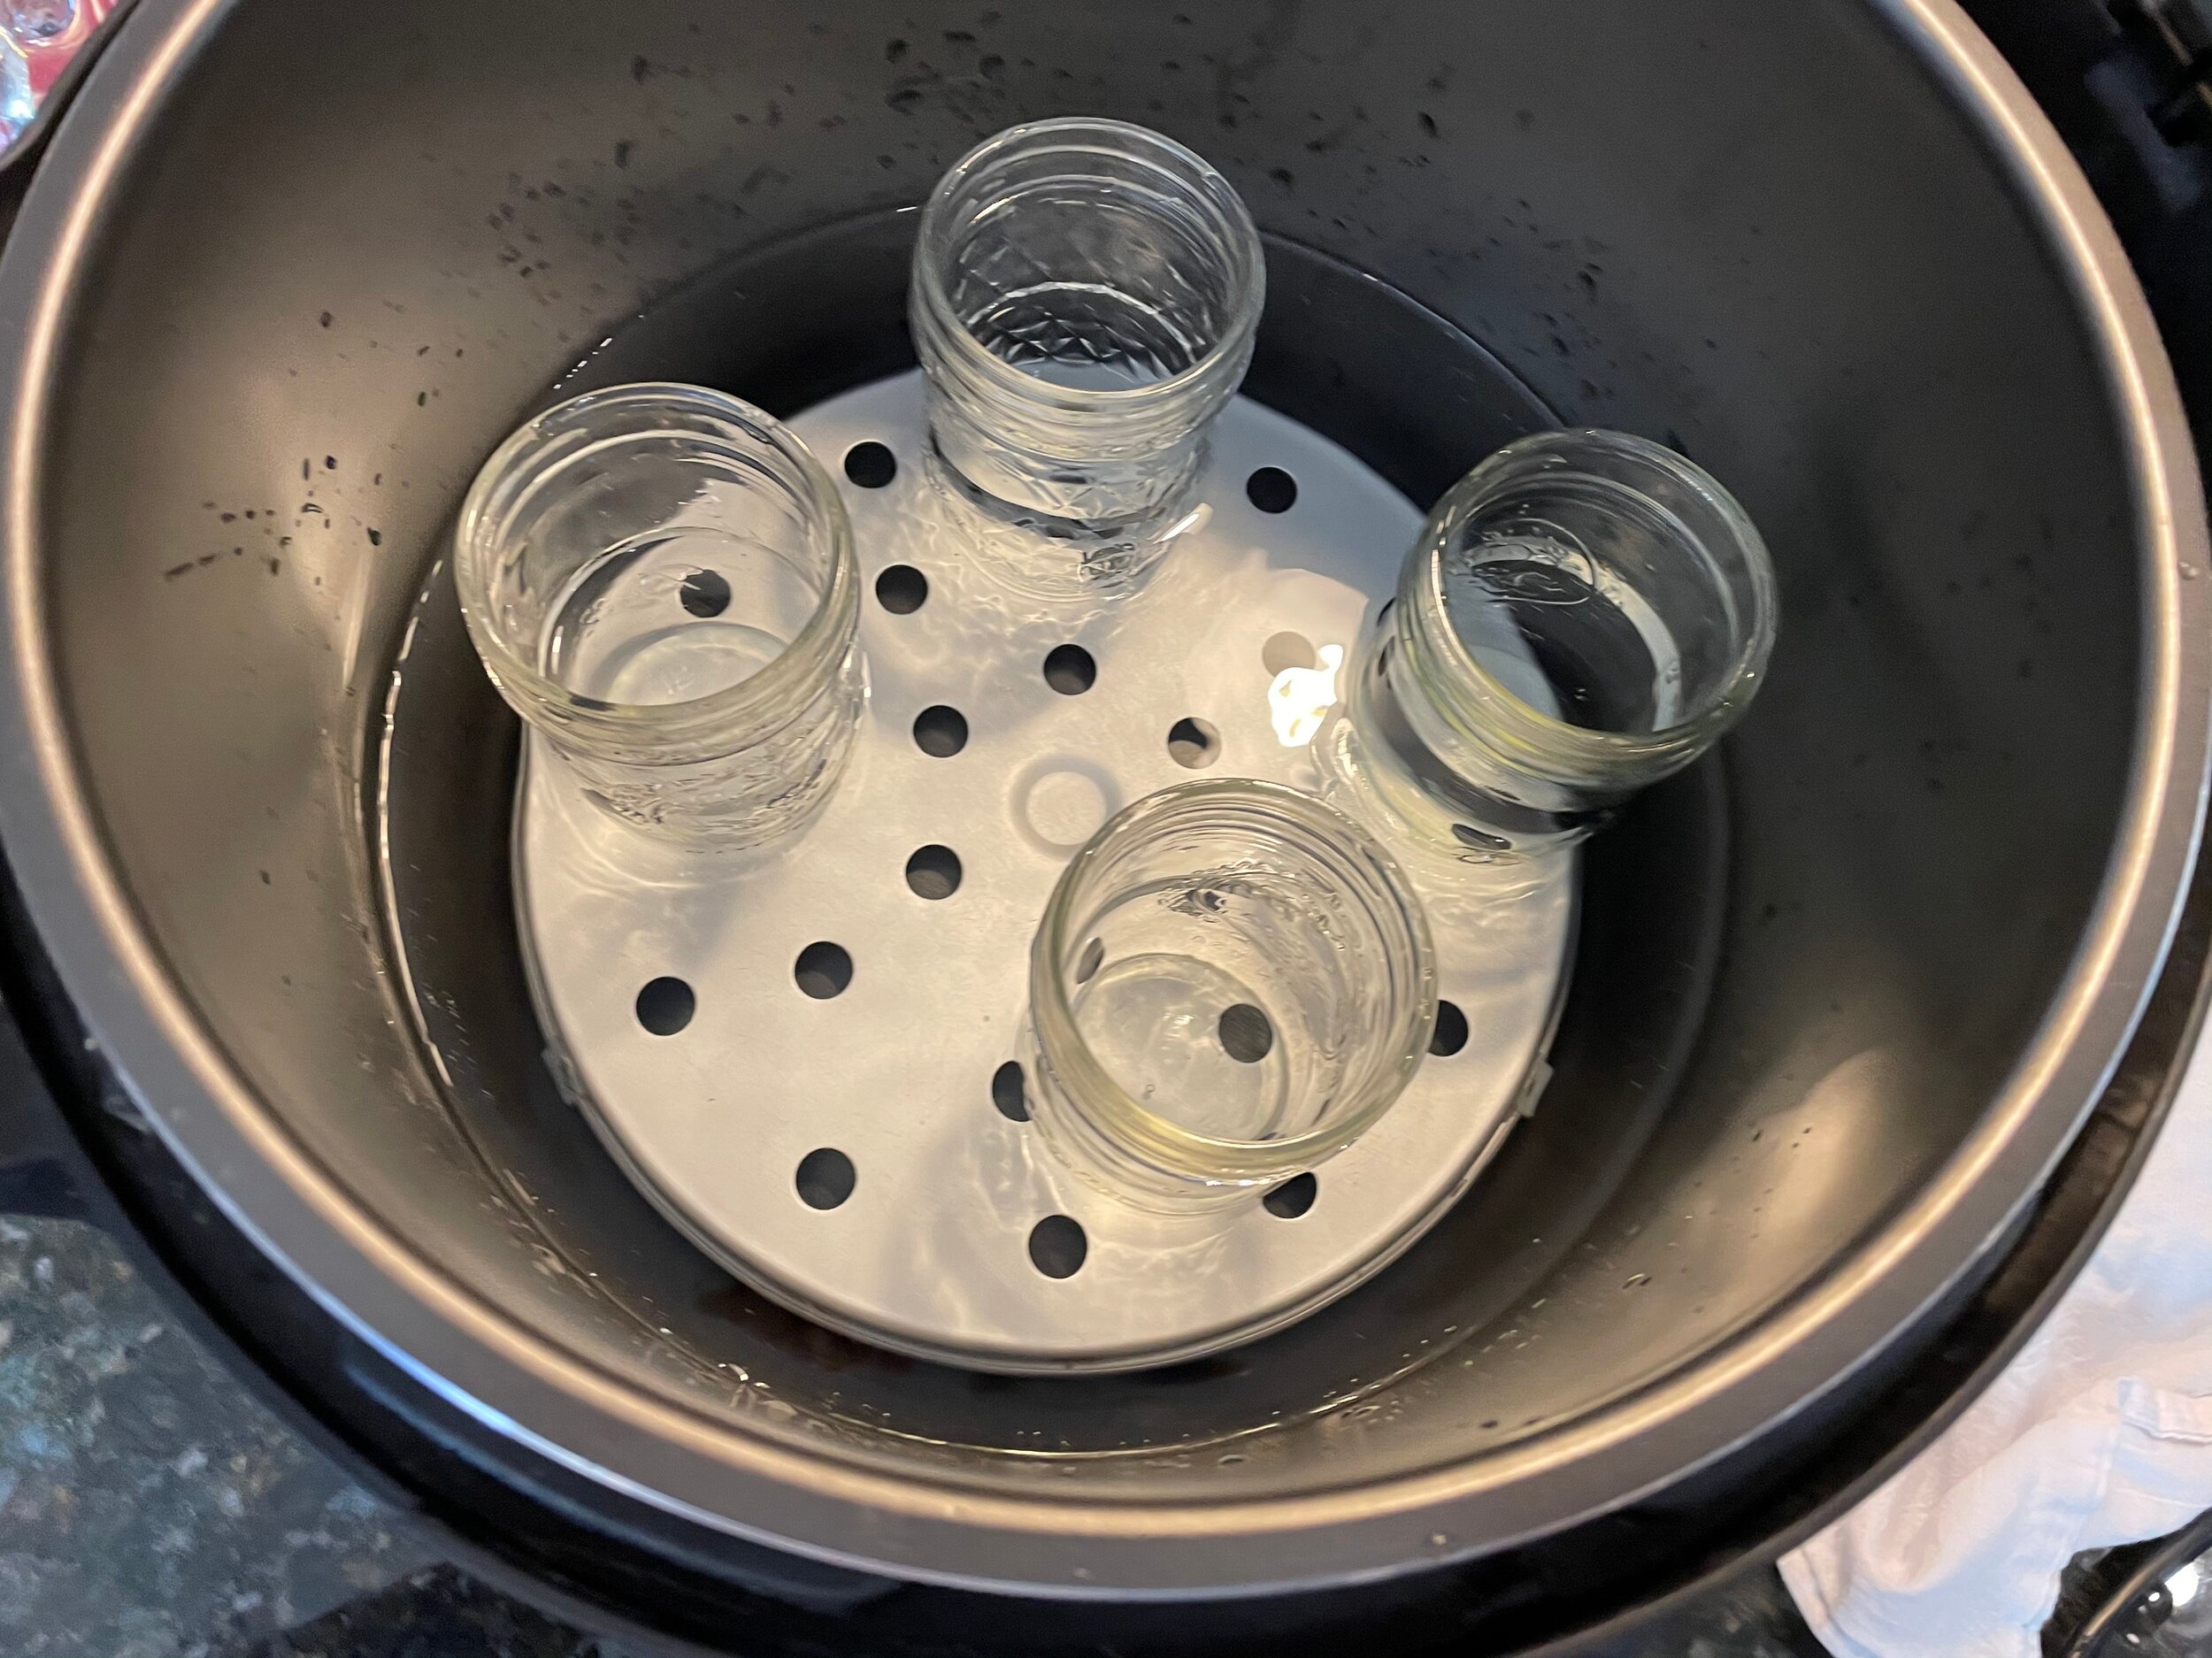
Placing jars in electric canner to warm before starting the recipe.
New Canner tip here: I recommend the electric canner for a new canner. It helps prompts you to remember all the steps. It keeps the temperature even and is super easy to use. The only downside is that it can only do small batches.
Then I clean all my utensils, rings, and lids. I use a clean cutting board as my “clean board.” This gives me an extra sense of safety here; I like to cover my utensils with a clean towel to keep dirt off of them. My kitchen is open for the rest of the family to use, so I cover the utensils, so they do not mess with them.
Next, I start making the recipe for the food I am preserving. While the recipe is cooking, I warm my lids on low heat for about 10-15 minutes. Also, I will boil an extra kettle of water in case of evaporation in the canner. (For the electric canner, you need the hot water to cover the cans after you load them.)
After the recipe is prepared, I get my tools and my clean board ready. I fill up the jars to the correct headspace. Then I use a chopstick or bubble popping tool to get the air bubbles out. Afterward, I recheck to make sure the headspace is correct. When measuring headspace, you can either use a ruler to measure or the bubble tool. Also, the jar itself is good; the ridges on the side of the jar helps. You measure from the top of the jar to the line, which is about an inch. Measuring headspace is a judgment call, which can be difficult if the food you are canning is thick. I like to use the ridges as guides and use the bubble tool to see the measurement. DO NOT FILL JARS TO THE TOP.

From Left to right: A 1/4 inch headspace in 1/2 pint jar, a 1/2 inch headspace in a pint jar, and an inch of headspace in a quart jar.
MOST Important tip: Headspace is important in canning. Headspace is defined as the amount of space from the lid to the food in the jar. This is to help the lid seal. The lid needs space to depress into the jar. Also, the food needs space to expand while it is processing. Also, bubbles in the jar affect headspace and can cause jars not to seal. Insufficient headspace can cause siphoning, which can cause the jar not to seal or the food not to be shelf-stable.
There are two common ways of filling jars. One is to fill all the jars at once and then put the lids on the jar. I am not a fan of that method because I think it will cool the jars too quickly. I prefer using the other way, which is filling my jars one by one. Once filled, clean the rim with a damp paper towel. I make little squares of paper towels and have a small bowl of vinegar or water to wipe the jar's top clean to ensure a good seal. You do not want any food or other material that would block the resin from sealing the jar. Then put the lid and the ring on the jar and tighten. Do not tighten the ring too much. It is just holding the lid in place. Load your canner and when all of the jars are in the canner, make sure there are two inches of water over the cans. Then cover the canner. (For the electric canner, I use the hot water from the kettle to add to the canner to cover the jars.)

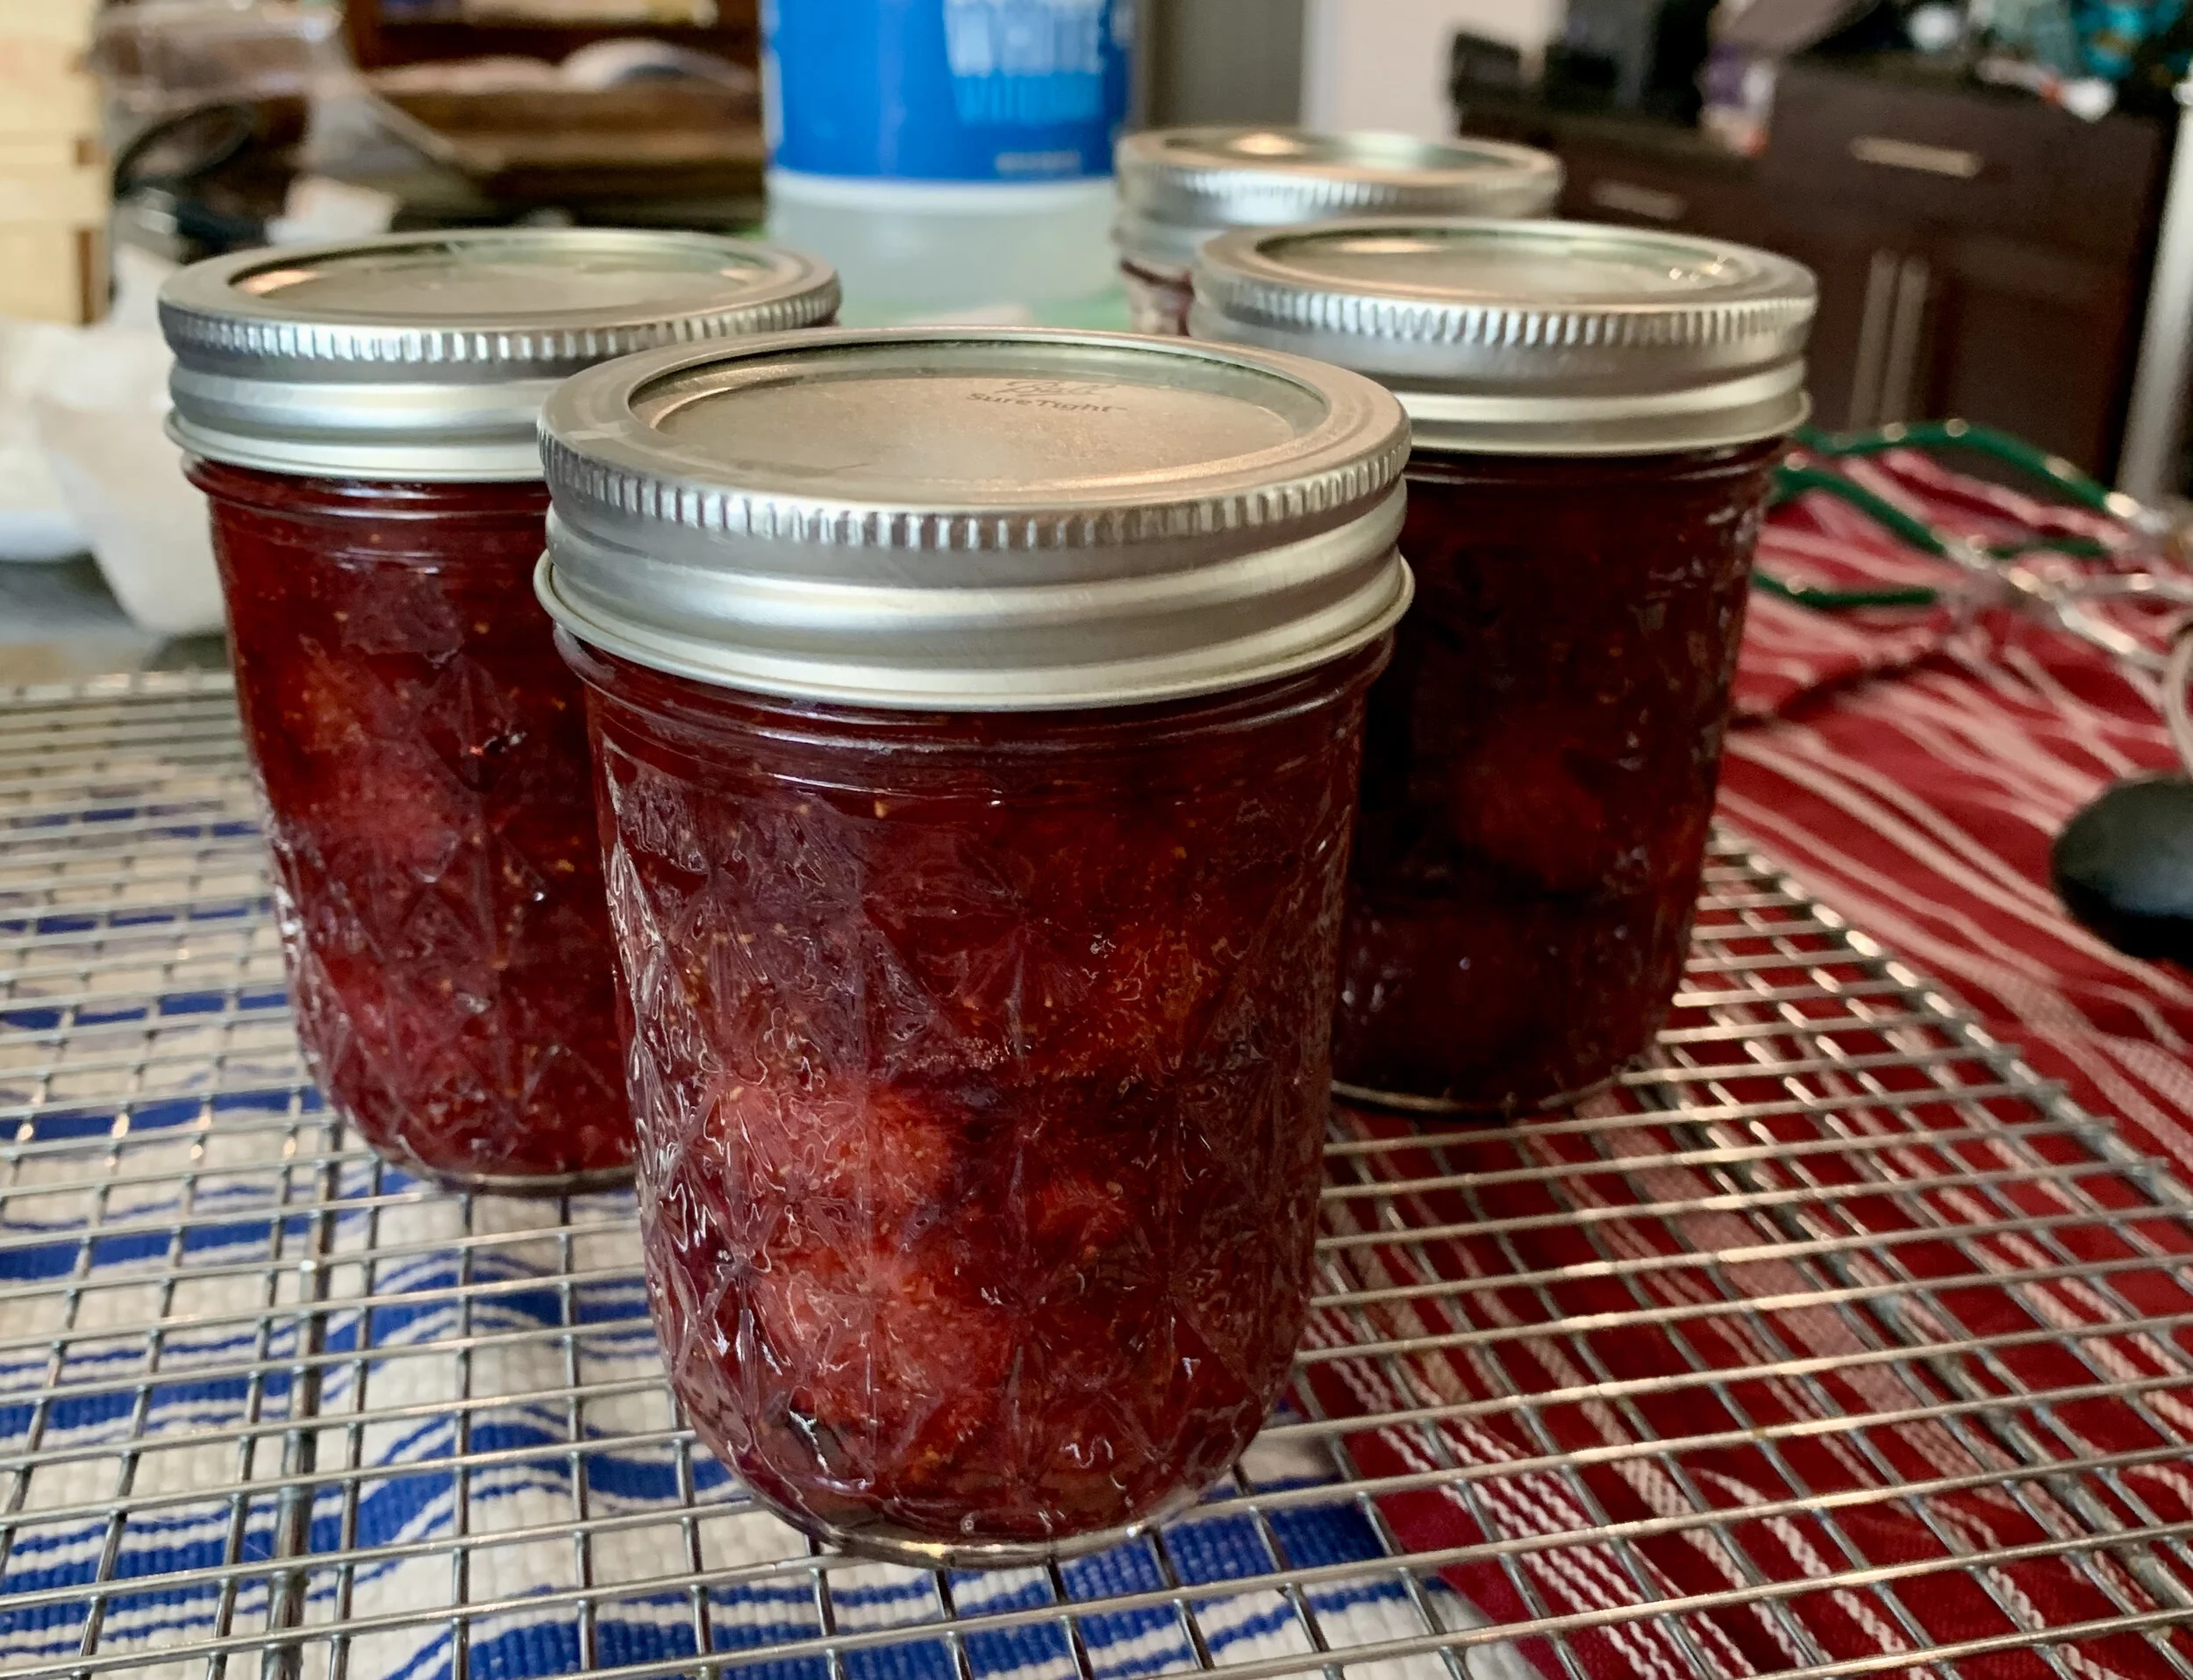
Filling a jar of cranberry sauce.
Important tip: Have a kettle with hot water on the stove when your process times are long. Water will evaporate, and there will not be two inches of water covering the jars.
Bring the cover canner to a rolling boil. Once at the boiling point, start your timer for the processing time. Check on the canner during the processing time to ensure it is still boiling, not boiling over, or have enough water to cover the jars. Once your process time is done, turn the heat off your canner and remove the lid. Leave the jars in the water for 5 minutes to cool. This is an important step; you do not want to temperature shock your jars. Once they are cooled for five minutes, place the jars on a towel or cooling rack. My rig is a cooling rack over a towel. When I started canning, my husband did not like the idea of putting them on a towel because he feared they might fall. So I have used a cooling rack ever since. As long as they are not directly on a counter, the jars will be fine.
Then you wait for the ping sound. If you hear the ping, that means your jar is sealed. For a person who is canning, it the best sound in the world. The ping sound means that button or dome has depressed into the jar which means it has sealed. You will get a ping sound for most jars when they seal. Sometimes there may not be a ping sound, but it is sealed. Those are fine. If the dome is not depressed, it did not seal. I wait for a couple of hours to determine if it has sealed. However, it is better that you wait 12 hours; I have no patience. After 12 hours, you can check the seal by removing the ring and gently pulling on the lids. If they do not slip off, they are sealed. You can label them and store them. Do not stack filled jars directly on top of each other because doing that can cause the seal on the lid to fail.
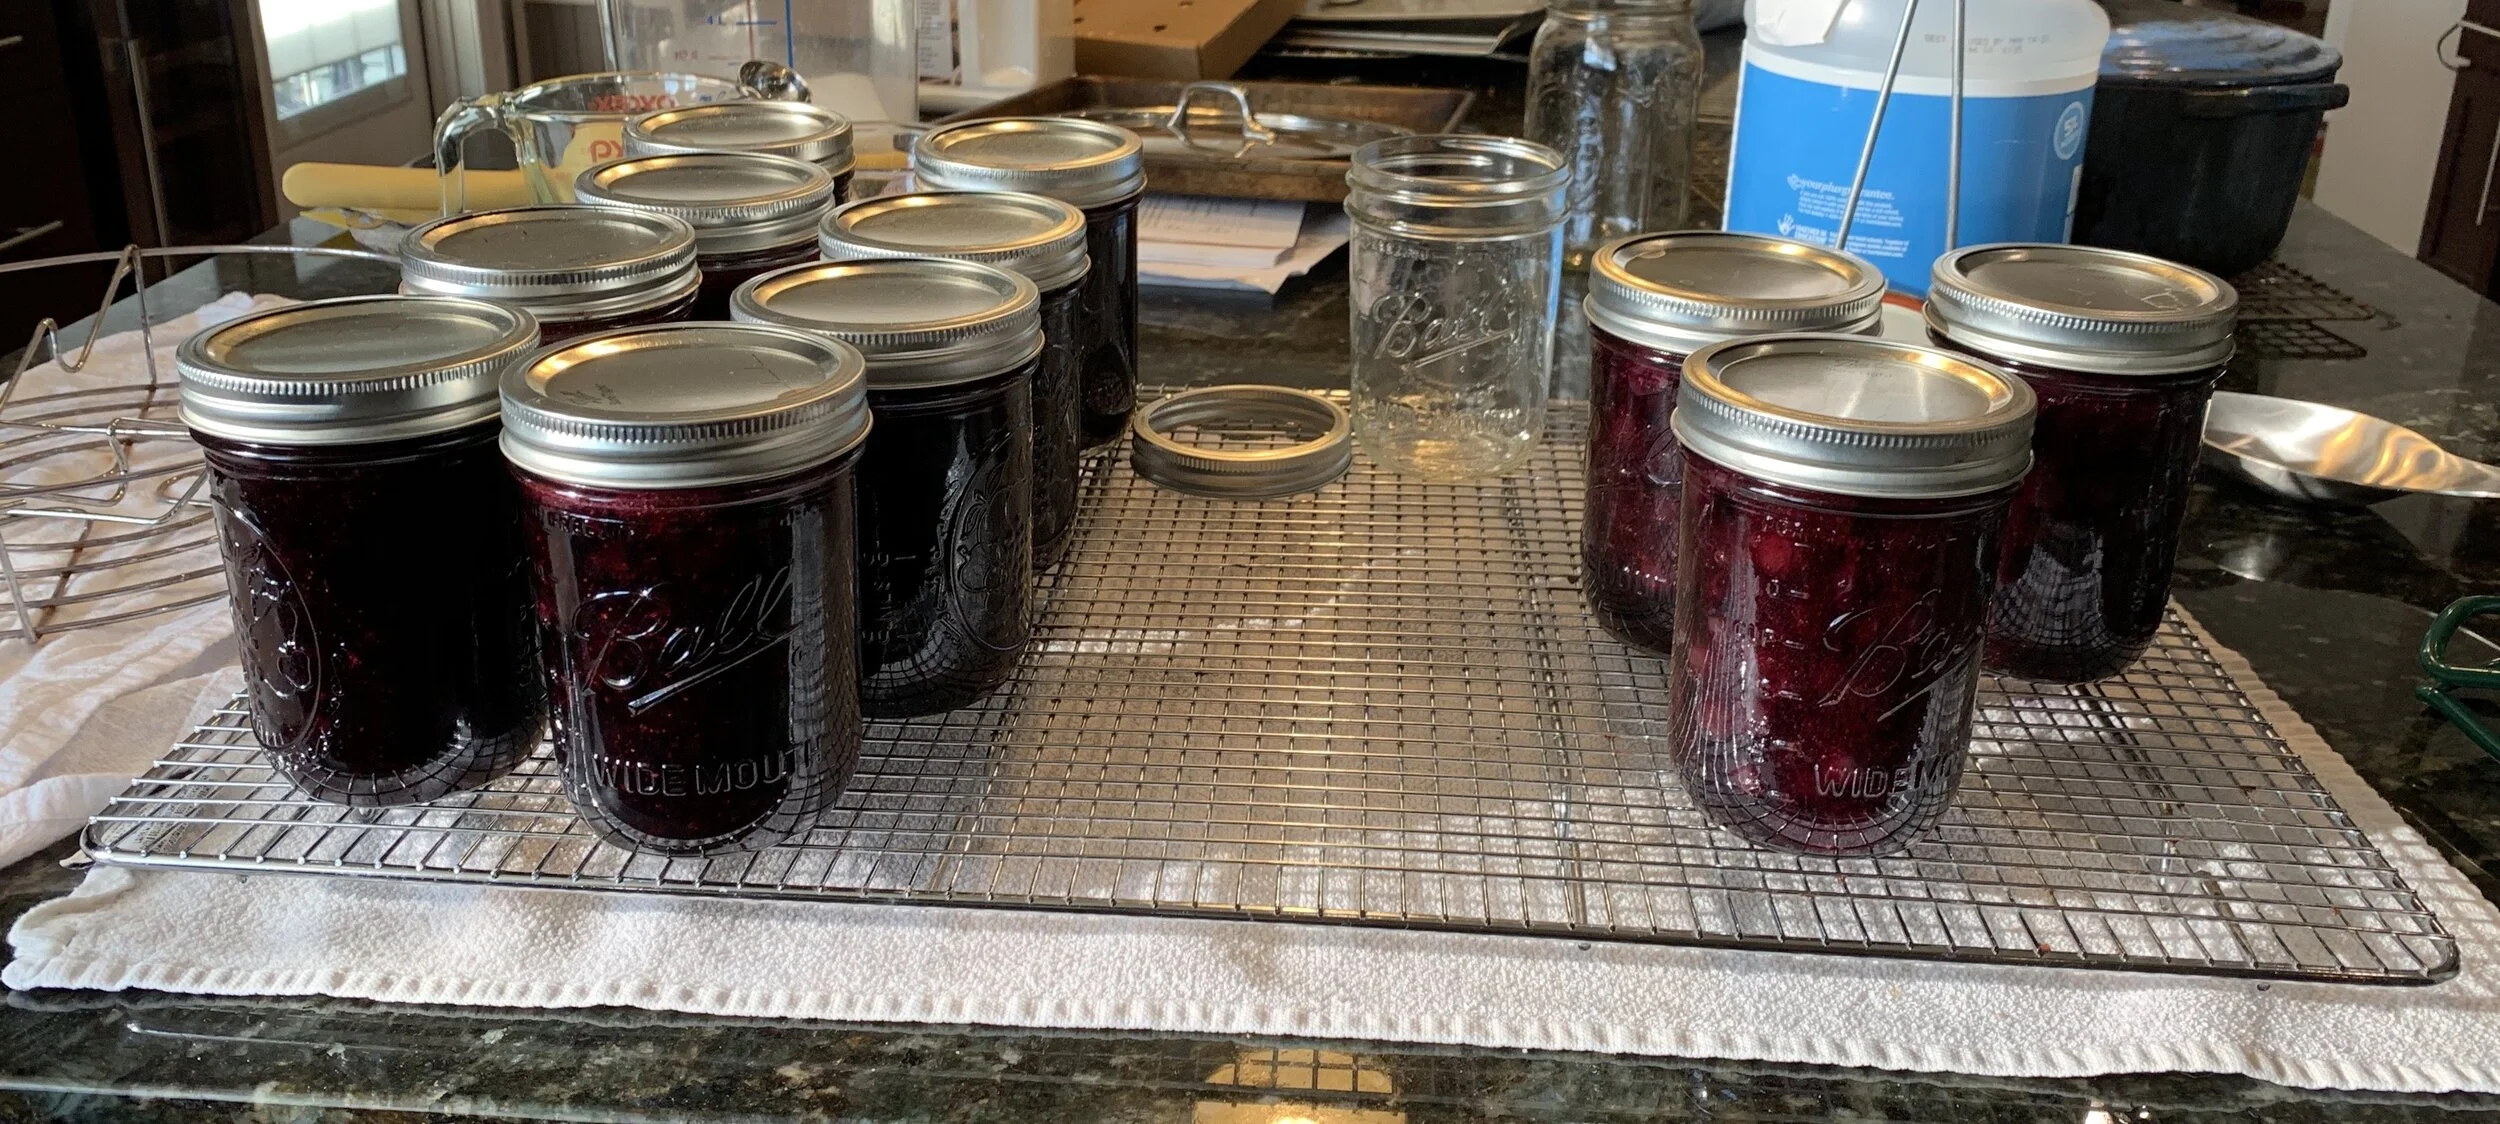
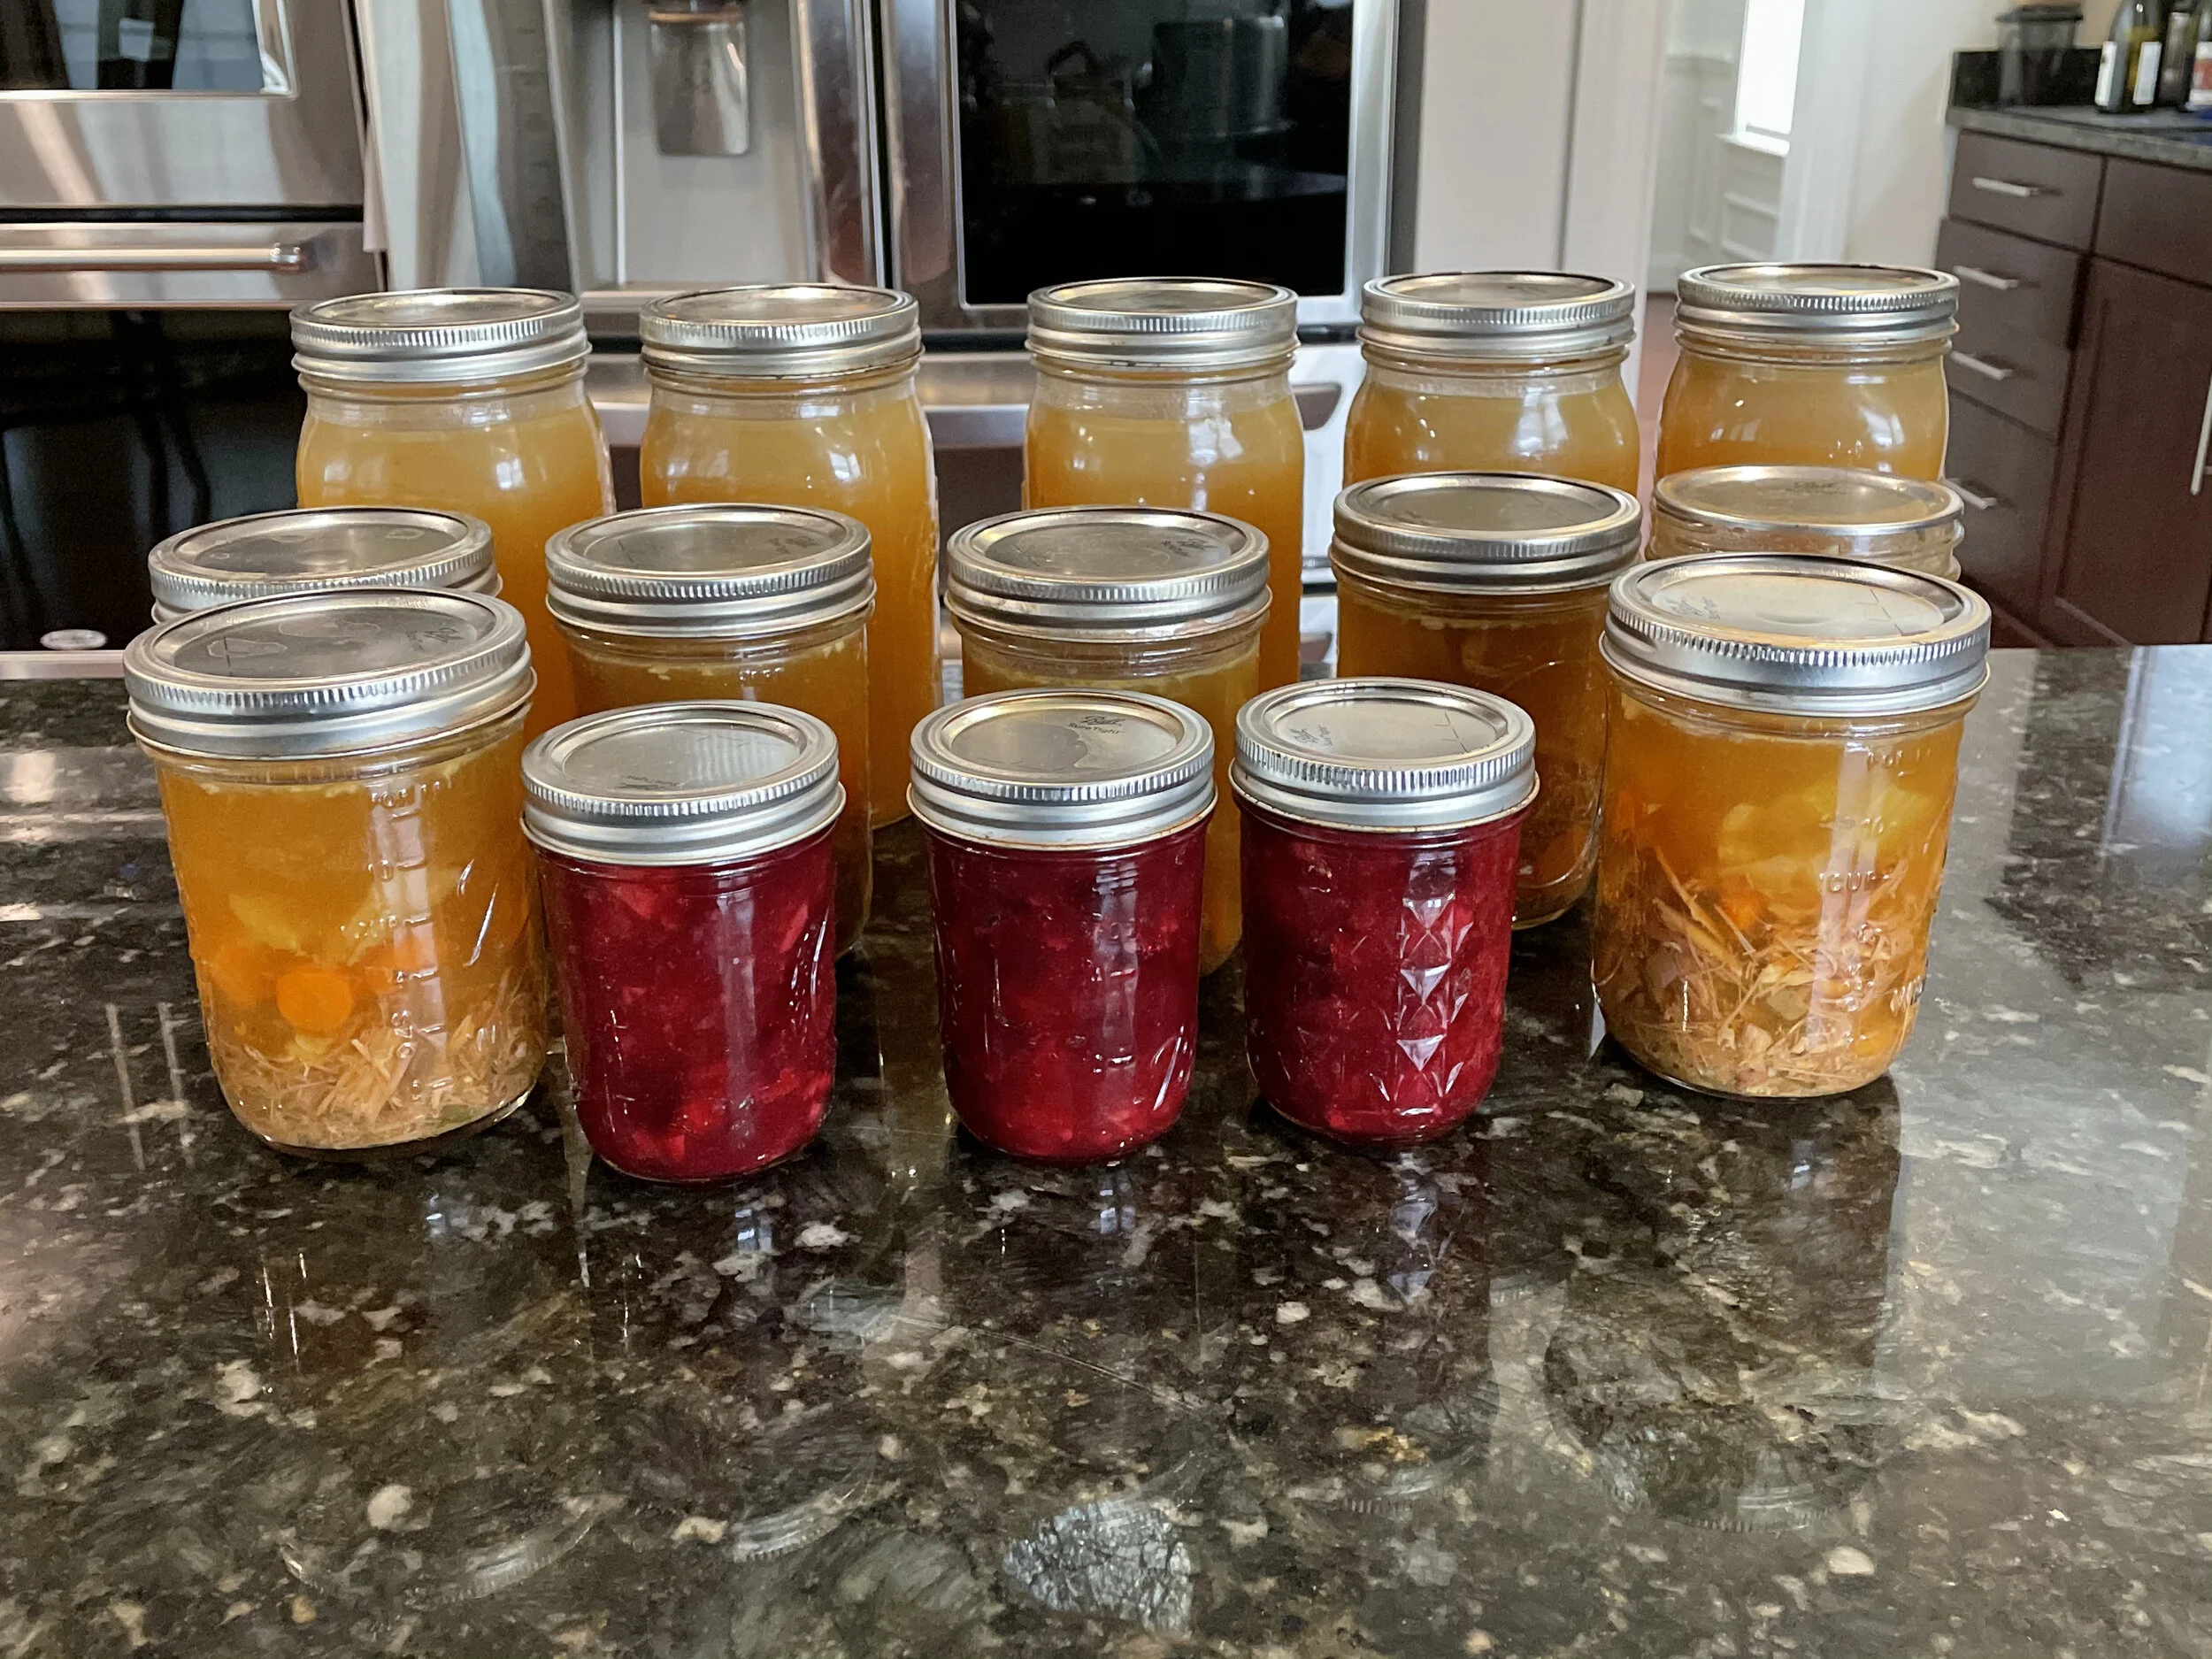
This was a day’s’ work of canning jam.
Final thought:
Water bath canning is easy once you find a system that works for you. I recommend jam or jelly as a beginner recipes because they have short process times. I encourage everyone to can in their mess.