Canning 201: Pressure Canning
Nuts and bolts:
Welcome to pressure canning! Are you up for the challenge? Pressure canning is difficult because there are many steps and many areas where things can go wrong. This method of canning is used for low acid foods such as vegetables, stocks, and meat. I love that my family can have shelve stable homemade stocks and soup on hand. It also saves on freezer space. Yet, I find that pressure canning can be very challenging, but the results are worth it. So take a deep breath and start pressure canning your mess.
As with all my canning endeavors, I clean my whole kitchen and kitchen sink. Then depending on how I am going to can, I will either use my electric canner or my All American Pressure canner 921. If using my electric, I only need to bring up one canner, but if I am using my All American pressure canner, I need to bring up another canner, So when I use my stove canner, I have to plan the arrangement of the pans on the stove. So I am going to split this pressure canning blog into two sections electric canning and stovetop canning.
Electric Canning:
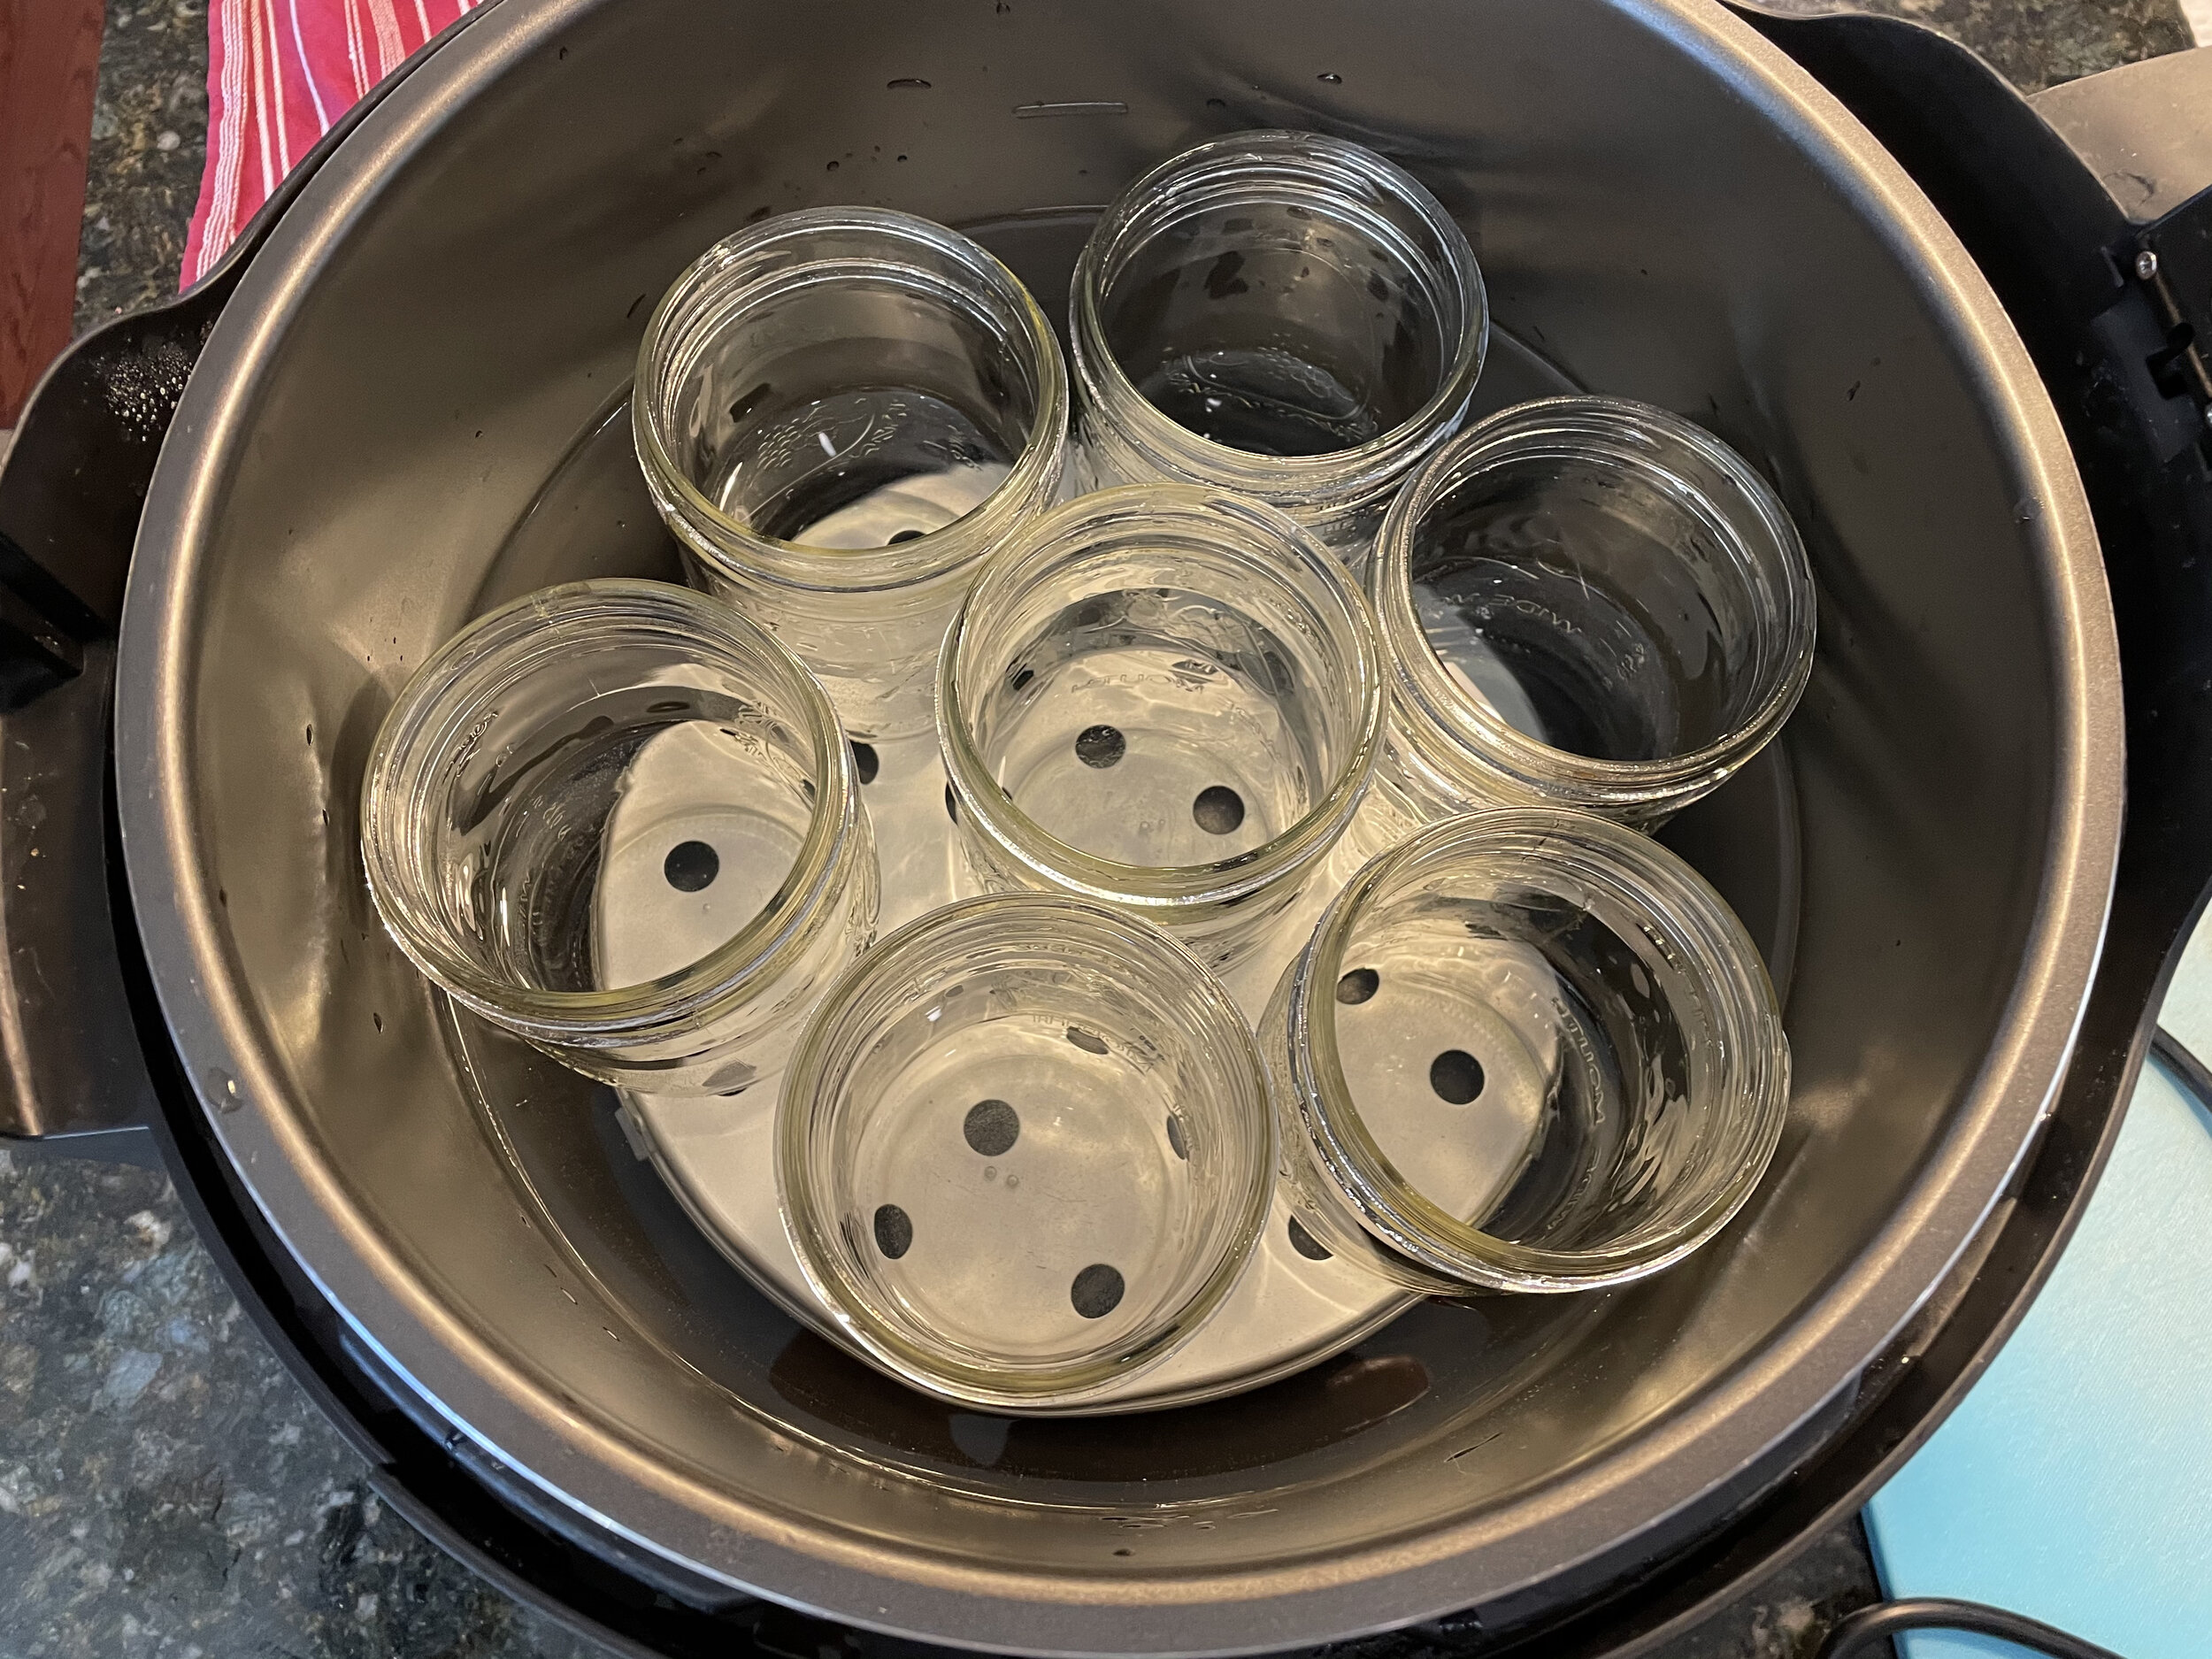
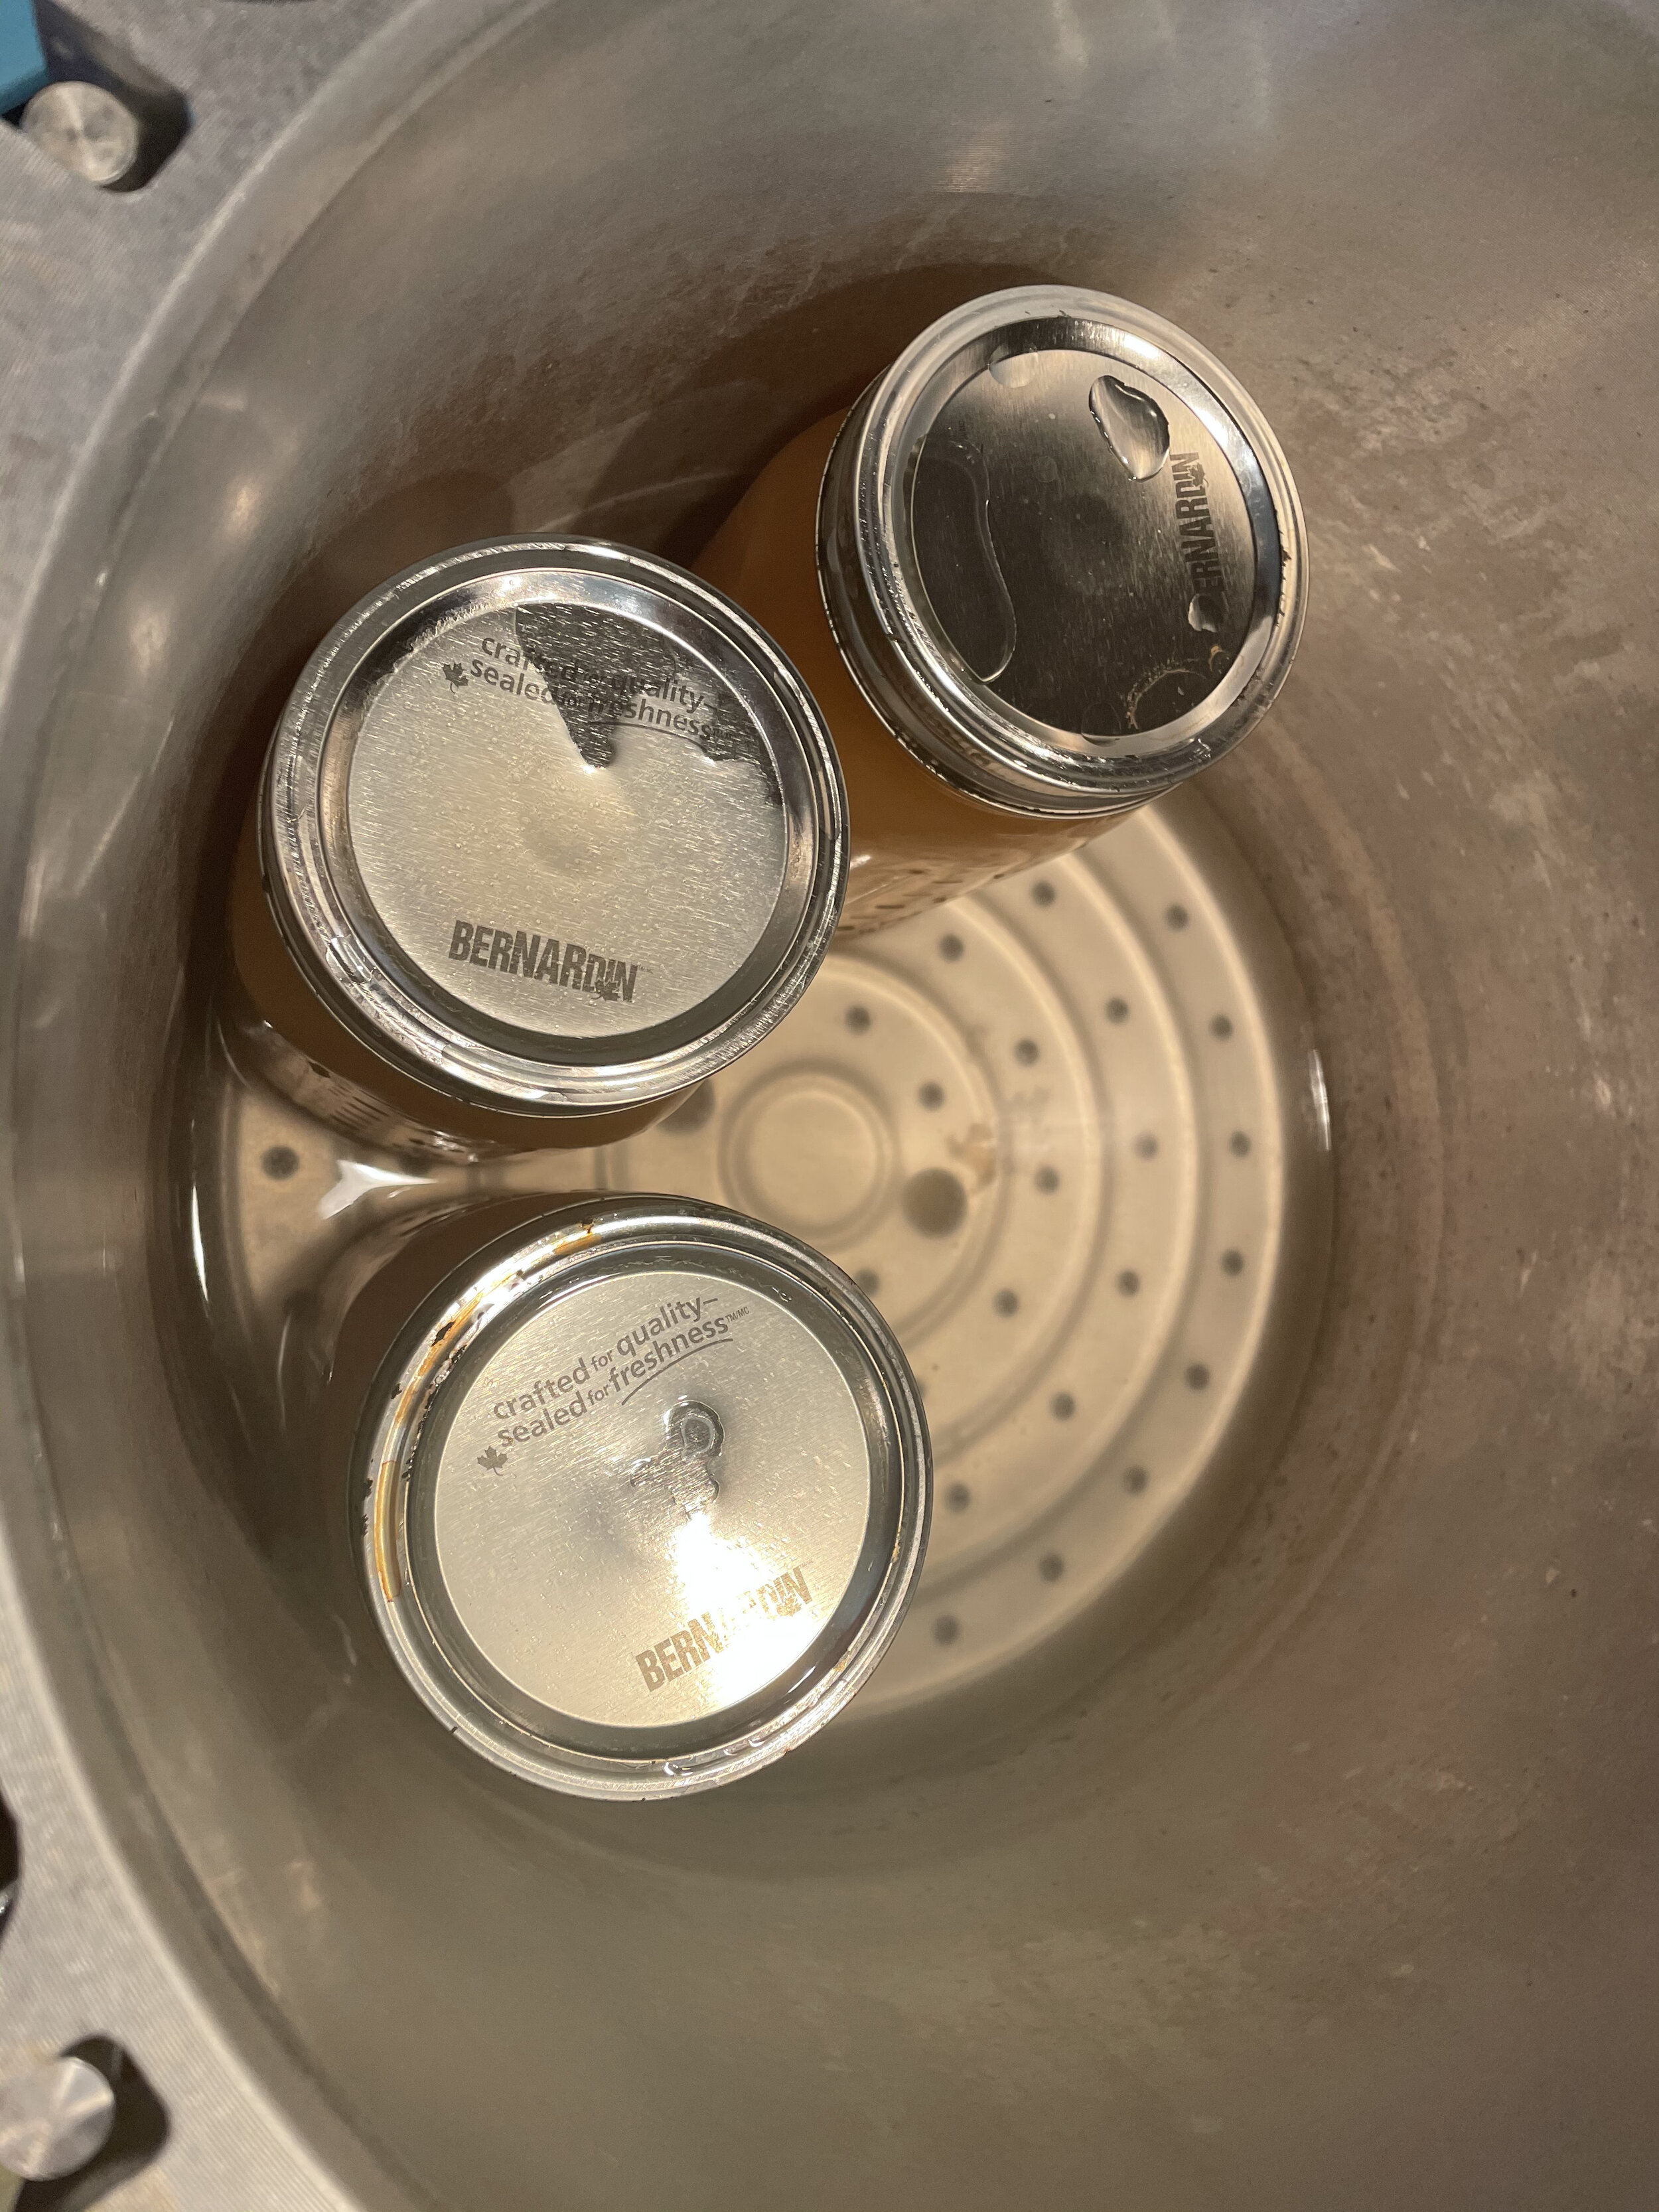
A loaded electric canner with jars to be warmed.
The Presto Precise Digital Pressure Canner is the only canner deemed safe for pressure canning. you cannot use an instant pot for this procedure, (If you do, that is fine; I am not the canning police.) However, I recommend this canner for a newbie canner who wants to pressure can or has a small stove. The reason is simply that one canner will be used instead of two. Follow the manufacturer's instructions and fill the canner to the first line and press the button for pressure canning; then, you enter the processing time. After you clean your jars, you fill them halfway with hot water and press the button to start the jars warming. Then clean your tools and prepare the recipe.
Loading the canner to start the canning process.
When you are ready to fill your jars, take the warn jars and pour them into another container or sink. Do not pour the water back into the canner. This will keep the water level at the right spot. Then fill your jars, leaving enough headspace and getting rid of air bubbles. After that, you put the jars in the canner and hit start. The machine does the hard work for you. When it is done venting for 10 minutes, it will beep. Then put the regulator on for the can position, hit the button, and you wait until it beeps done; you can check on it, but really it does everything for you. It is super simple.
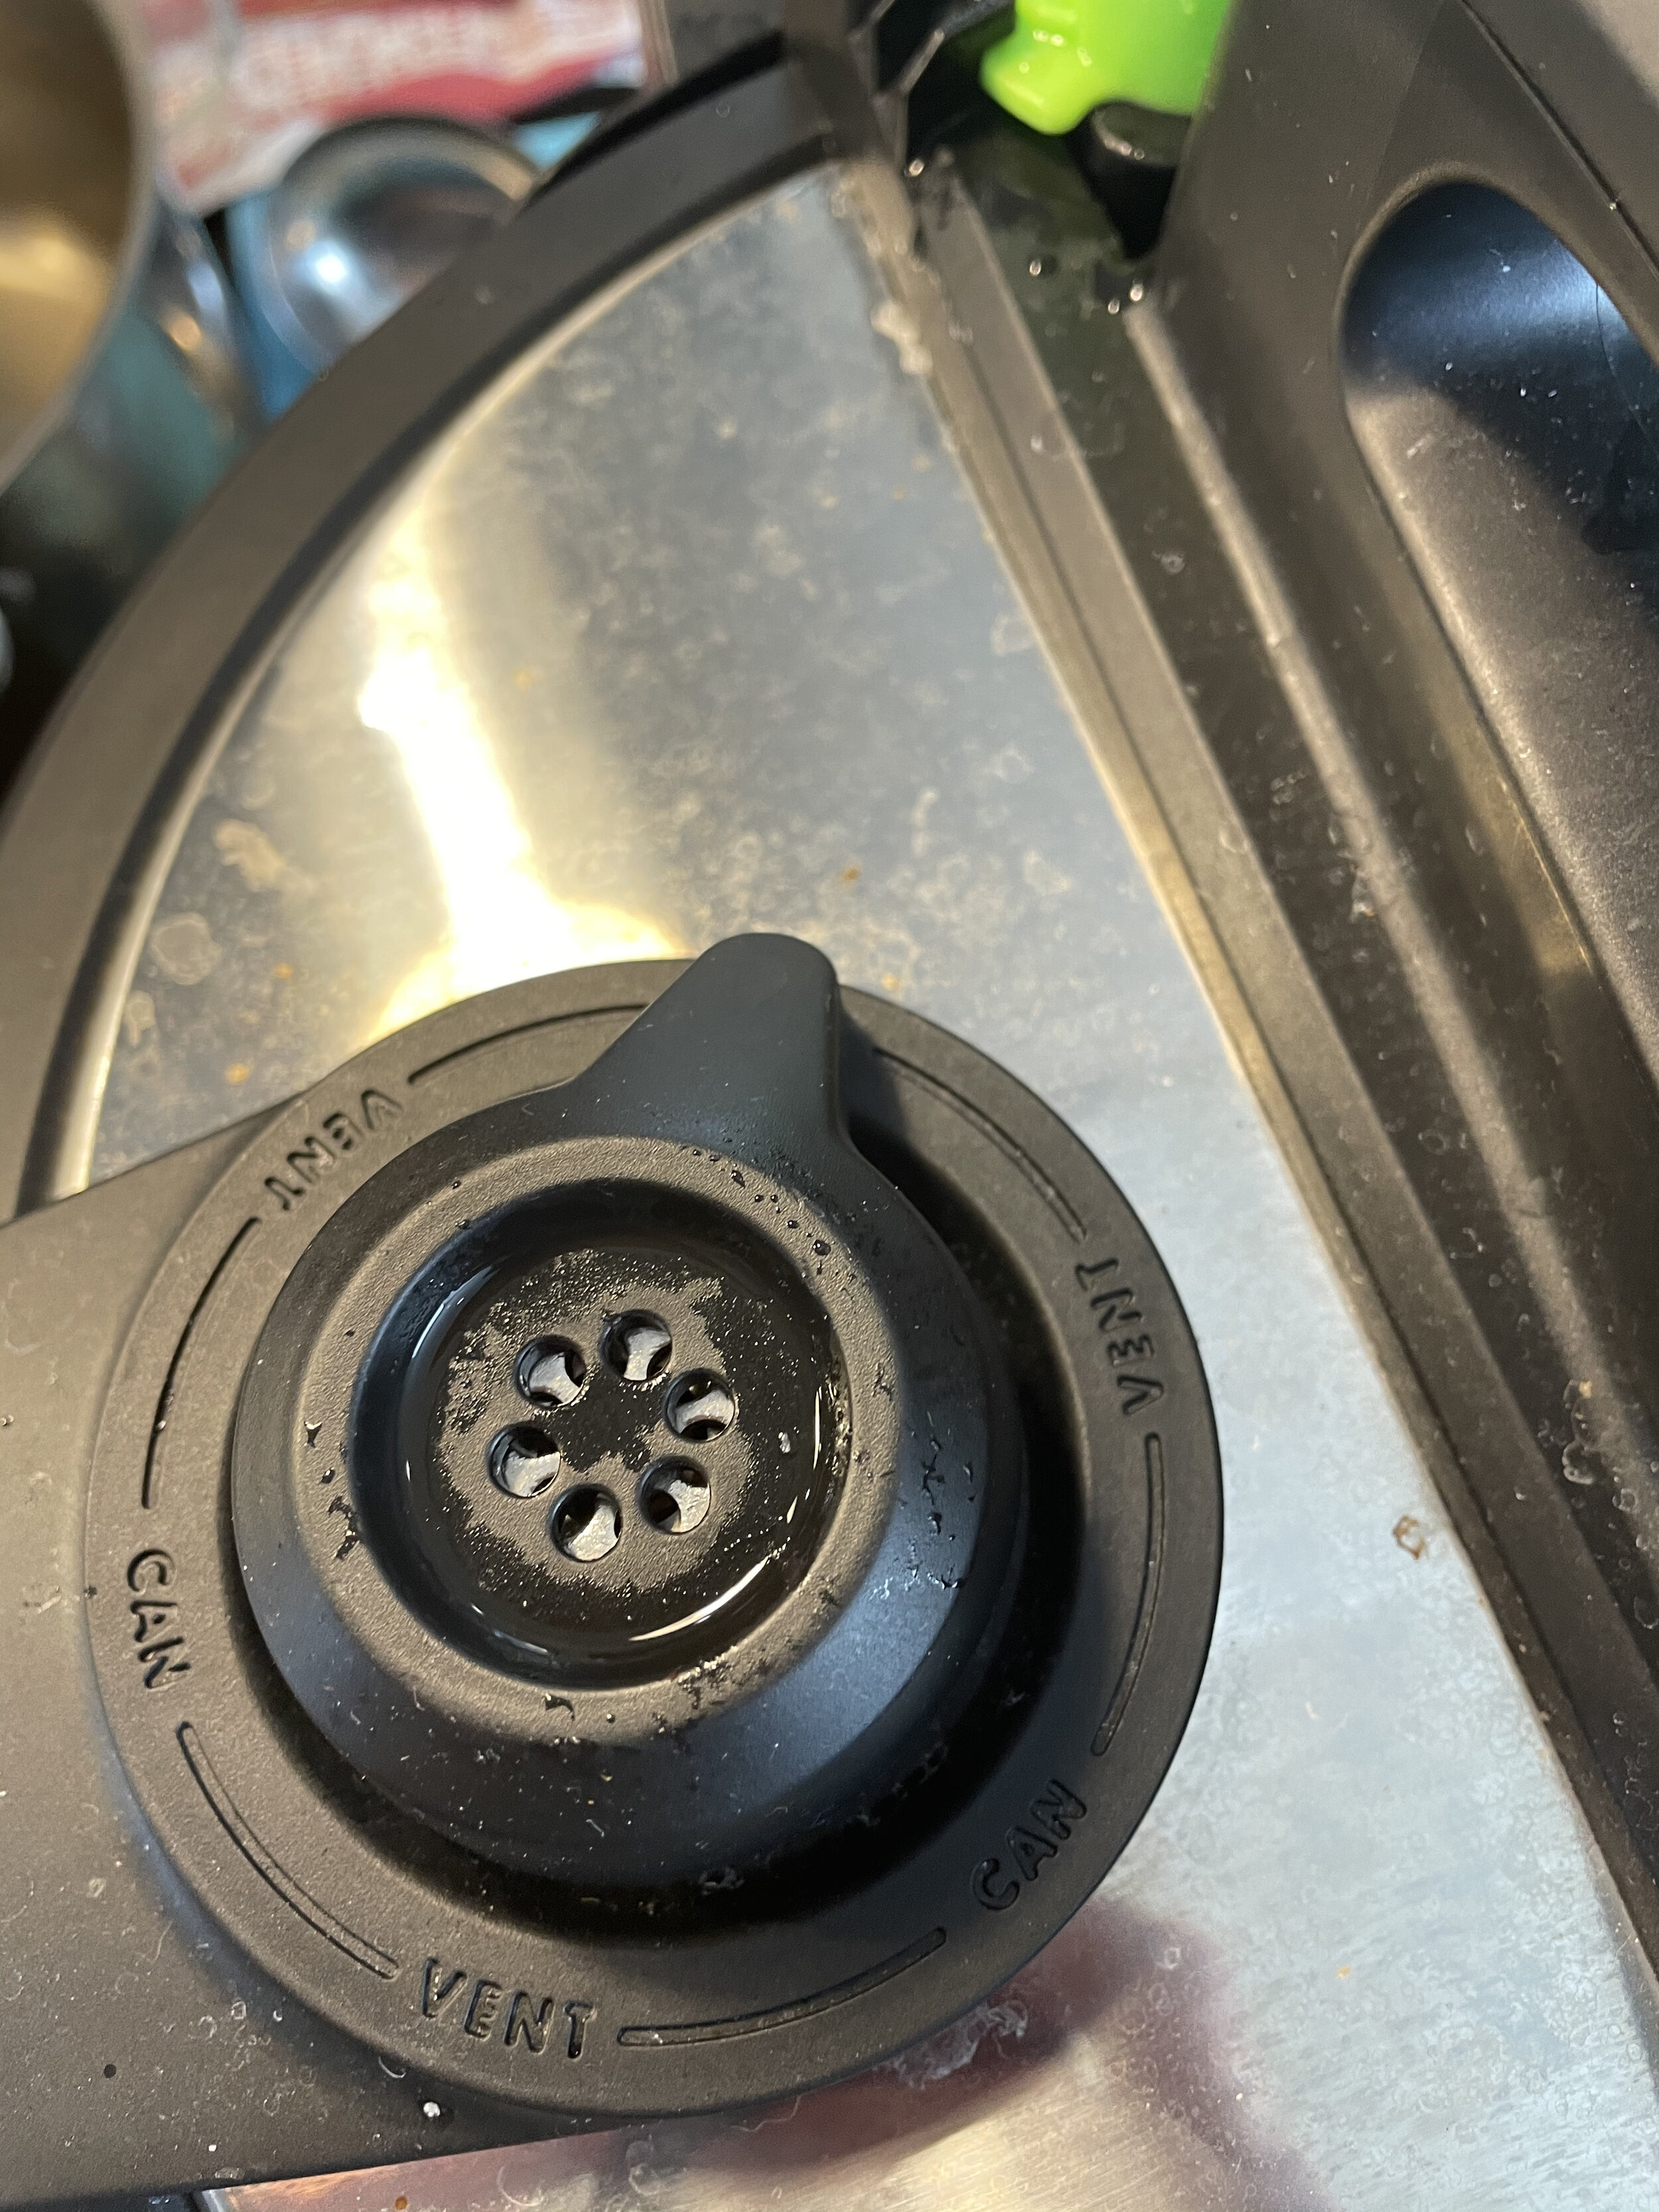
When the canner prompts you to put on the regulator make sure it is pointed to one of the can marks on the venting tube. Then press the continue button.
Stovetop canning:
Here is my stovetop getting ready to can stock and it is getting crowded.
I have psyche myself up for pressure canning, so before you begin, pat yourself on the back for trying pressure canning. It took me years to build up the courage to pressure can. It is so tricky because there are some moving parts and so many steps to this process. Also, there is a lot that can go wrong. Before I ever made my first attempt at pressure canning, I consulted my pressure canner manual, canning books, and canning websites. All it did was confuse me more. So from all of this research, I have come up with my procedure for pressure canning for the All American Pressure Canner. The other type of pressure canner works differently, so the process is similar but not the same. But no matter what kind of pressure canner you plan on using, you have to read the manual.
Before I start, can I get a “HELL YEAH, YOU CAN DO THIS!”
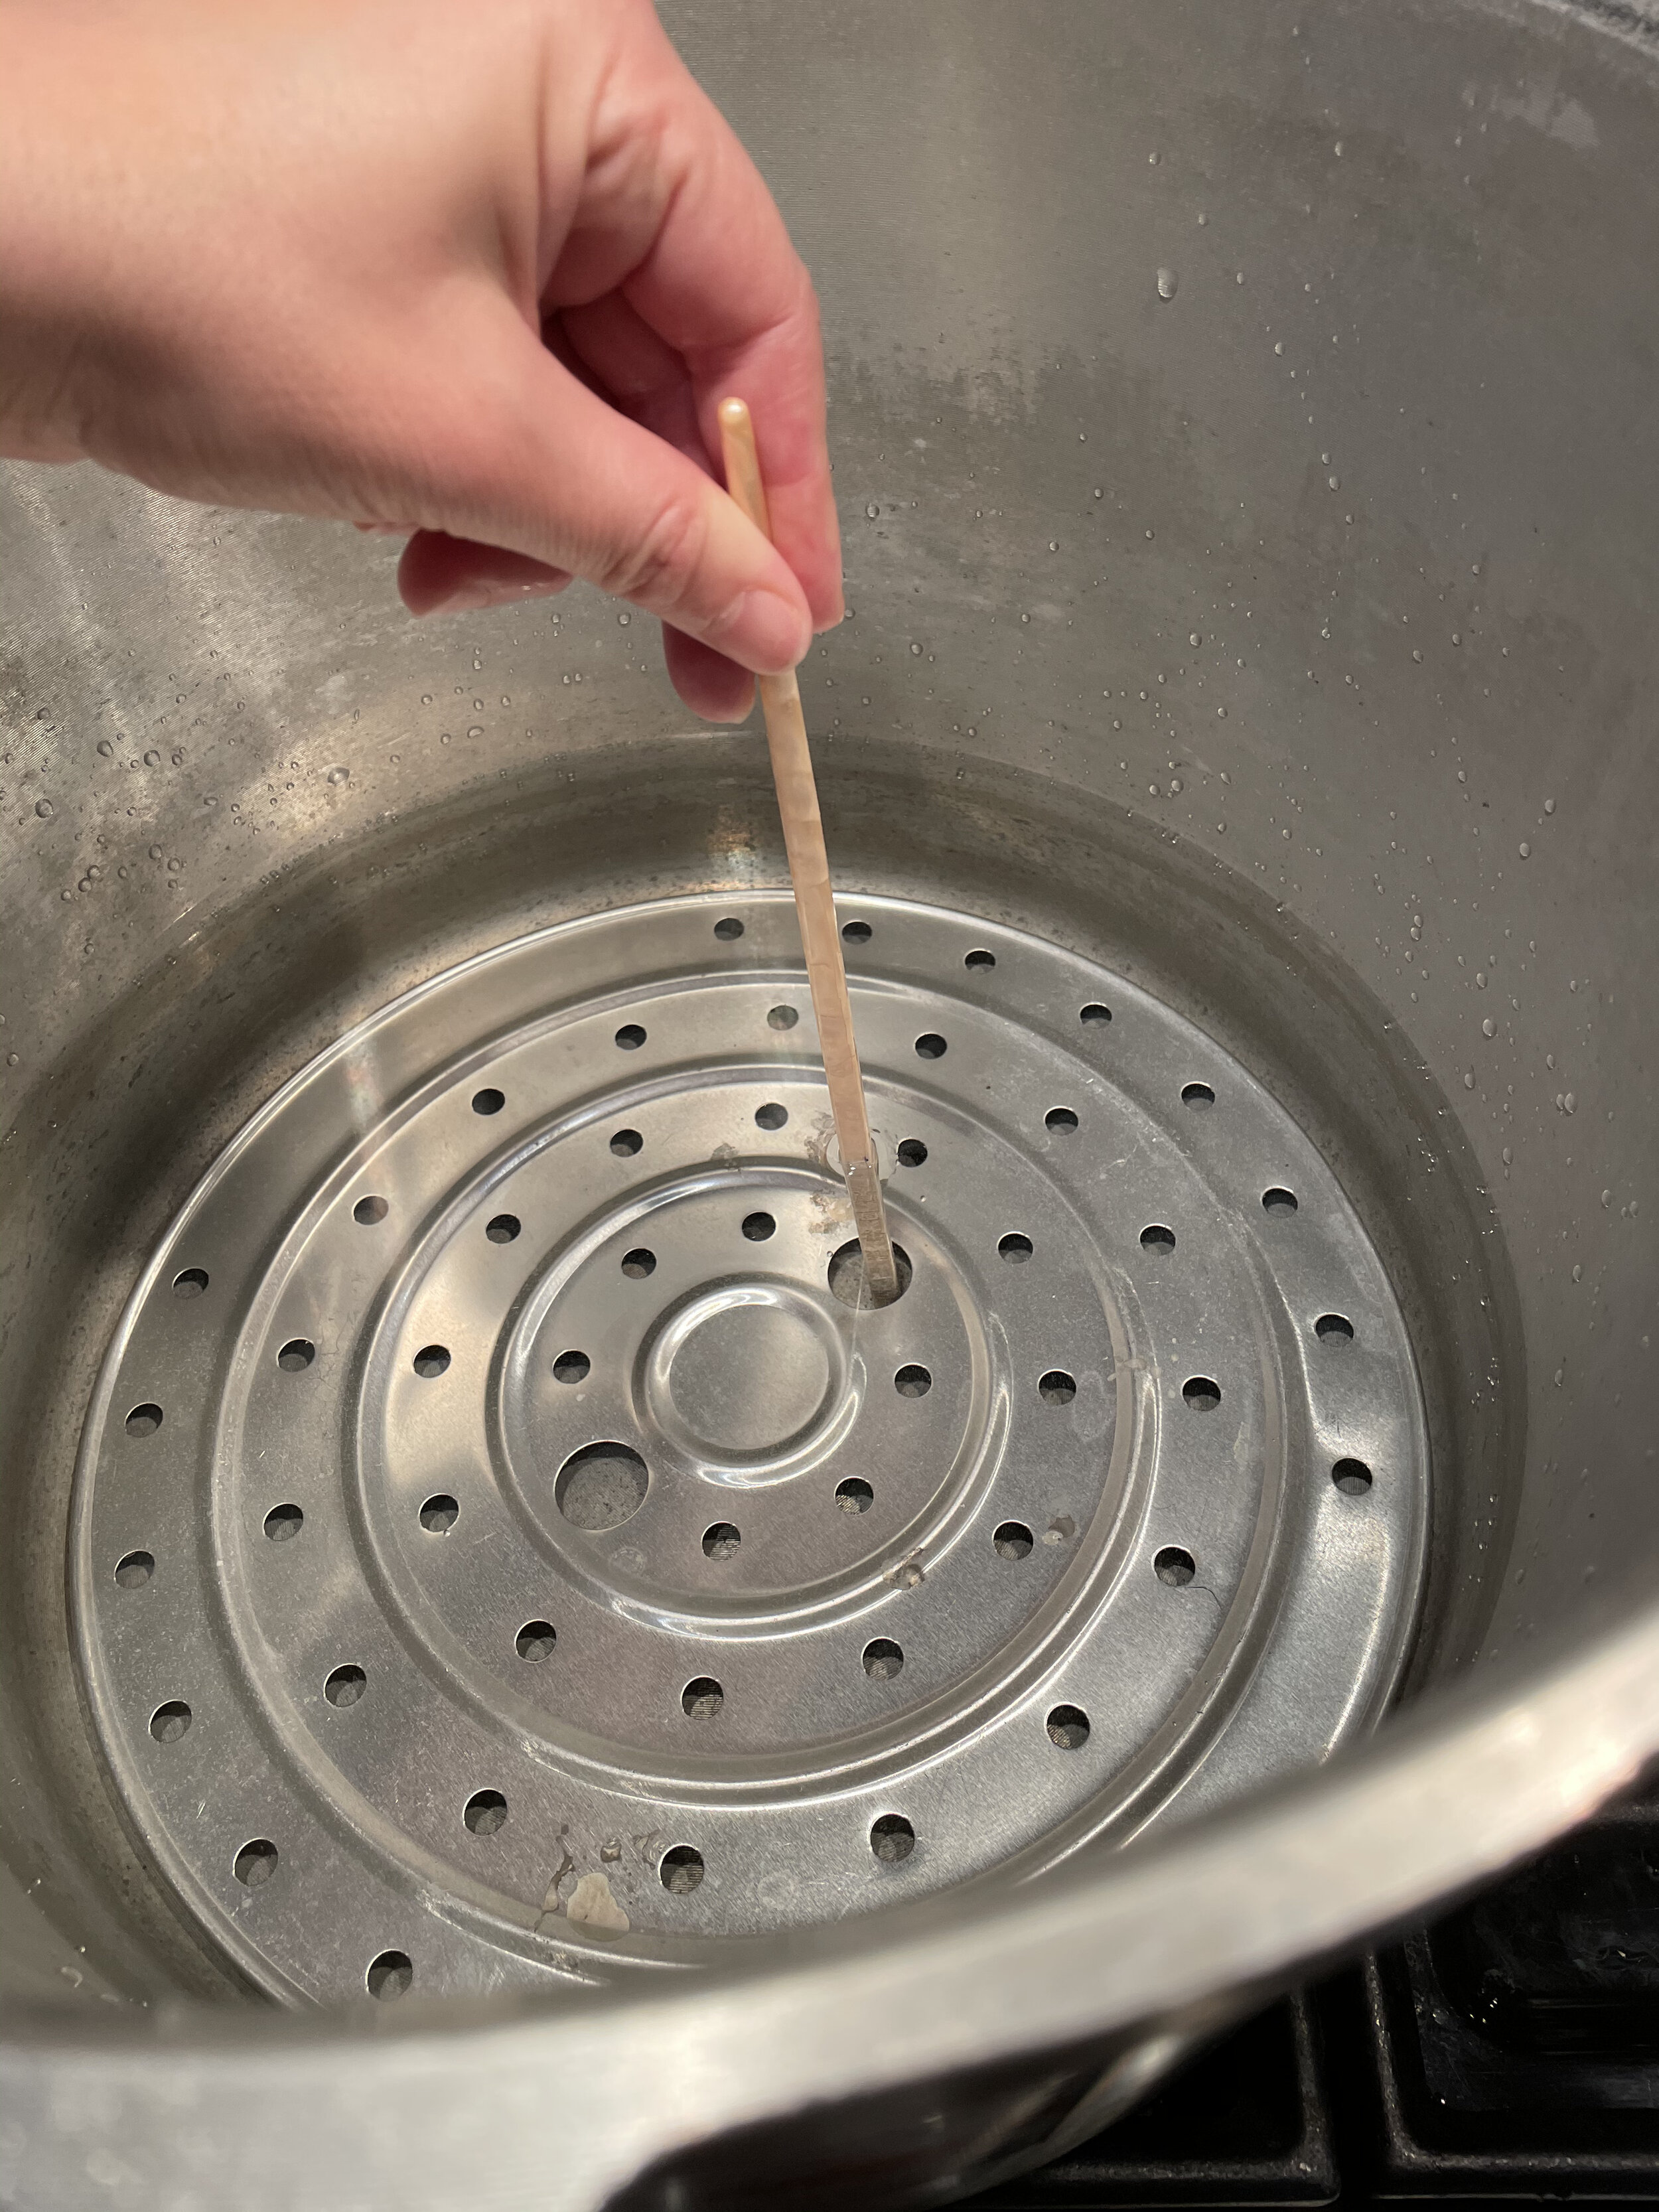
The first thing I do is clean the kitchen and kitchen sink. Then I fill the water bath canner with a rack with water and a couple of tablespoons of vinegar. I load the jars and start to boil like I would if I was a water bath canning. Once that canner comes to a boil, I lower the heat, so the jars stay warm. Then I prepare the pressure canner with a rack and fill the canner with two inches of water and a couple of tablespoons of vinegar. I use a chopstick with a line to be sure I fill the canner to about two inches.
Important point: The instruction manual for this unit is confusing about how much water should be in the pressure canner. After a few times using this canner, I figure the correct water level is about two inches from the bottom of the pot. The amount of water is important because there needs to be room to let the steam become the pressure that cooks the food. Depending on the recipe, you do not want to fill the pot more than ½-⅔ full with jars and water.
Measuring the right level of water for the pressure canner.
You want the water in pressure canner to come to a boil and then lower the heat once at a boil. Now you can start your recipe.
The important tip here: I have a six-burner stove, and it gets crowded with the pressure canning; the pots touch each other and get hot fast. So if the lids heat too quickly, they will get ruin. So lower the heat and time from ten to five minutes. Also, keep an eye on them, so they do not get too hot.
While you are waiting to finish a recipe take the cover off the pressure canner, and I like to lube it with olive oil around the lip of the lid.
Here is my oiled cover; this is an important step because it keeps the pot sealed.
Canning Risk factor: The manual says vaseline, which makes sense. I think it would seal better, but my family was uncomfortable using that on something we cook in, so I use olive oil.
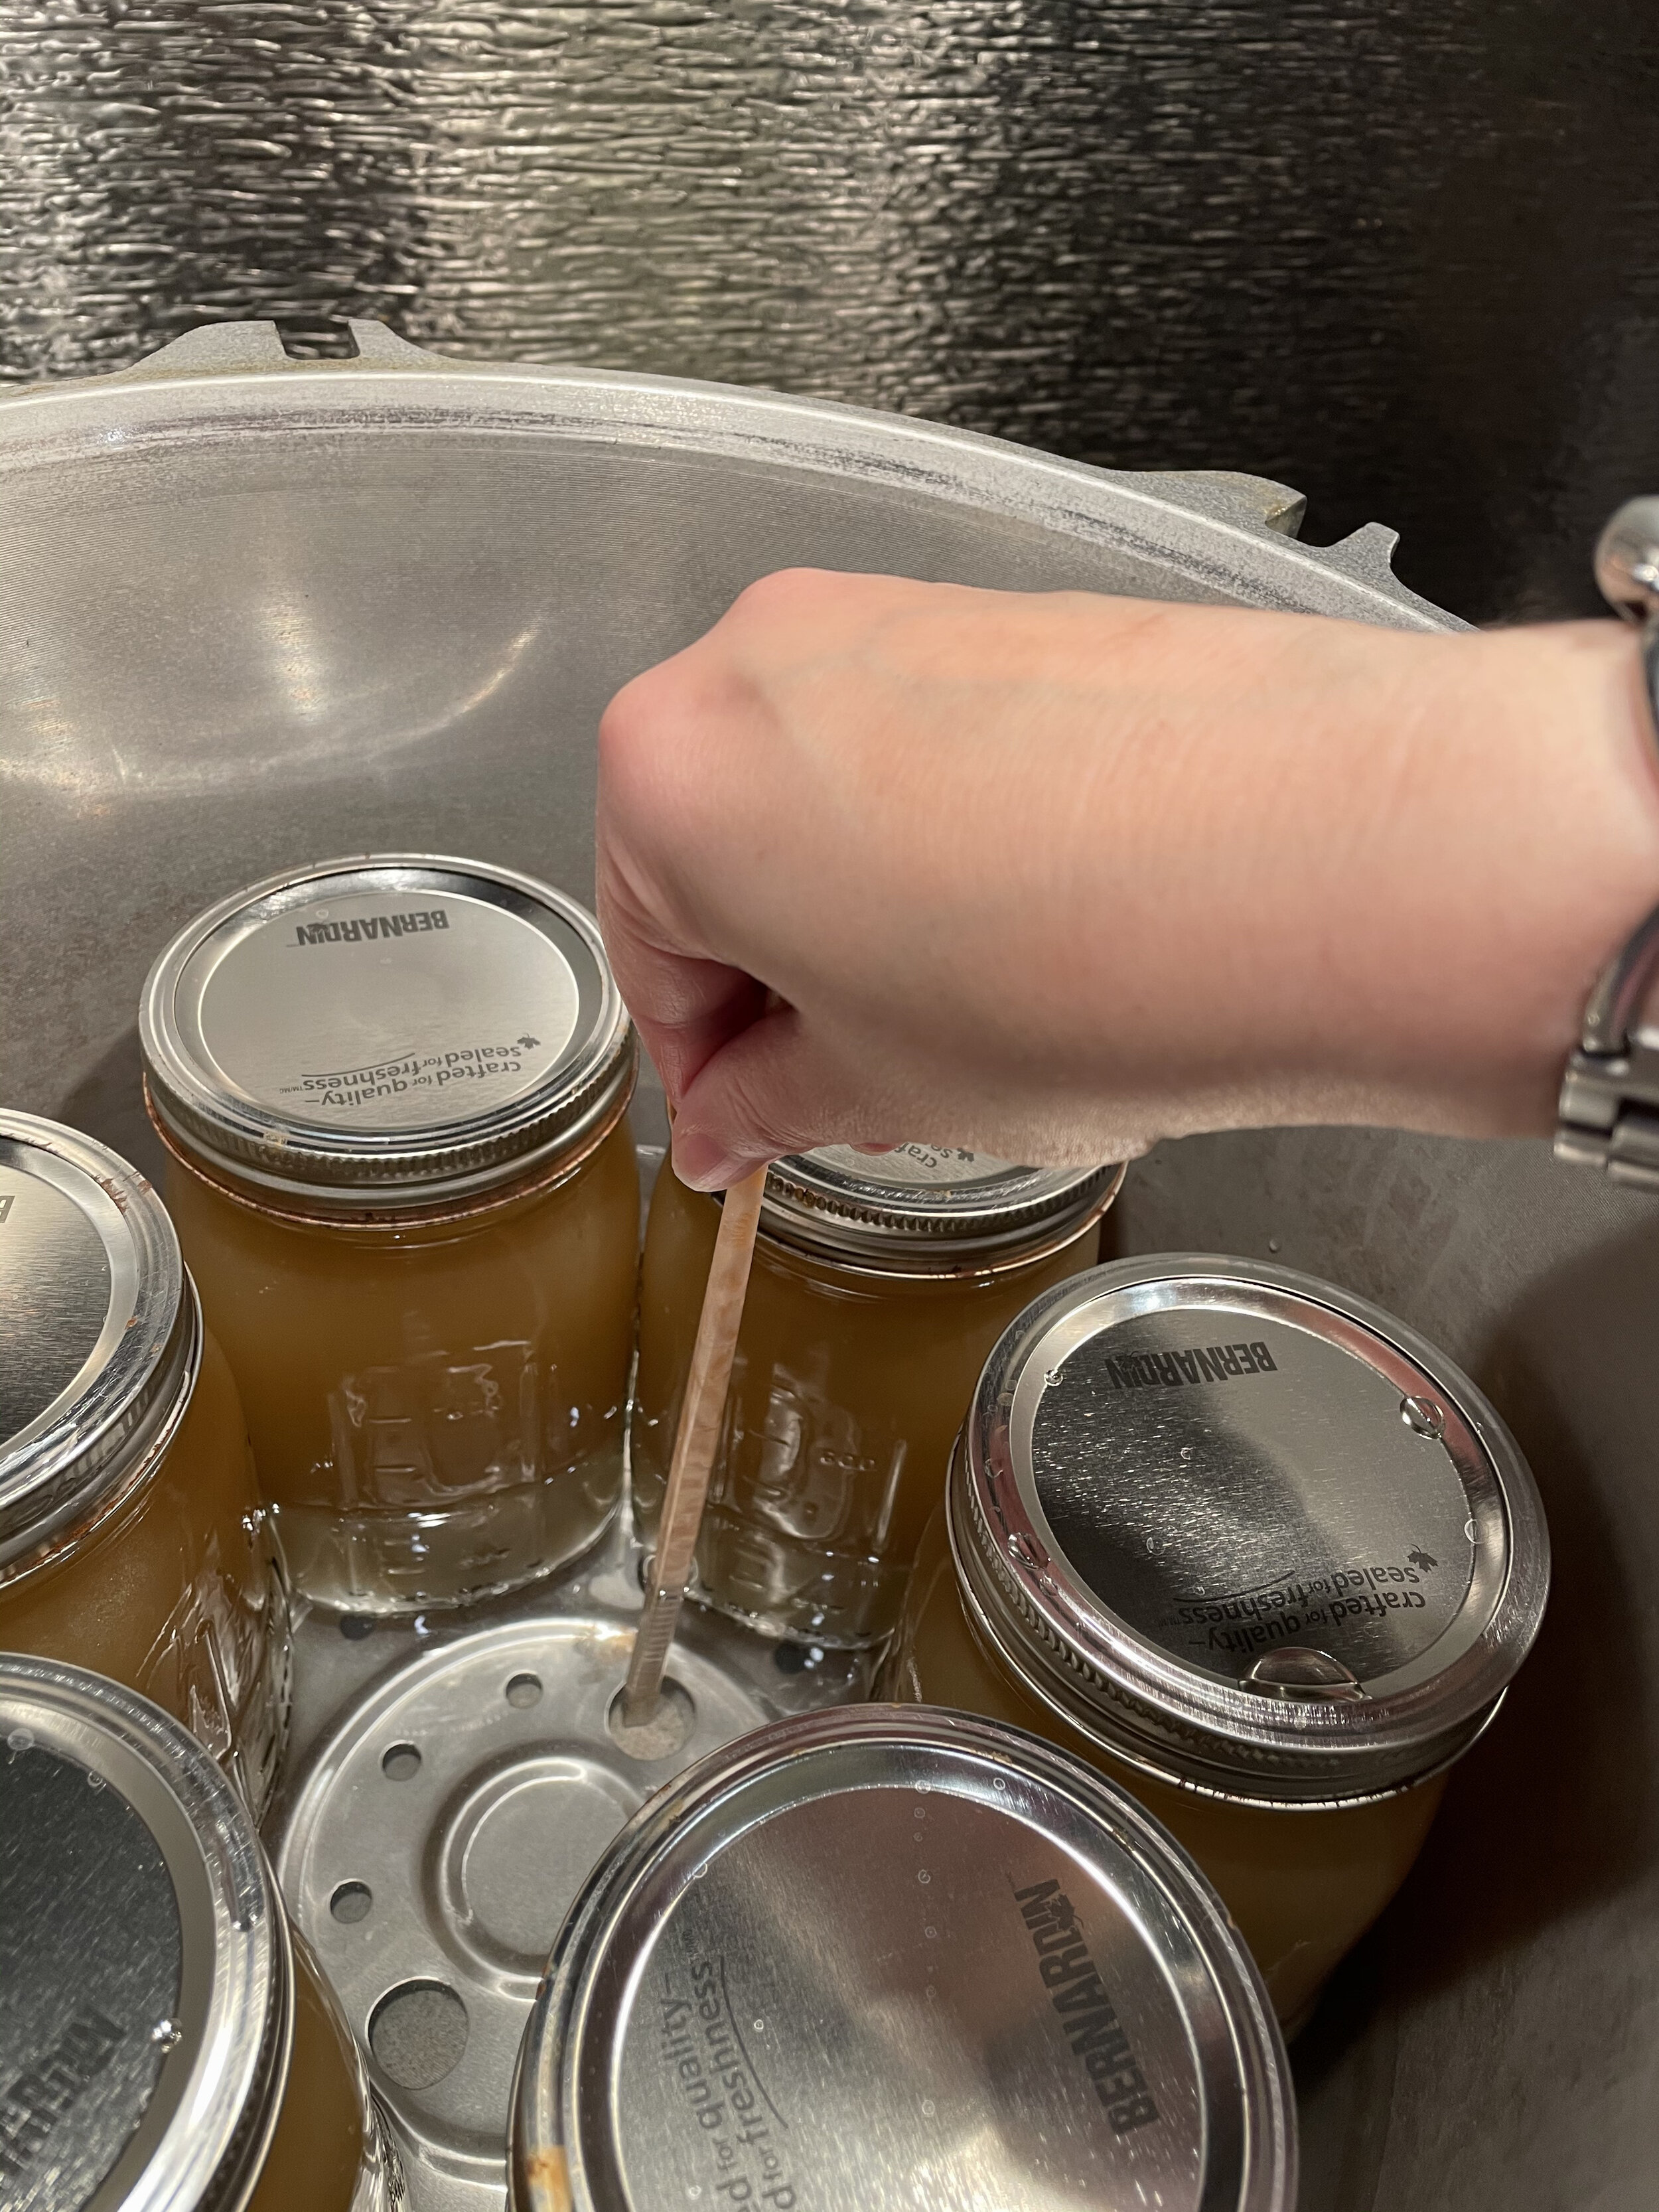
Checking the water level with filled jars before I start the canning process.
Once the recipe is ready to go into the jars, turn off the water canner and get the jars out. Load and clean the jars as it is instructed in the recipe. Clean the tops of jars and put lids and rings on. Start to load the pressure canner. Once you get about ½ of the canner loaded, look to check their water level. You only want the water level to be maybe an inch or two above the line. Adjust the water level by adding or taking out water. Then finish loading and check the water level. Once the level is right, you can begin the pressure canning process.
Place your lubed cover on the canner you want to line up with the arrow on the cover to the notch on the side of the pot. Then you want to screw down the Bakelite wing nuts that are diagonally across from one another. Tighten them, making sure they are holding the canning shut. These can be tricky. They are hot, and you should use oven mitts, so turning these wing nuts can be challenging. Once that is done, I check to make sure it is tight. Before turning on the heat, find your weight, and make sure you know the number of weights you are using. Turn the heat on under the pot to medium.
Important tip: Do not change the heat level here. It may cause the pressure to change, and your food will not be safe, or the lids will not seal.
Then let it heat. The gauge on the lid tells you the pot’s pressure level, and there is a steam vent pipe. One of the things about pressure canning is that it is loud. You will hear when the steam starts to come from the pipe. Then let it steam for ten minutes; this is important to make sure it is boiling enough to produce the steam. After ten minutes, put the weight on the steam pipe.
Important tip: The weight goes on the vent piper, which sets the pot's pressure. There are three pressure holes or points on the weight, and they are 5, 10, and 15 Lbs. You should use the weight that is recommended for your altitude. I am at sea level, so the weight is 10lbs.
Here is a top of pressure canner that is up to pressure and is canning food.
Then wait until it comes up to pressure. When it comes up to pressure, your weight will jiggle. The gauge should indicate the weight you are using. It can be a little higher, but not too much higher. Then set a timer and watch the gauge to make sure it does not go too much above your set weight. You have to babysit it for a while. Once your processing time is done, turn off the stove and walk away. Do not open or take the weight off. Let it drop to normal pressure by itself. This can take a long time, so be patient. Then wait for five more minutes. After the five minutes are up, you can remove the weight and the lid. Then let jars sit in the water for ten more minutes. Then remove the jars from the canner and let them sit for 12 hours. Wait for them to start to ping.
More tips and troubleshooting with pressure canning:
Sometimes things do not go as planned. This load had fair amount of siphoning and my water level was low.
Do not rush the final cool step. I have rushed it before, and no, it did not destroy my kitchen. However, it did mean that nothing in the load got sealed, and had few jars lost their filling all over the pot.
The water level is essential. If all the water evaporates from the pot, you may have warped and destroyed your canner. You never want to open the canner and see a dry bottom.
Siphoning happens, but it is ok as long as it seals, but it can leave the outside of the jars messy, and they will need to be cleaned,
Sometimes when you open the pot, you will see and hear the lids depress and then pop back up again. That is normal. They should seal.
Let these jars sit. They can take a long time to cool down and seal.
Final note:
I find pressure canning hard and stressful, but I also find it rewarding and fun. If you have a batch that does not work, do not get discouraged, and keep working. All canners have loads that just do not go right. Just keep at it. Good Luck!


