

Chicken (Turkey) Stock
Nuts and bolts:
Chicken (Turkey) stock is the whole reason I started to pressure can. One Thanksgiving, we made two turkeys and a turkey breast, and I quickly realized that I didn’t have enough space in my freezer for all the turkey stock. So, I decided to can the stock, and it was the best decision I ever made. Now I can stock all the time.
My thought of chicken(Turkey) stock:
It works with either chicken or turkey carcasses.
It is an excellent way to use up old vegetables lurking in your fridge.
When you are canning, always clean the vegetables very well.
This recipe takes two days to complete.
Canning Risk Factor: The canning risk factor is low: This recipe is taken from The ALL-NEW Ball Book of Canning and Preserving. I use the Chicken Bone Broth Recipe.
Method:
Day One:
This is the day I make the stock, so I get up as early as I can. For the stock, you will need; carrots, celery, onions, bay leaves, salt, peppercorns, ground pepper, parsley, and unfiltered apple cider vinegar (5% acidity).
Important tip: The unfiltered apple cider vinegar helps break down the bones' collagen to form gelatin, so it is more abundant in the stock. It's such a small amount of apple cider vinegar that you won't taste it at all.
First, use a large stockpot with a cover and then place the chicken/turkey carcasses with all the meat and skin into the pot.
Important tip: You can make stock from cooked or uncooked chicken; both taste great but do not mix them. So, when I make stock, I either make it with raw meat or cooked meat.
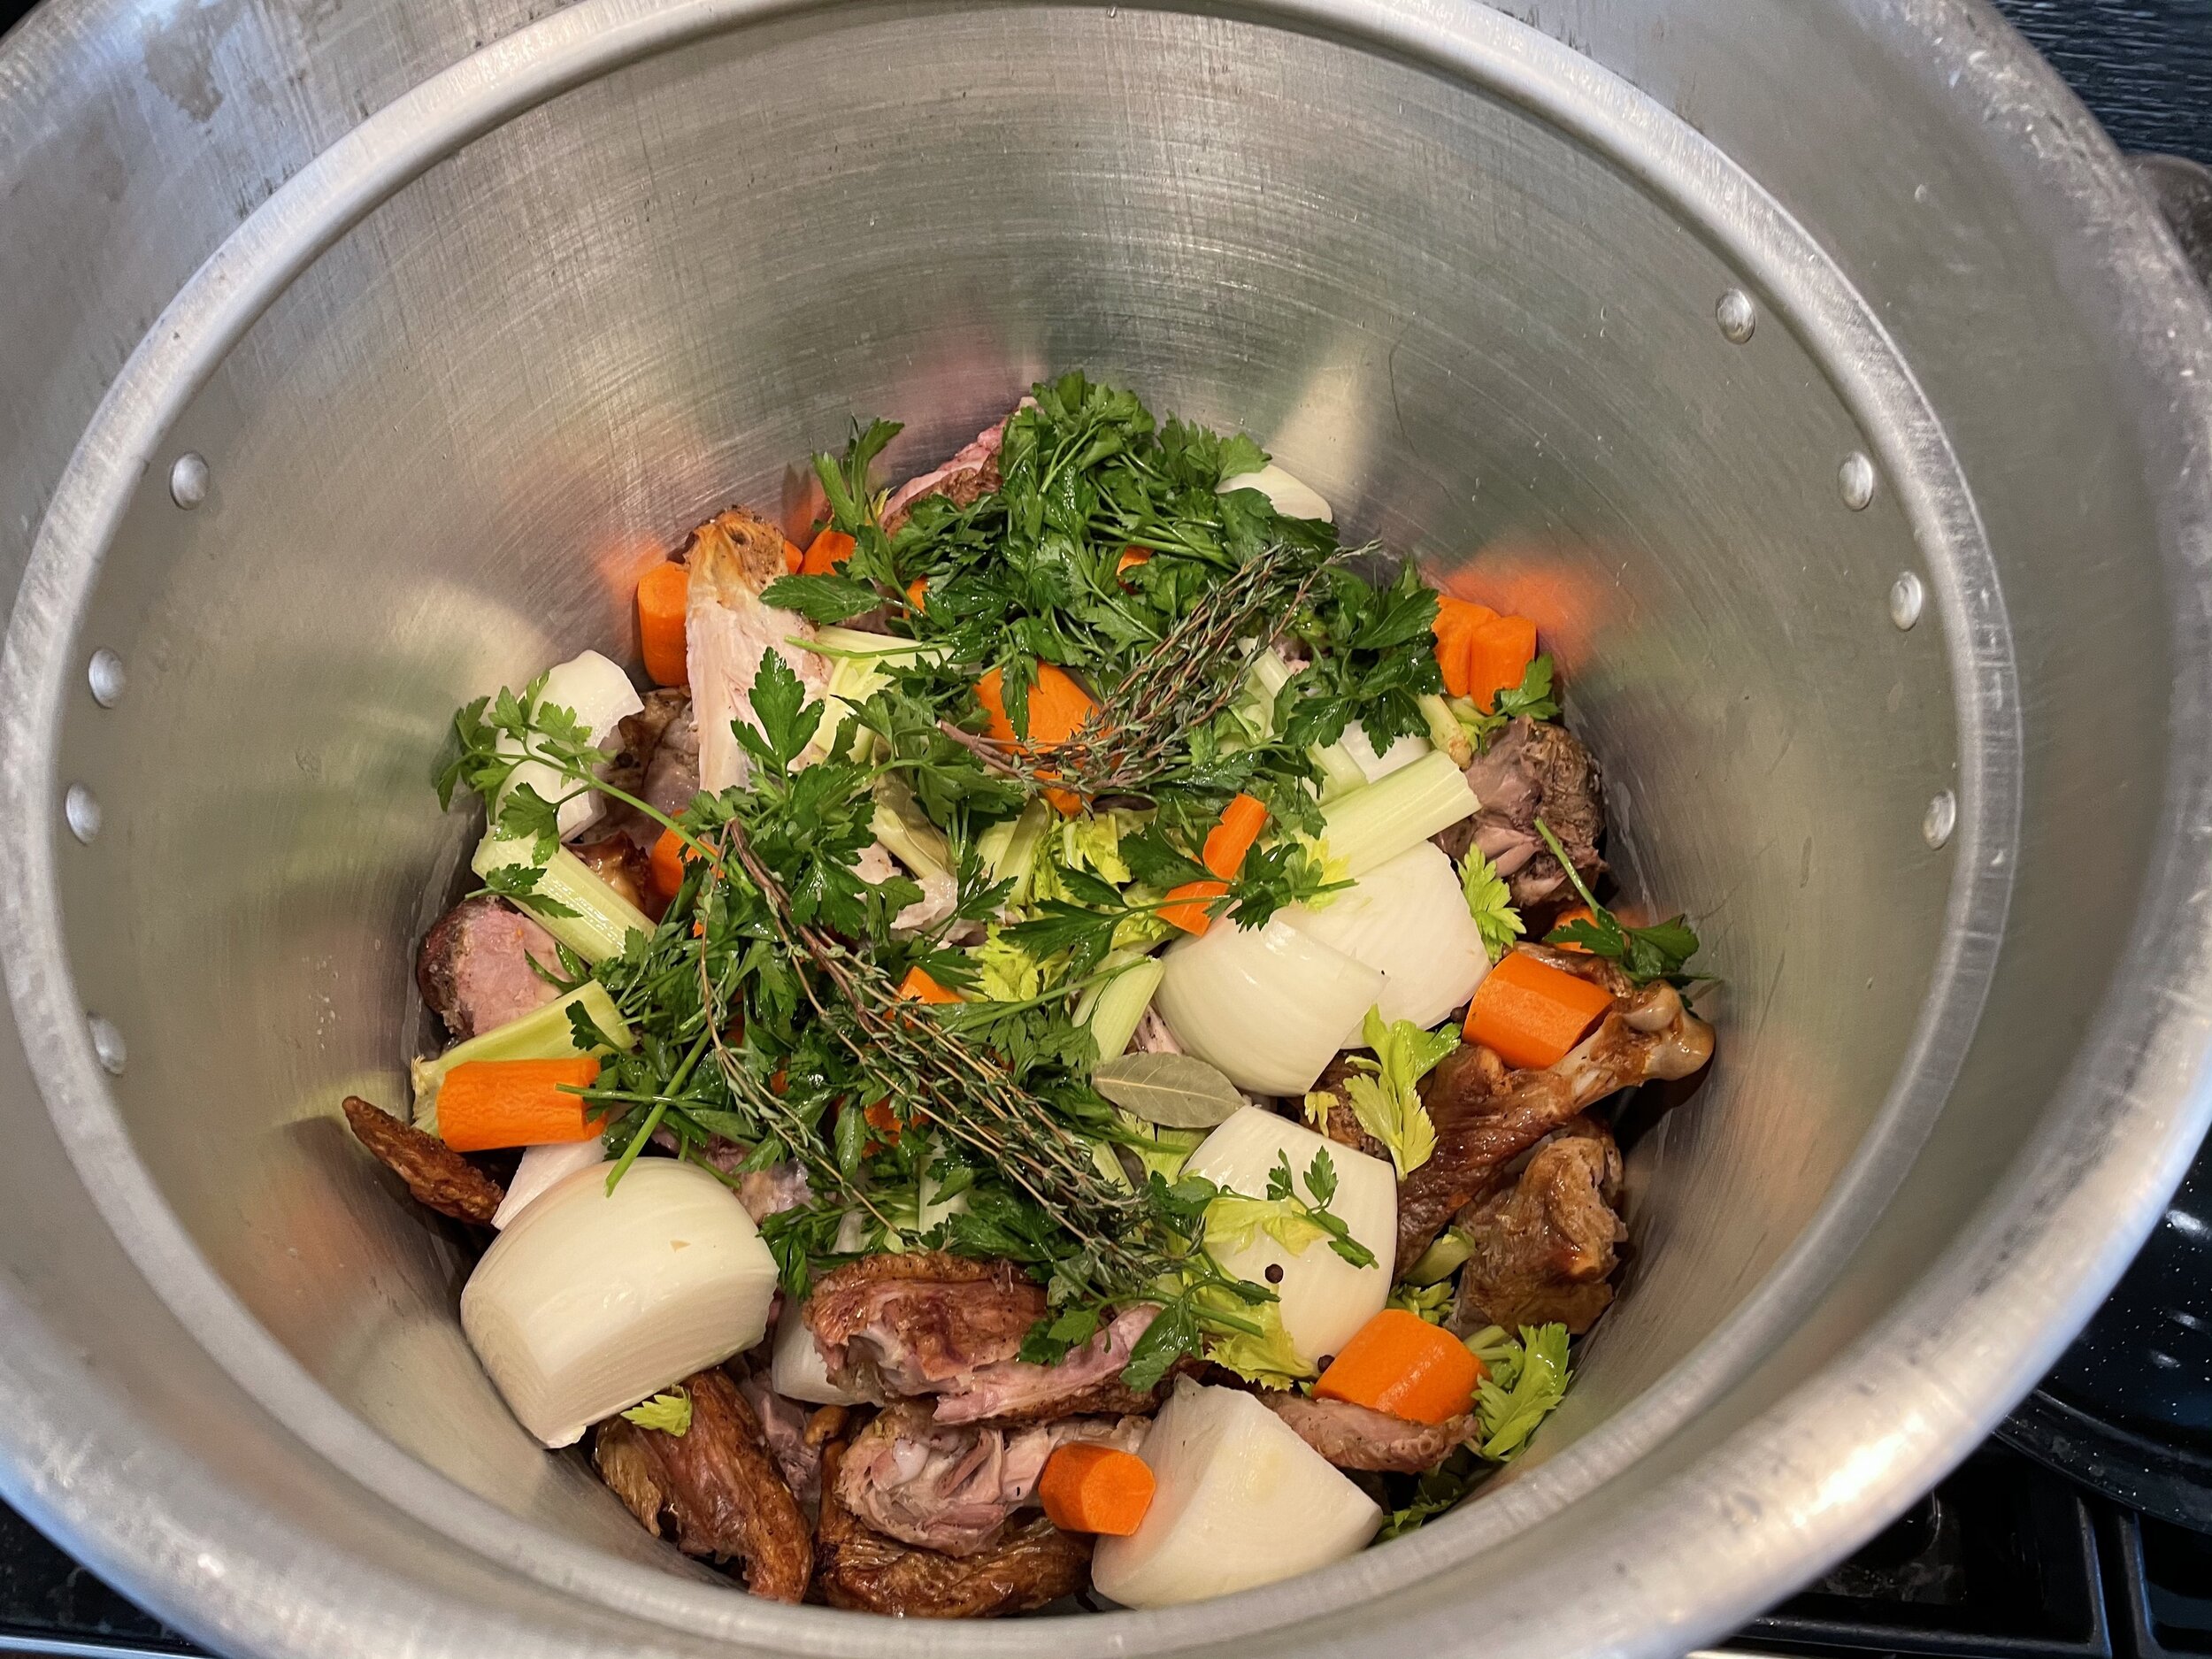
Here is a stockpot with the Turkey carcasses with the vegetables and herbs before water is added.
After that, I start to prepare the vegetables. All root vegetables must be washed and peeled. No dirt, soil, or mold should be canned because it can lead to spoilage and foodborne illness. So, everything I preserve is cleaned very well, and I cut out all the bad-looking parts. Onions often get moldy; it is usually a black powdery substance under the skin. If I see that, I will not use it in the stock. Also, wash any fresh herbs you are using very well.
Important tip: When I make stock, I like to use up all my old vegetables in my fridge. But if I am canning the stock, I will not use vegetables that are too old. For example, celery should be crisp but not soft or bendy.
Then I rough chop all the veggies and herbs transfer them to the pot. I quarter the onions and then put them in the pot. I add the bay leaves and about a tablespoon of peppercorns and then fill with water until all of the bones are covered. Next, I add salt and pepper. Finally, I add the apple cider vinegar.
Important tip: The original Ball recipe calls for 1 4-5 lb. of the carcass to one tablespoon of apple cider vinegar. To make it easy on myself, I call it a 5:1 ratio. So, if I am using carcass from a 10 lb. turkey, I will use two tablespoons of apple cider vinegar.
Then, I cover the pot and turn on the stove to medium-high to wait until it comes to a boil. Depending on how much stock you are making, it could take 30 minutes to a couple of hours to come to a boil. Once at a boil, lower the heat on the pot to bring the stock to simmer and partially cover the pot to simmer for 8 to 10 hours. I check on it periodically, stir to make sure it is not burning. I taste it to see if it is done. I like a rich-tasting stock, so my yields tend to be on the lower side.
Once it is done, I will strain the stock into containers. If I am going to make soup, I will separate the meat and put it in the fridge or freezer for later use. Once the stock is strained, I put it into a container and leave it in the refrigerator for up to two days.
Important tip: It helps to measure your stock after it is made to know how many jars to prepare when ready to can the stock. I use Lexan containers that have quart measurements on them. It is not perfect, but it gives me a rough idea of how much I have made. It is important to note that you must have at least four-pint jar or 2-quart jars to safely pressure can a recipe.

Here is a container holding over 5 quarts of stock. The oil on top of the stock is the fat, which should harden in the fridge to make it easier to remove.
Day Two:
Get the kitchen ready to can. If you need a refresher on how to do that, please see my canning 101 post and canning 201 posts on pressure canning. Once you have cleaned and got your canning equipment ready, you will need a stockpot, a sieve, and a cheesecloth.
Important tip: If you are like me and make cheese, you will need to keep two cheese clothes. I keep one marked clearly for meat stocks and one for cheese only. The reason is that cheese can take the flavor of anything, so I do not want the cheese to have a brothy flavor.
When you take the stock out of the fridge, it can be solid like Jell-O. In my humble opinion, that is the way a good stock should be. There will be a yellowish layer on top of the stock. That is fat and needs to be scraped off. Try to scrape as much fat as you can and discard it.

This is what the stock should look like after being refrigerated overnight. It will be like Jell-O, and the fat will become solid so it can be spooned off.
Then I pour the stock into a pot and heat it until it is a warm liquid. I do not want it to boil because it will be too hot to handle. While the stock is heating, I line the strainer or sieve with cheesecloth. I like to double up my cheesecloth. When the stock is warm, run it through the rig into another container. I clean my Lexan and run the stock into them through the rig. After I get all the stock run through the sieve with cheesecloth, I clean out the pot and put the stock back in it. At this point, I measure out to see how much stock I have ready to process.

On the left is the sieve with cheesecloth and on the right is the warmed stock.
In most cases, you will need one less jar. Then bring the pot of stock to a boil. While that is coming to a boil, prepare your pressure canner. Once the stock comes to a rolling boil, I like to let it boil for a minute.
Then I take warm jars and ladle the broth into the jars, leaving one inch of headspace. Then remove air bubbles and check headspace. Put on lids and rings and load the canner. Then, fit the canner's cover and lock it into position Heat your canner under medium-high heat and let steam vent for ten minutes. Then place a weight or weighted gauge on the vent to bring the pressure up to 10 pounds (PSI) or 11 pounds (PSI) for the dial-gauge canner. (If you have questions about pressure canning, see my section on pressure canning). The processing time for this recipe is 20 minutes for pint jars and 25 minutes for quart jars. Turn off the heat and let it cool until the pot reaches zero pressure. Then let it stand for 5 minutes before removing the lid. Once the cover is removed, let jars cool for 10 minutes in the canner, then remove the jars to cool on a towel or cooling rack for 12 hours.

A filled jar before the lid and ring goes on it.
Troubleshooting for stocks:
No matter how much you strain a stock, there will be fat in it. It will be ok.
Sometimes it will take several hours to seal. Do not touch the jars.
If a jar does not seal or feel it will not be shelf-stable, just put the broth in the fridge or freezer.
Chicken/Turkey Stock
Ingredients
Carcass (including skin from 1 (4- to 5-lb./2- to 2.25-kg or more) roast turkey or chicken, broken into large pieces
Water to cover
1 Tbsp. salt more to taste
1 Tbsp. unfiltered apple cider vinegar (5% acidity)
2 large carrots, peeled and coarsely chopped
2 celery sticks, coarsely chopped
2 bay leaves
1 large onion, quartered skins removed
1 tablespoon of peppercorns
Pepper to taste
1 punch of parsley (optional)
Directions:
Day one:
Put a large stockpot with a cover on the stove. Start by dropping all chicken/turkey carcasses in the pot. Then drop in all of the vegetables. After then, add water to the point that it covers all of the carcasses' bones. Then add the bay leaves, spices, and parsley. Finally, add the apple cider vinegar.
Then cover the pot and turn on the stove to medium-high to wait until it comes to a boil. Depending on how much stock you are making, it could take 30 minutes to a couple of hours to come to a boil. Once at a boil, partially cover the pot, reduce the heat to bring the stock to a simmer, and let it simmer for several hours. Check on it periodically and stir it to make sure it is not burning. It can take anywhere from 8-10 hours to become stock.
Once it is done, strain the soup into containers. If desired, separate the meat and put it in the fridge or freezer for later use. Once the stock is strained, put it into a container and leave it in the refrigerator for up to two days,
Day Two:
Get the kitchen ready to can. If you need a refresher on how to do that, please see my canning 101 post and canning 201 posts on pressure canning.
When the stock comes out of the fridge, it can be solid like Jell-O. There will be a yellowish layer on top of the stock. That is fat, and it needs to be scraped off and discarded.
Then pour the stock into a pot and heat it until it is liquid. At the same time, while the stock is heating, line your strainer or sieve with cheesecloth. When the stock is warm, run it through the rig and into another container. After getting all the stock, you run through the sieve with cheesecloth. Clean out the pot before returning the stock to it. Then, heat the stock until it comes to a boil and let it boil for about a minute.
After that, take warm jars and ladle the broth into the jars, leaving one inch of headspace. Then remove air bubbles and check headspace. Put on lids and rings and load the canner. Then, fit the canner's lid and lock it into position. Heat your canner under medium-high heat and let steam vent for ten minutes. Then place a weight or weighted gauge on the vent to bring the pressure up to 10 pounds (PSI) or 11 pounds (PSI) for the dial-gauge canner. The processing time for this recipe is 20 minutes for pint jars and 25 minutes for quart jars. Turn off the heat and let it cool until the pot reaches zero pressure, then let it stand for 5 minutes before removing the lid. Once the cover is removed, let jars cool for 10 minutes in the canner, then remove the jars to cool on a towel or cooling rack for 12 hours.

