Strawberry Preserve
Nuts and Bolts:
Strawberry preserve is such a fun spread to make because it is so versatile and delicious on a scone or mixed with yogurt. It can make a delectable filling for a strawberry shortcake, a cake, or a cheesecake. It is quite simple to make and easy to can. This is a small batch recipe, but it is worth making. This recipe was taken from Canning for a New Generation by Lianna Krisstoff.
My thoughts on Strawberry Preserve:
This is a two-day recipe because the strawberries need to macerate overnight.
You can double this recipe, but I find it easier to make the recipes in batches.
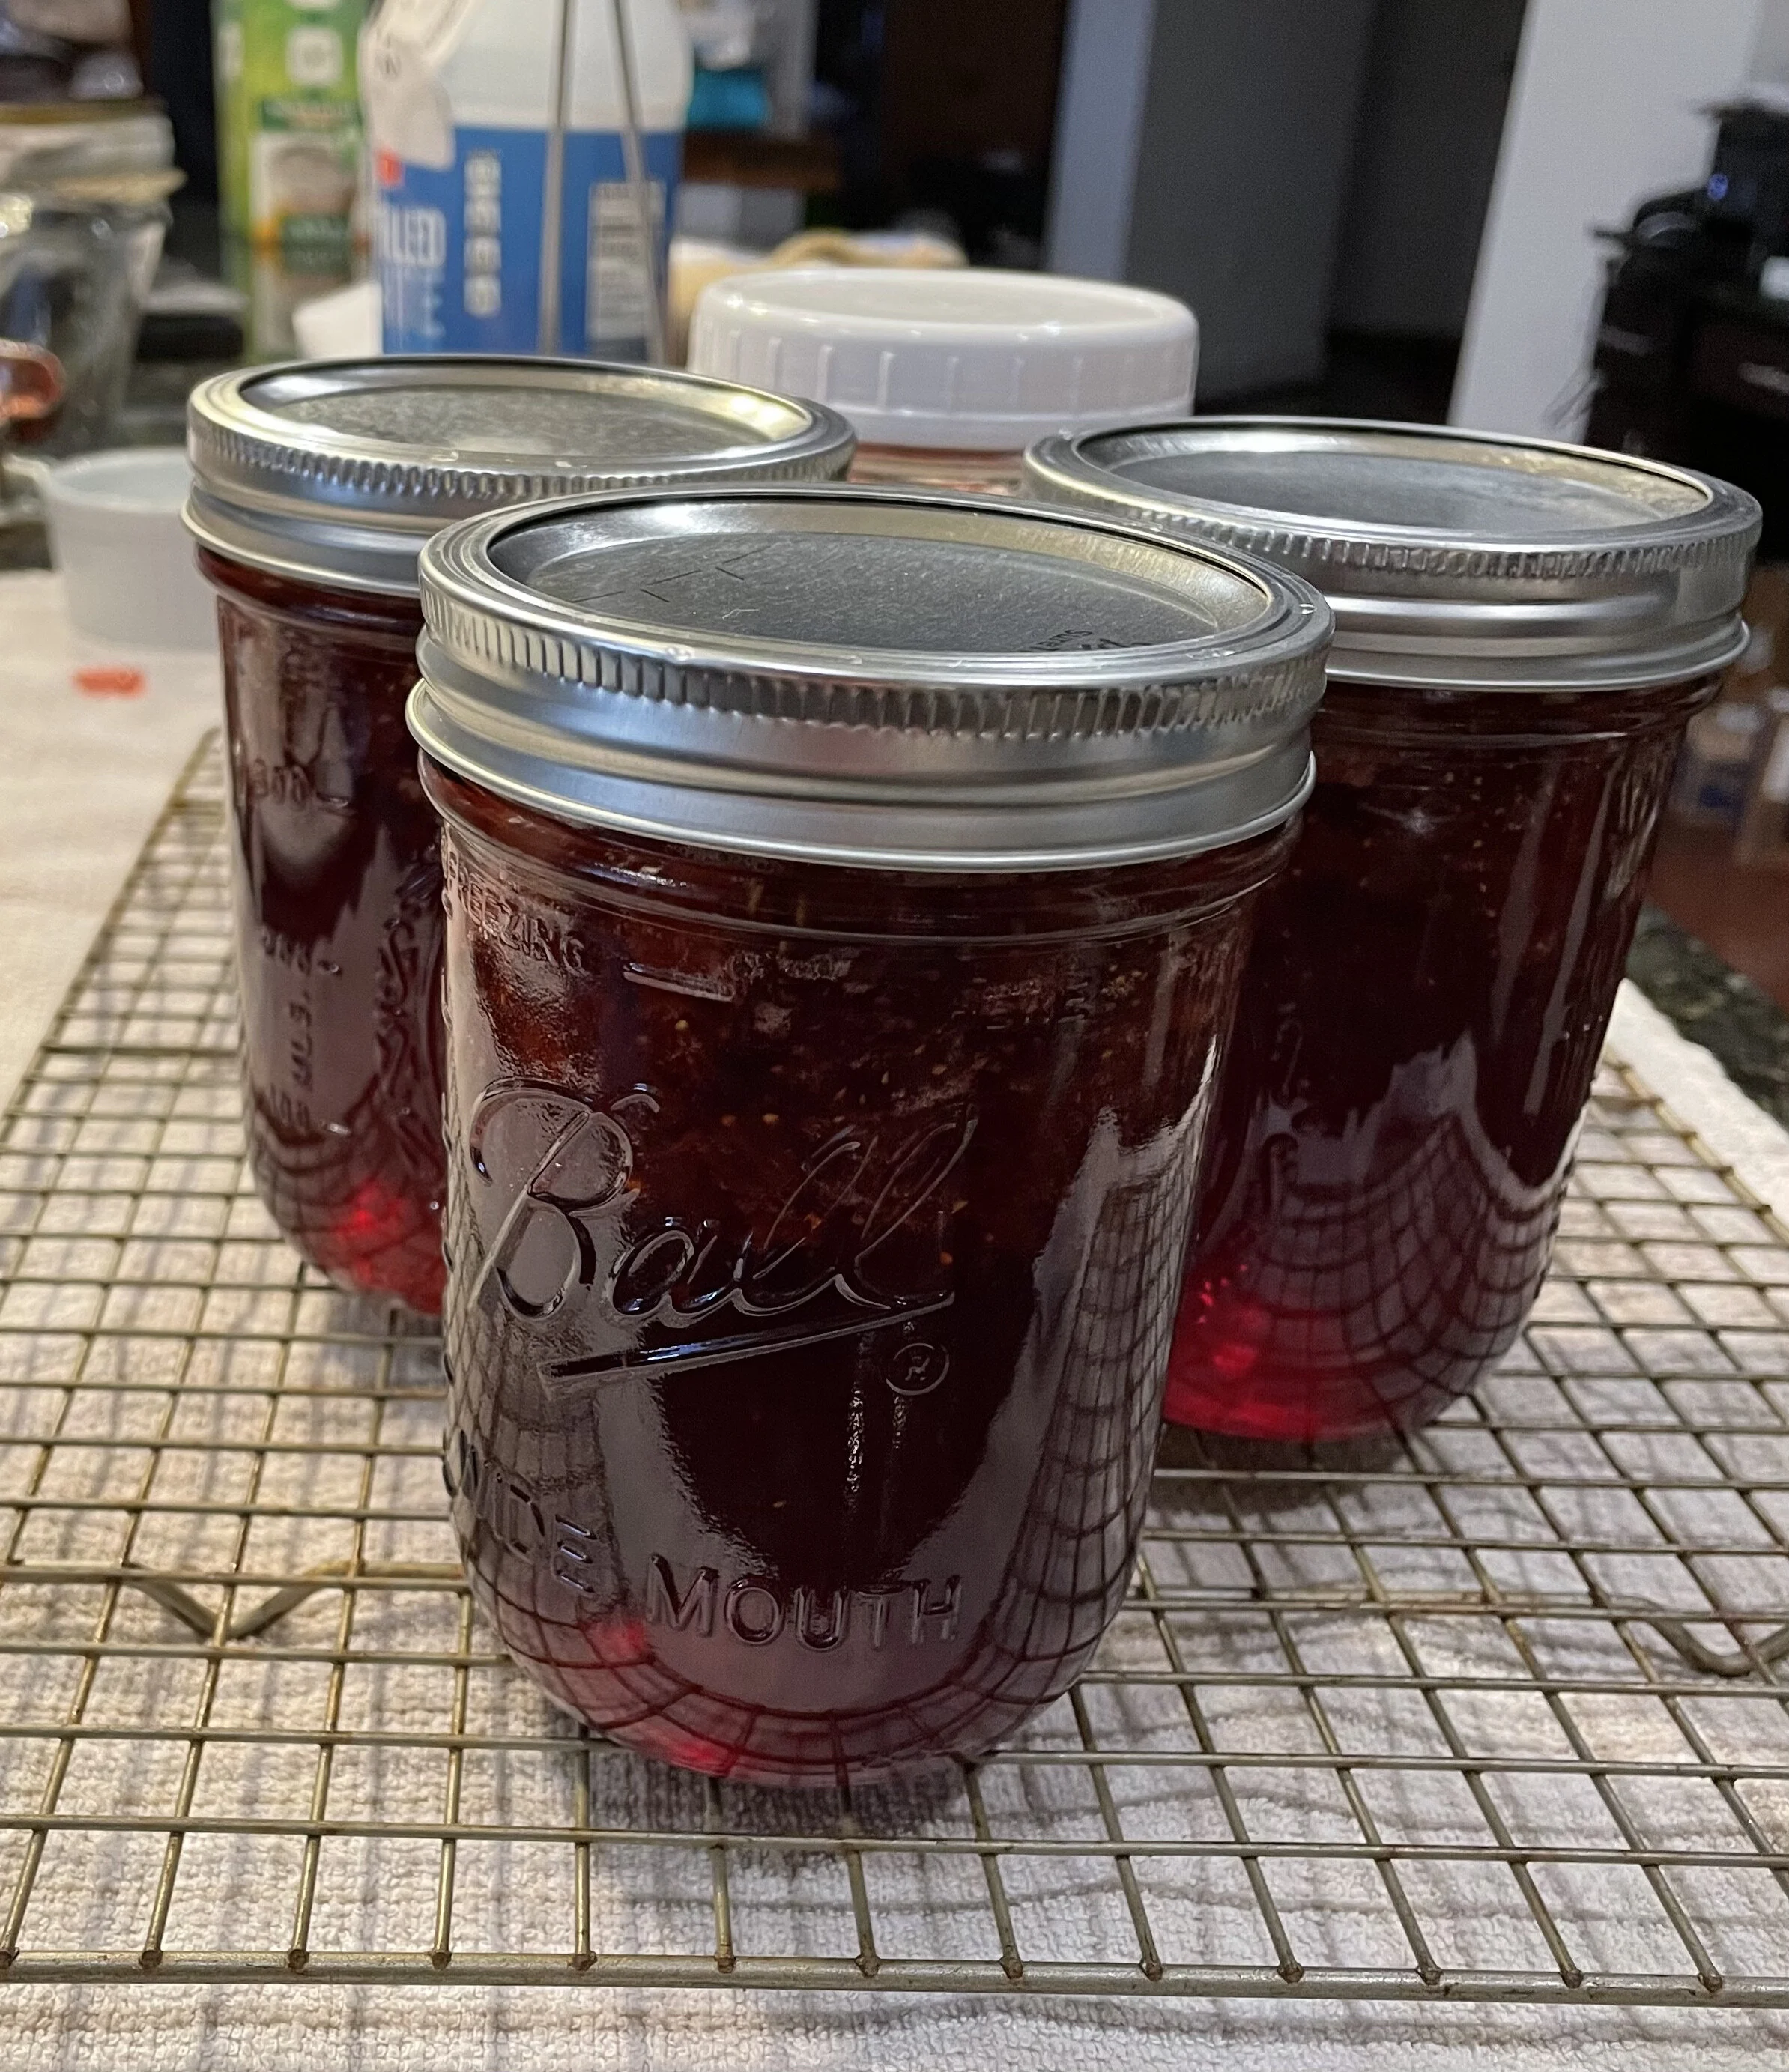
The yield of this recipe is about four half-pint jars.
Canning Risk Factor: Medium to high. This is not a tested recipe, and others in the canning community are concerned about her recipes. Her recipes are good, in my opinion, but her processing times are too short. So I looked at other recipes that were close and used those times. If you are not comfortable with the methodology, do not make this recipe.
Method:
Day 1:
The ripeness of the strawberries will affect the texture of the final product. Fully ripen strawberries, or those strawberries that are not quite ripe are best for this recipe. Overripe strawberries will become mush and will not hold their shape well during cooking. That is why, whenever I am making this recipe, I try to get the freshest strawberries I can lay my hands on. Once you have these strawberries, begin by cleaning them and making sure they are completely free of dirt. Next, hull the berries and weigh them. You need 3 pounds for this recipe.
Important Tip: I get flats of strawberries during the strawberry season. So, I usually wash a quart at a time, hull the berries, and place them into a bowl on my scale. Then continue this process until I have the quantity of strawberries needed. I find it makes the process faster, and there are no wasted berries.

Layering the strawberries and sugar: Top: is the first layer of strawberries with sugar. Bottom Left is the topping of the berries with the last of the sugar. On the bottom right are the strawberries ready for the fridge.
Measure out 1 ½ cups of sugar in a separate bowl. Then layer the berries with the sugar in a large bowl. The layering is simple, but it is essential to get the sugar well dispersed throughout the berries. I always put a layer of strawberries on the bottom of the bowl, followed by the sugar, and keep layering until all the berries are in the bowl, ensuring to save enough sugar to place on the top of the berries. Then cover with plastic wrap and place in the fridge overnight.
Day2:
Before you begin the recipe, prepare your canning equipment and your kitchen. See Canning 101 and Canning 102 for more tips for your mess.
Once you are ready to can, you will need three tablespoons of stained, fresh lemon juice; once you have that, set it aside. Then get the macerated berries and gently move them to a 6 to 8-quart pot.
Important tip: Do not use a larger pot here. I have tried it, and liquid evaporates too quickly, and the strawberries were mushy in the final product.
Once all of the macerated strawberries are in the pot, place the pot over medium to high heat. Keep stirring the mixture gently until it comes up to a simmer. Then let it cook for 5 minutes so that juices start to release. While that is cooking, set a colander over a bowl to catch the juices. After the berries have cooked for 5 minutes and release their juice, transfer the mixture to the colander and drain it into the bowl.

Here are the strained strawberries on the left, placed over a plate to collect more juices, and the strawberry juice on the right.
Mess Factor: Transferring the juice to the pot can be super messy since most times, the strawberries still have juice draining from them. This is why, after many years of making this recipe, I leave a plate or other bowl under the colander while I transfer the juice from the original bowl to the pot. This way, I do not have super sticky strawberry juice all over my counter.
After the strawberries have drained, set the berries over a bowl or plate, and set them aside. Then pour the juice into the pan over medium to high heat. And bring the juice to a boil, occasionally stirring until the juice is reduced to 1 ½ cups of syrup. This can take from 15-20 minutes, depending on the heat of your stove.
Next, add the strawberries, accumulated juices, and lemon juice to the syrup over medium to high heat to bring to a simmer. While stirring gently but frequently as it is cooking until the berries become glossy but still hold their shape, this should take about 20 minutes. Then take the pot off the heat and let the preserve cool slightly, and skim any foam. You want to fill your half-pint jars, leaving a ¼ inch of headspace. Place the lids and rings on the jars. Next, load and cover your canner. Bring your canner to a boil and then process them for 10 minutes. After the processing time is done, turn the heat off the canner and remove the cover. Let the jars rest in the canner for five minutes. After that, remove the jars to a towel or cooling rack and leave them untouched for 12 hours.
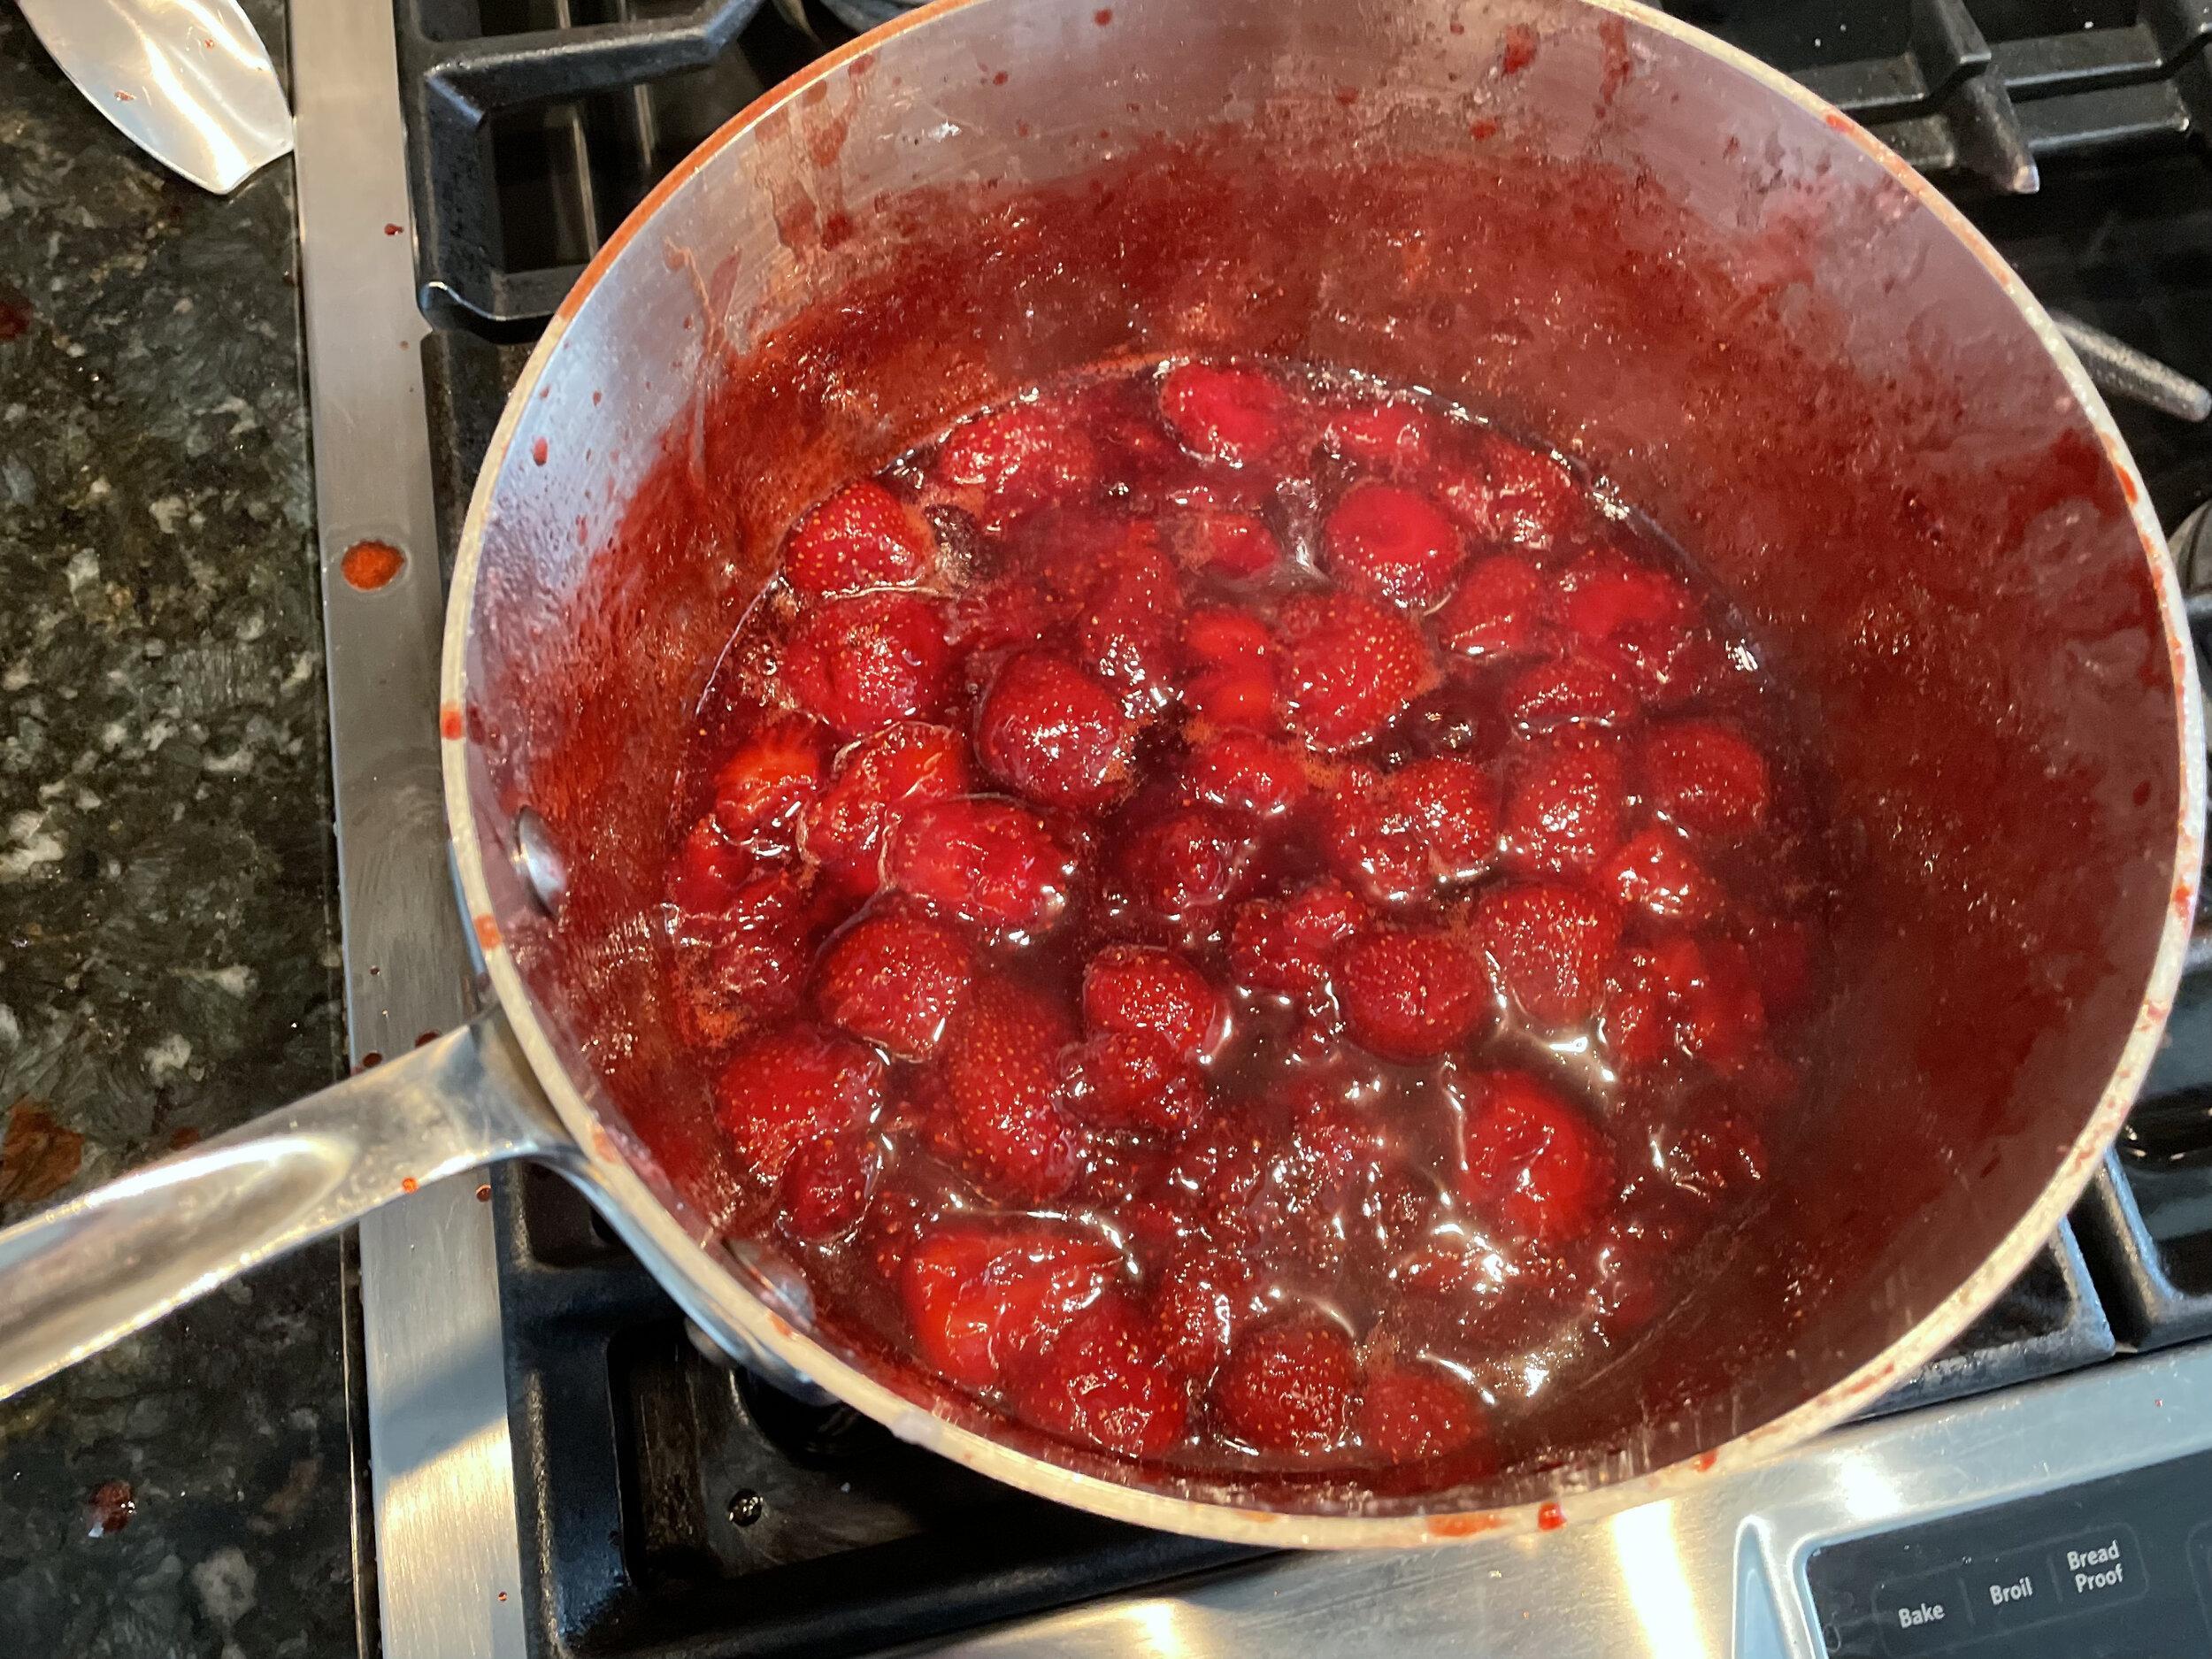
Here is the strawberry preserve ready to be canned. The berries are glossy, and they are still holding their shape. The syrup is thick but stiff like a jam.
Final Thoughts on Strawberry Preserve:
This is one of my favorite strawberry recipes. I love to use this for shortcake in the dead of winter when I want to remember what summer feels like. It is always one of the first strawberry canning products that disappear from my shelves quickly in the winter.

Strawberry Preserve:
Ingredients
- 3 pounds of washed and hulled strawberries
- 1 ½ pound of sugar
- 3 tablespoons of strained fresh squeezed lemon juice,
- 4 ½ pint jars
Instructions
- Start by cleaning the strawberries, making sure all of the dirt is off them. Then hull the berries and weigh them.
- After that, measure out 1 ½ cups of sugar in a bowl.
- Begin layering the strawberries and sugar by putting a layer of strawberries on the bottom of the bowl, followed by the sugar. Keep layering until all the berries are in the bowl. Making sure to save enough sugar to place on the top of the berries.
- Then cover with plastic wrap and place it in the fridge overnight.
- Before you begin the recipe, prepare your canning equipment and your kitchen. SeeCanning 101 andCanning 102 for more tips for your mess.
- Once you are ready to can, you will need three tablespoons of stained, fresh lemon juice; once you have that, set it aside.
- Next, get the macerated berries and gently move them to a 6 to 8-quart pot.
- Once all the macerated strawberries are in the pot, place the pot over medium to high heat, and keep stirring the mixture gently until it comes up to a simmer. Then, let it cook for 5 minutes so that juices start to release.
- While that is cooking, set a colander over a bowl to catch the juices.
- After the berries have finished cooking for 5 minutes, transfer the mixture to the colander and drain it into the bowl.
- After the strawberries have drained, set the berries over a bowl or a plate and set them aside. Then pour the juice into the pan over medium to high heat.
- Then, bring the juice to a boil, occasionally stirring until the juice is reduced to 1 ½ cups of syrup. This can take about 15-20 minutes, depending on the heat of your stove.
- Next, add the strawberries, accumulated juices, and lemon juice to the syrup on medium to high heat to simmer. While stirring gently but frequently as it is cooking until the berries become glossy but still hold their shape, this should take about 20 minutes.
- After that, remove from heat, let it cool slightly, and skim off any foam.
- You want to fill your half-pint jars, leaving a ¼ inch of headspace. Place the lids and rings on the jars, Then load the jars and cover your canner. Bring your canner to a boil and then process them for 10 minutes.
- After the processing time is done, turn the heat off the canner and remove the cover. Let the jars rest in the canner for five minutes.
- After that, remove the jars to a towel or cooling rack and leave them untouched for 12 hours.